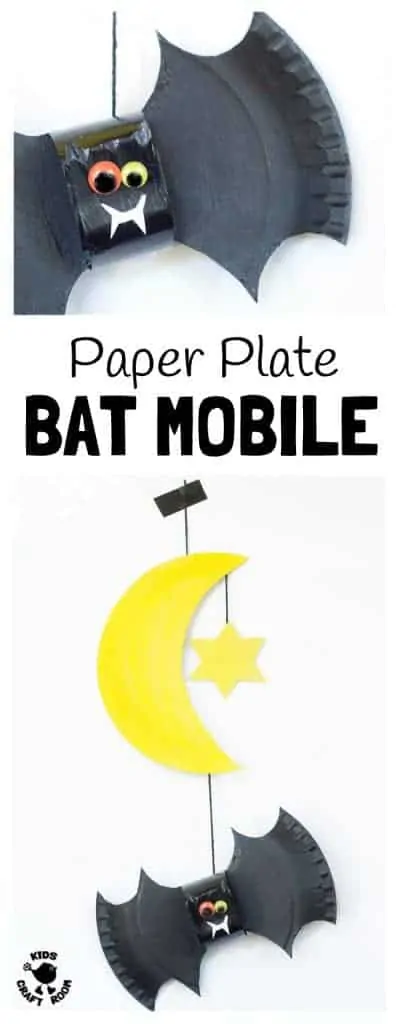
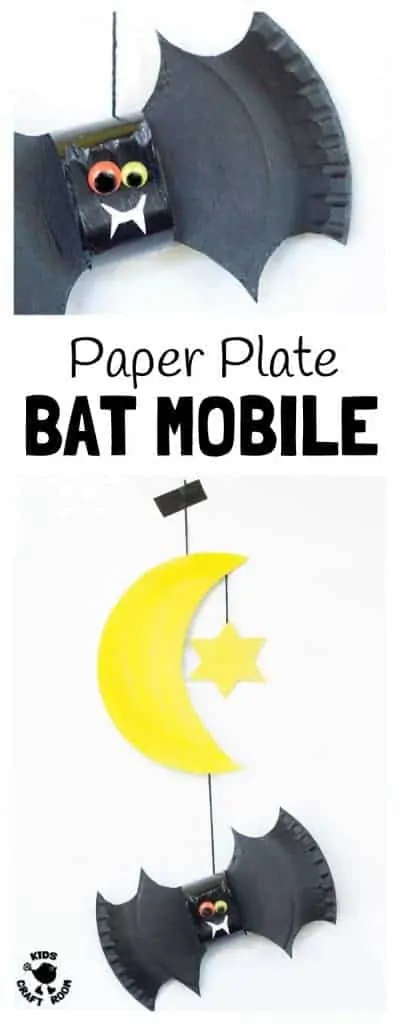
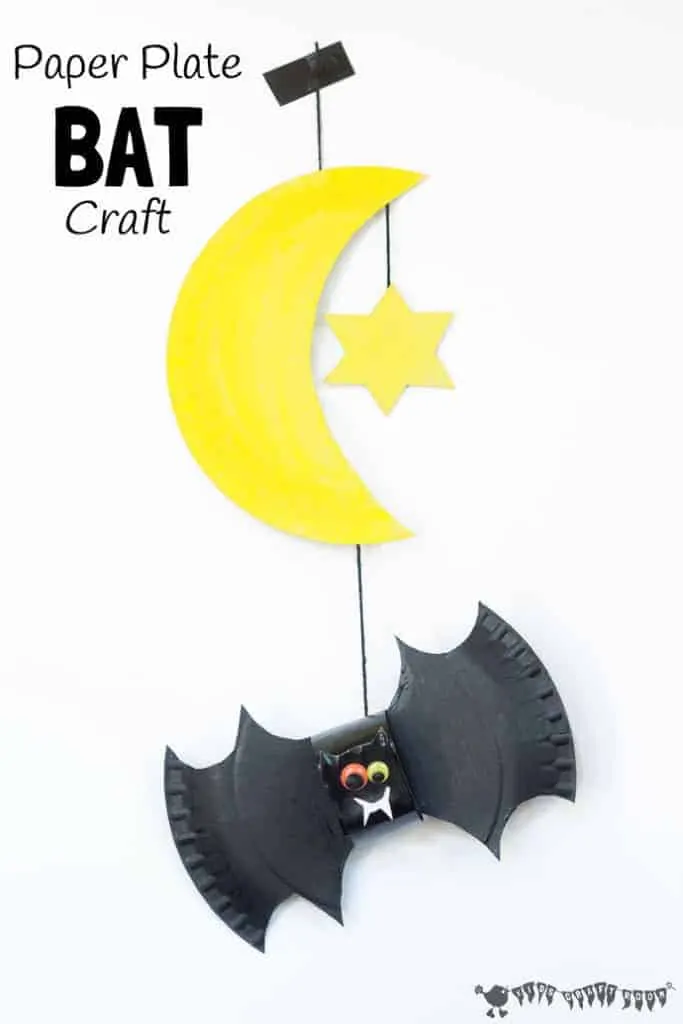
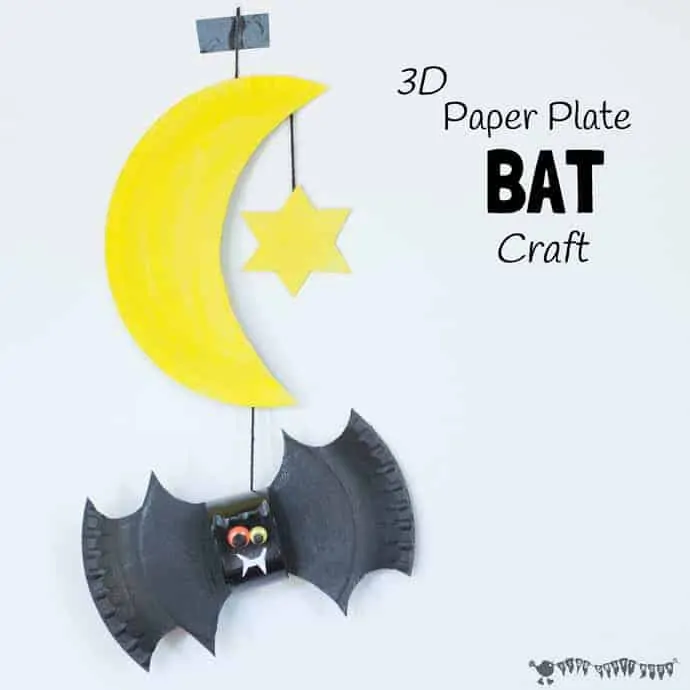
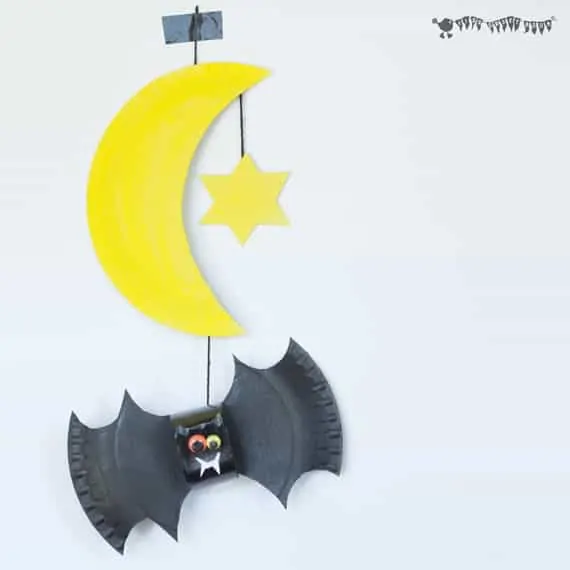
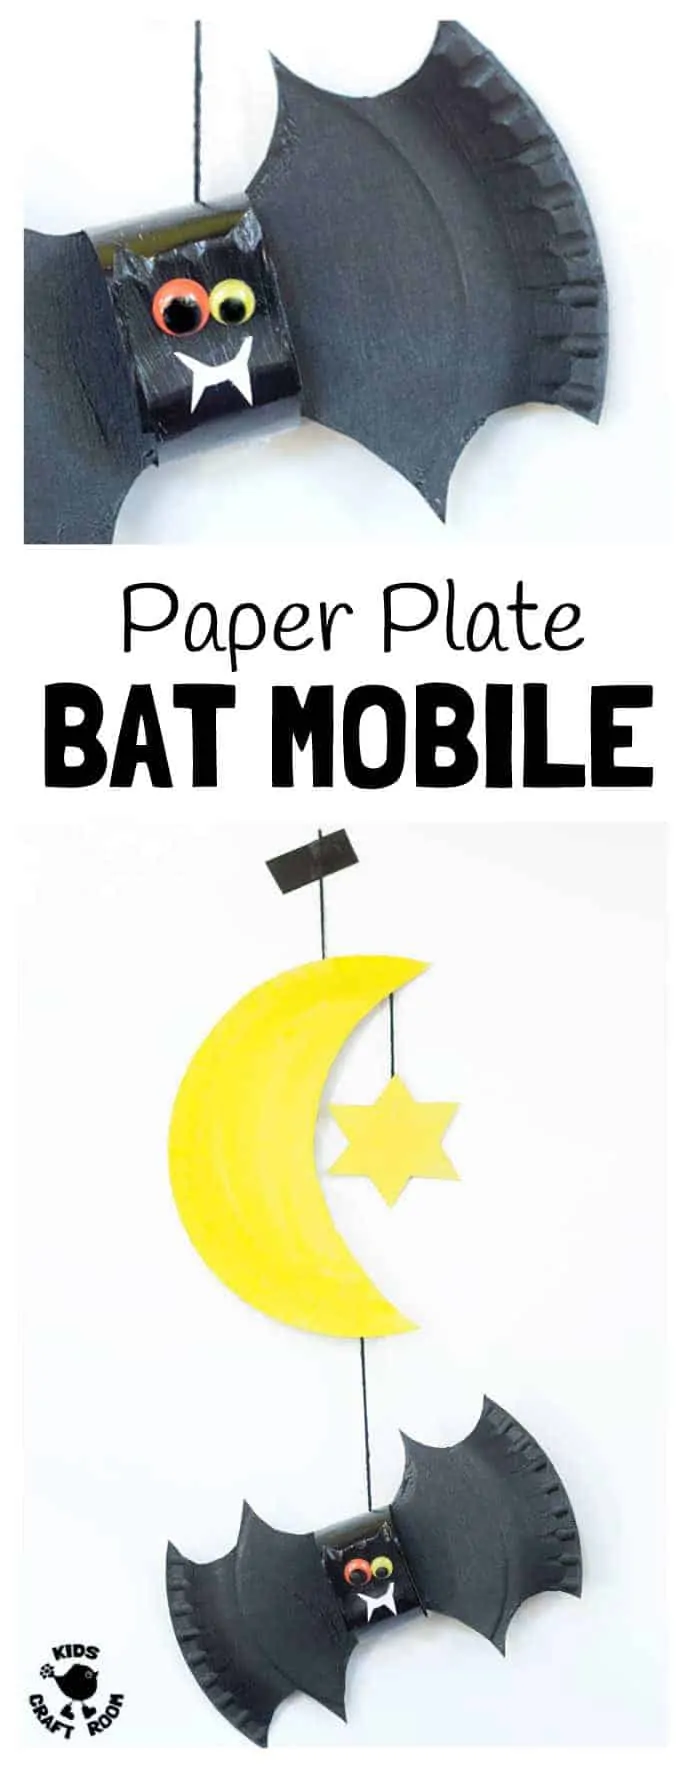
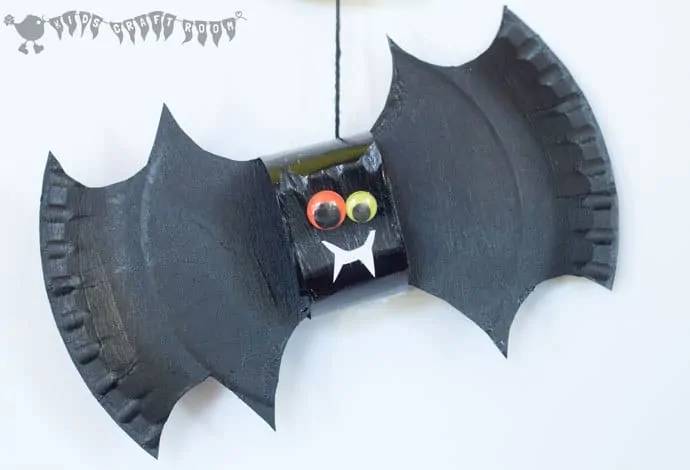
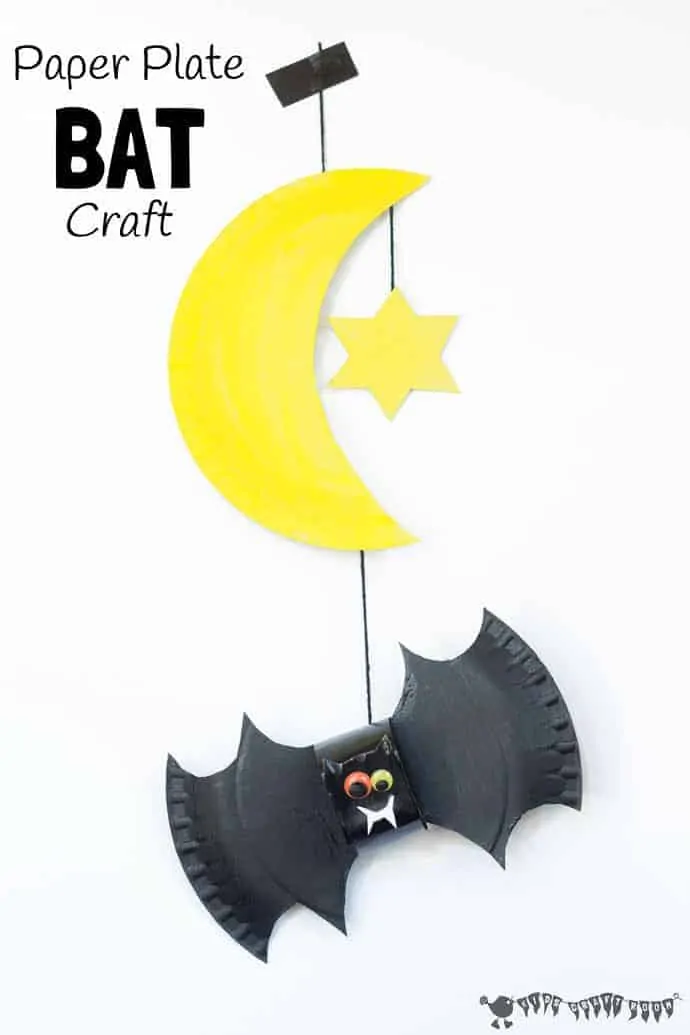
Squeak, squeak, let’s go batty making bats! Join us to make this Paper Plate Bat Craft And Mobile. They’re rather fab!
I love this time of year when the nights are drawing in, it’s a great time for kids to spot some of our more shy and elusive nocturnal animals. We are blessed with some amazing flying spectacles in our garden in the early hours of the evening as the bats swoop and dart about hunting for insects. They are so fast, blink and you miss them!
In true Kids Craft Room style we had to get crafty making some bats of our own. Last week we got busy with some handprint bats and this week we’re sharing a cute 3D bat craft. This bat craft is great for hanging in a kid’s bedroom, decorating for Halloween or as a craft to go with a nocturnal/night time study theme.
Really this is a two part bat craft and kids can either make the bat as a standalone or combine it with the moon and star and make a gorgeous batty mobile. The whole thing is made from paper plates so it’s a super frugal and super easy.
Ready Steady Go…. GET BATTY!
Supplies For A Paper Plate Bat Craft
- x2 Paper Plates
- Black and Yellow Acrylic Paint US / UK
- UHU Glue US / UK
- Sticky Tape
- Black Yarn
- Googly Eyes US /UK
- Scrap White Paper
How To Make A Paper Plate Bat Craft And Mobile
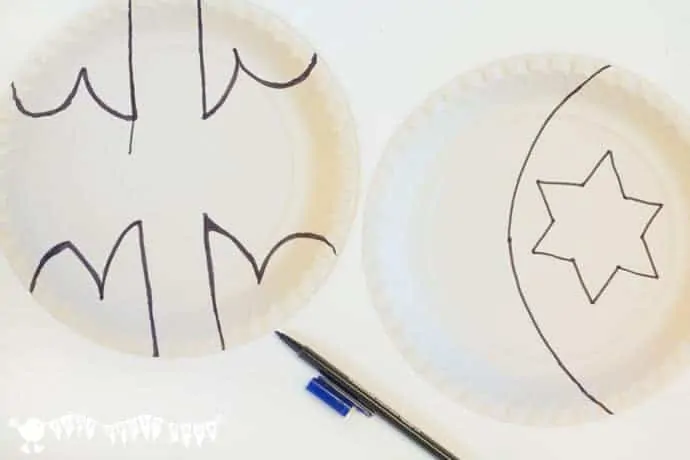
Using the photo as a guide sketch out the bat, moon and star templates onto your paper plates
Then cut them out, paint both sides and leave them to dry. I love using acrylic paints with the kiddies because they are long lasting and the colours are dense and vibrant and cover far better than water colours.
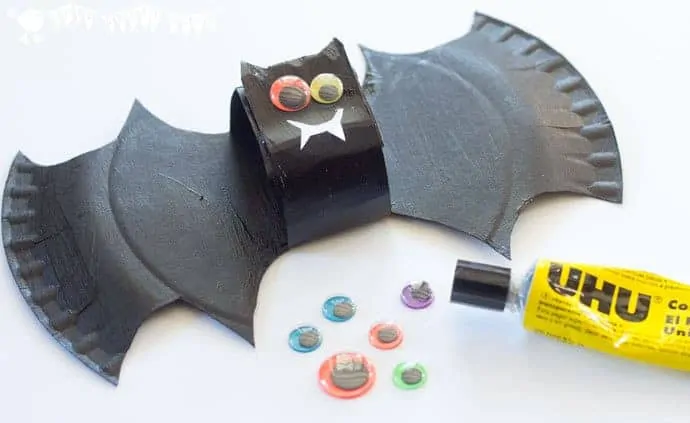
Once your bat craft template is dry curl up the top and bottom long pieces to make the bat’s body and glue them together.
I try to use UHU glue where I can when supervising kids crafts because its so quick to dry but still washes off hands really easily. If you don’t have UHU and use white Elmer glue instead you might need to hold it in place with a couple of clothes pins or paper clips until it dries.
You’ll see in the photos that our bat has some little ears cut out too. My littlest guy decided on adding them as we were sticking the body so they’re not shown on the template. They’re easy to snip out though if you fancy adding them too. I think they sure do look cute!
Once your bat’s body has stuck add on some googly eyes and you could stick on a little paper mouth and fangs too from some scrap white paper. I love the coloured googly eyes for this project and did you know you can get glow in the dark eyes now too? I have only just discovered them! Excited? I was! LOL.
Finish off by hanging your bat with some black yarn. You can hang the bat on its own or join it on to the sun and the star to make a full paper plate bat mobile. We just used sticky tape to fix our yarn on but if you prefer you could make some little holes to thread and tie the yarn onto.
More Fun Halloween Crafts For Kids:
