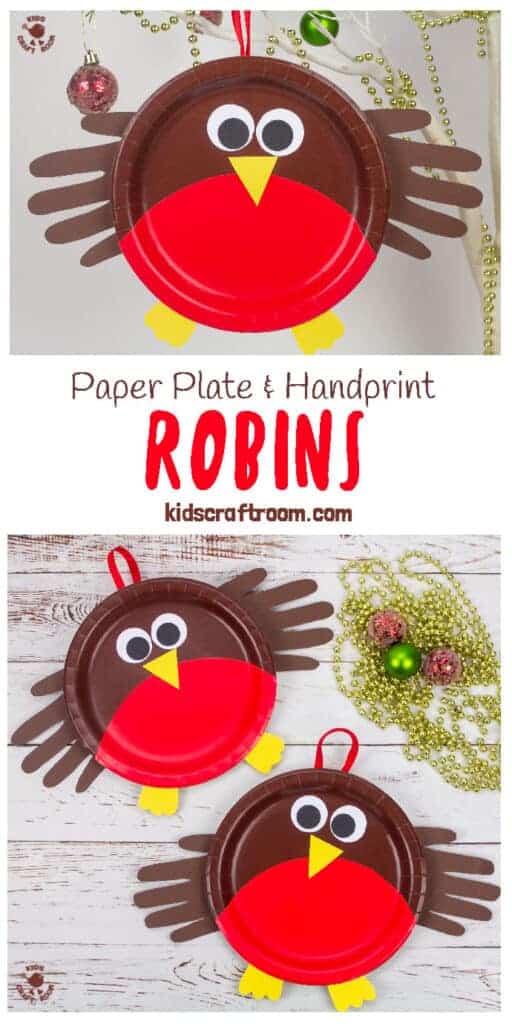
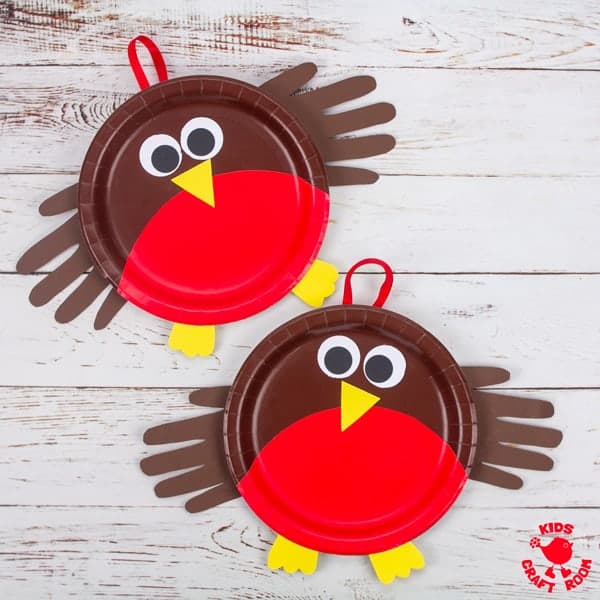
Here’s an adorable PAPER PLATE ROBIN CRAFT that’s perfect for your toddlers and preschoolers. These cute robins are really easy to make and so sweet with their HANDPRINT WINGS! Handprint crafts always make the most darling keepsakes don’t they?
Here in the UK we often associate robins with Winter and Christmas crafts. These gorgeous little birds are actually around in our countryside all through the year but because of their red breasts they show up so well when the leaves have fallen from the trees or against a background of snow!
This paper plate robin craft is fun to make at any time of year but we do think they’re particularly cute hanging on the Christmas tree!
We’re particularly blessed because we have a pair of robins that have actually been nesting in our garden for a few years now. They are remarkably tame and we can go out into the garden to stock the bird feeder up, call out “Robin, food!” and one of them always comes really close to take a peek! Just adorable!
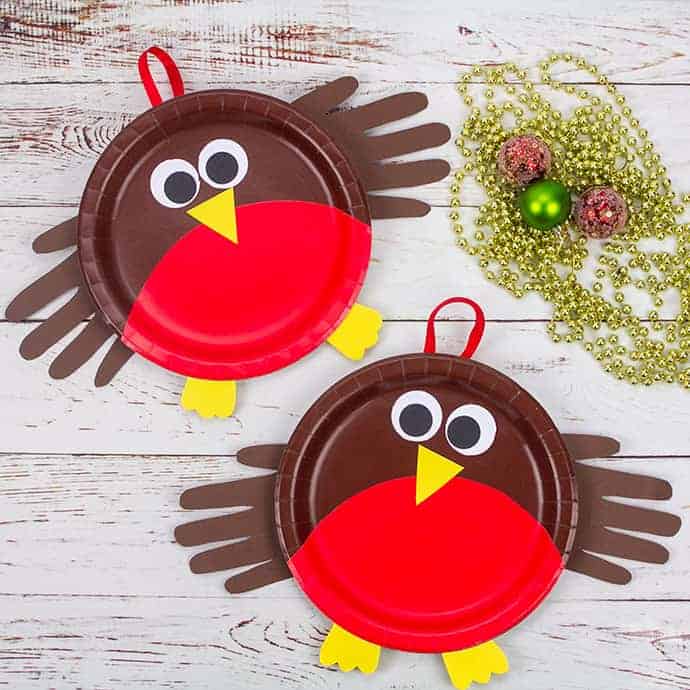
Don’t worry if you don’t have any real robins near you, the method we’ve used to make our paper plate robin crafts could easily be used to make different paper plate birds too. Just mix up the colours of the plates and wings to match your local feathered friends!
We’ve got loads of other paper plate crafts you might like to try too. We think this paper plate robin craft goes really well with some of our other paper plate bird crafts such as our Paper Plate Owls, Paper Plate Chicks and Paper Plate Penguin Wreaths. We also love these Rocking Birds from Happy Hooligans.
Paper Plate Robin Craft Tutorial
To Make Handprint Robins You Will Need:
- Brown Paper Plates
- Red Paper Plates
- Brown Cardstock
- Yellow, White and Black Paper Scraps
- Red Ribbon
- Large and Small Circle Paper Punch
- Sticky Tape
- Glue
- Scissors
- Pencil
How To Make a Paper Plate Bird Robin
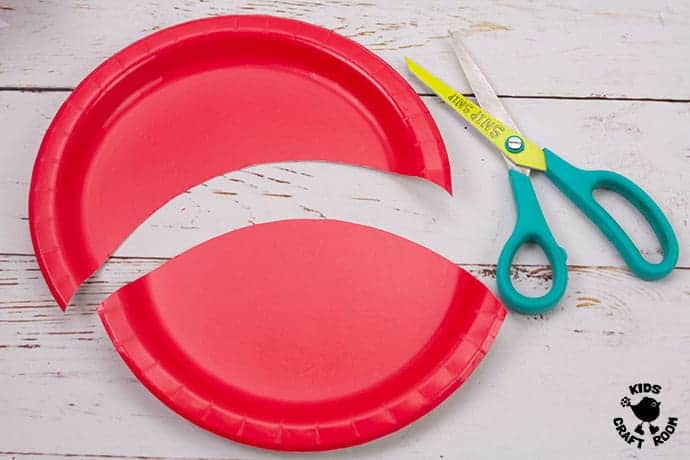
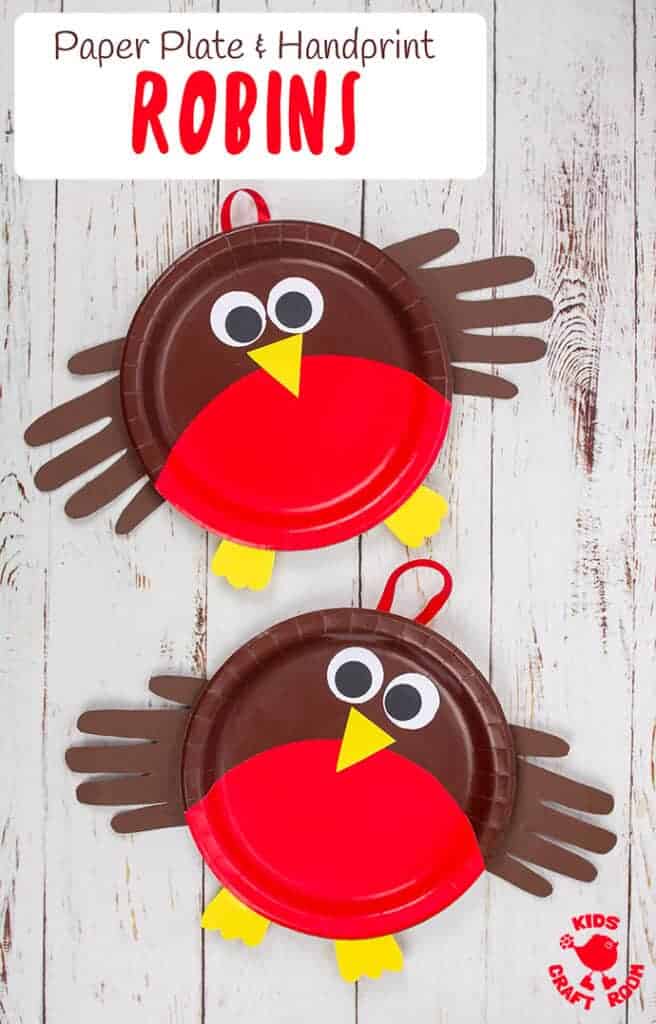
1 – To make the robin’s red breast cut a curve across the red paper plate. Use the photo as a guide.
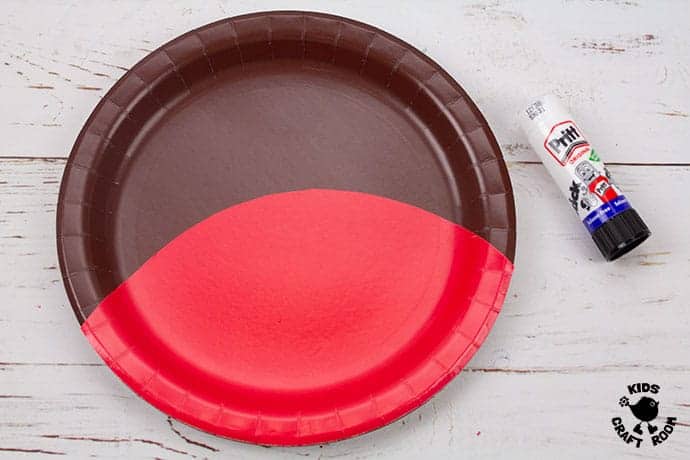
2 – Glue the curved piece onto the brown paper plate to make the robin’s body.
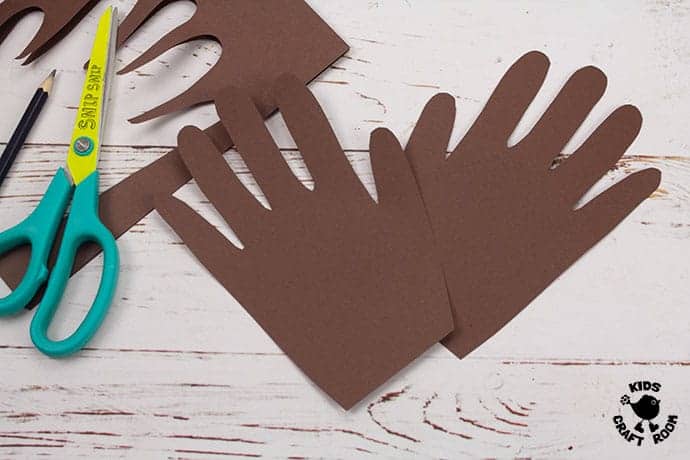
3- To make the robin’s wings draw around your hands onto brown cardstock and cut them out.
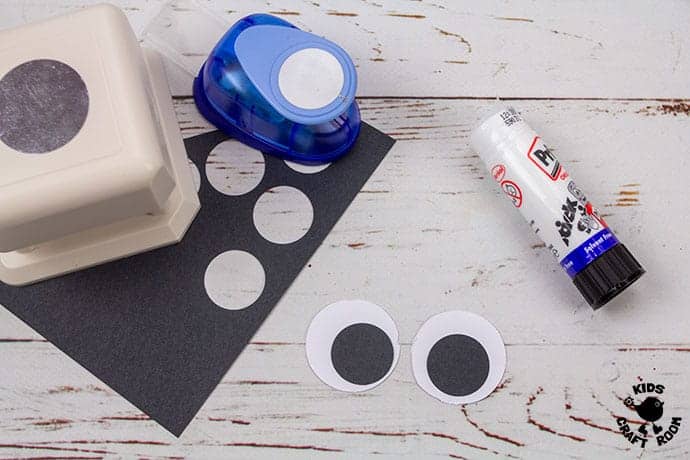
4 – For the robin’s eyes cut two white round shapes and two smaller black round shapes. Glue the black circles onto the white circles.
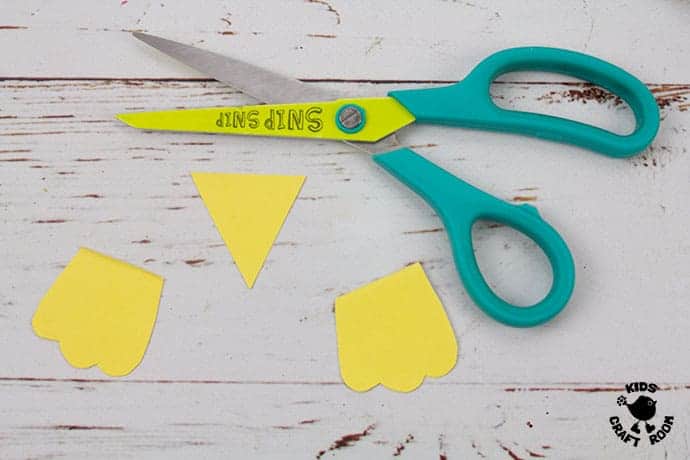
5 – Use your yellow paper scraps to cut a triangle beak and two feet.
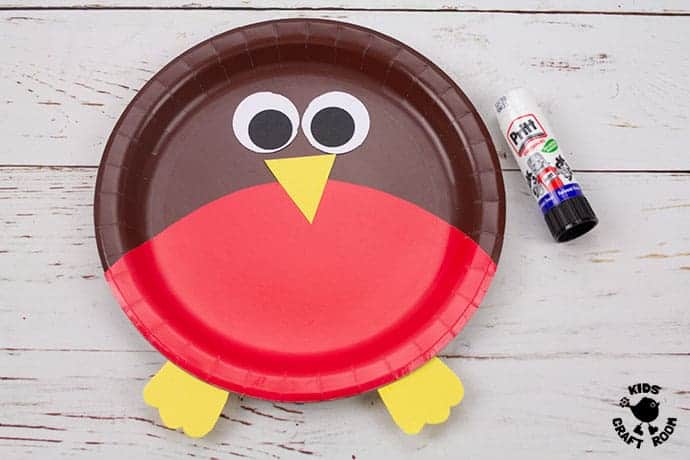
6 – Glue the eyes, beak and feet onto your robin.
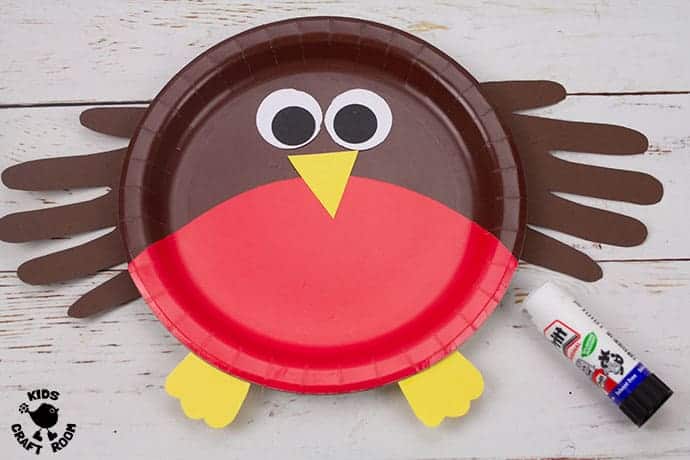
7 – Glue your handprint wings onto the back of the paper plate.
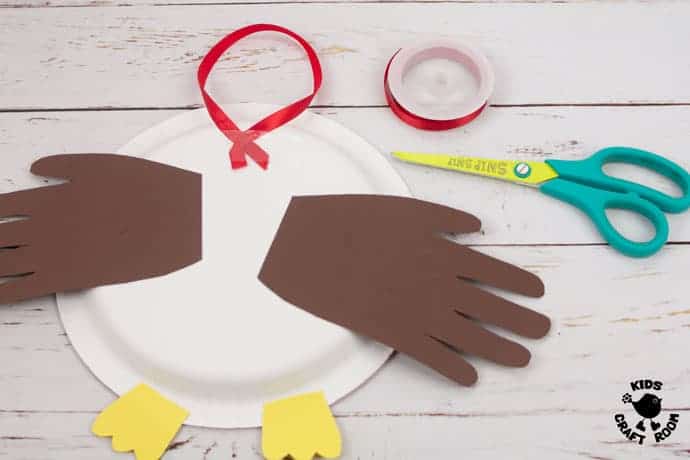
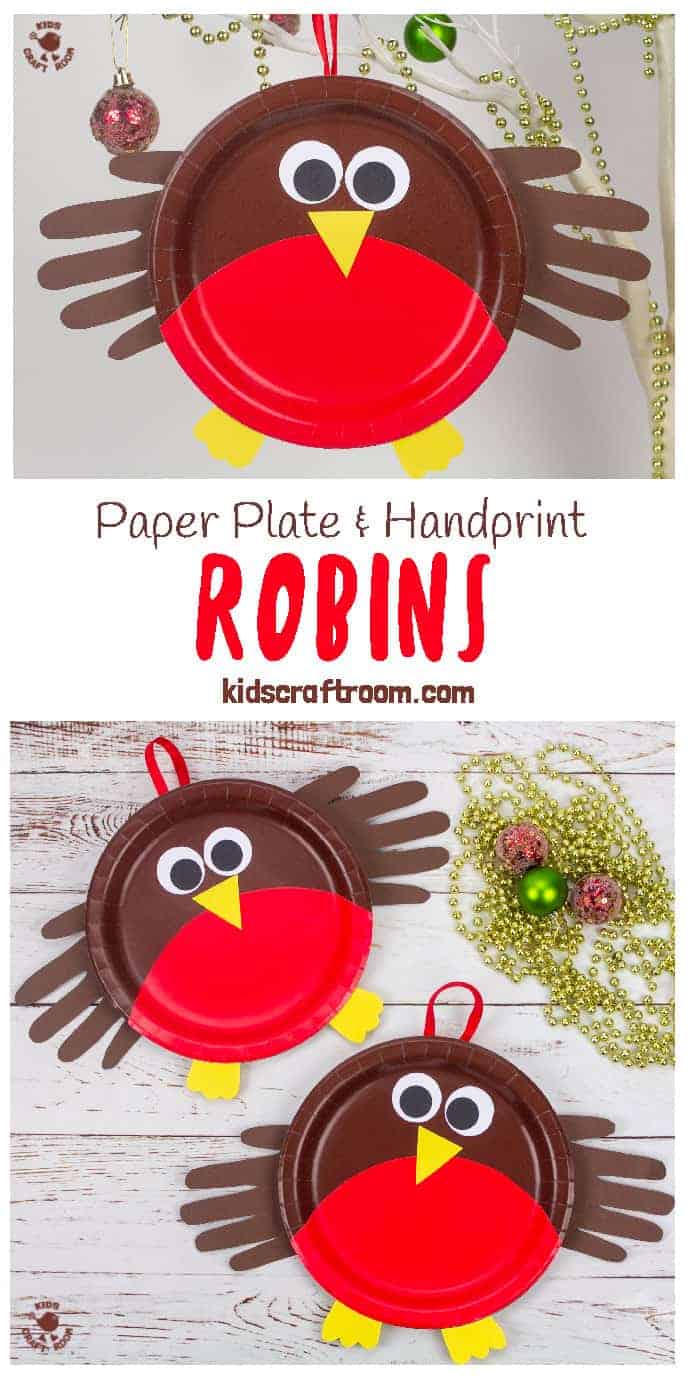
8 – Sticky tape a loop of red ribbon onto the back of the plate at the top.
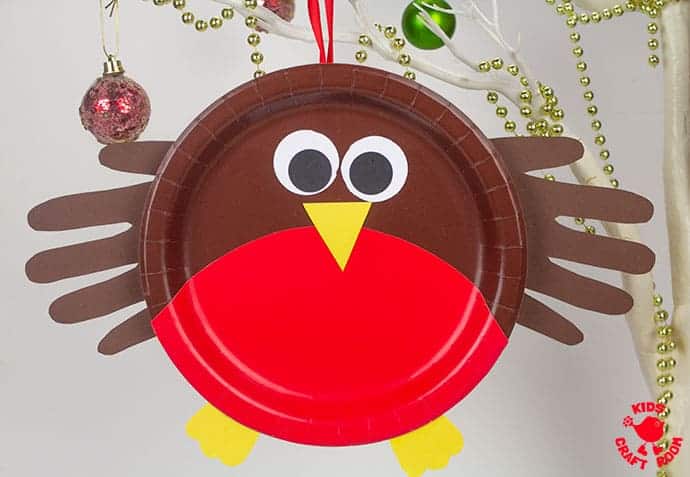
Now your paper plate robin craft is finished and ready to be hung on display. Where will you put yours? Ours are definitely going on our Christmas tree!

You can print the robin craft instructions below.
More Fun Christmas Crafts To Try:

Paper Plate Robin Craft
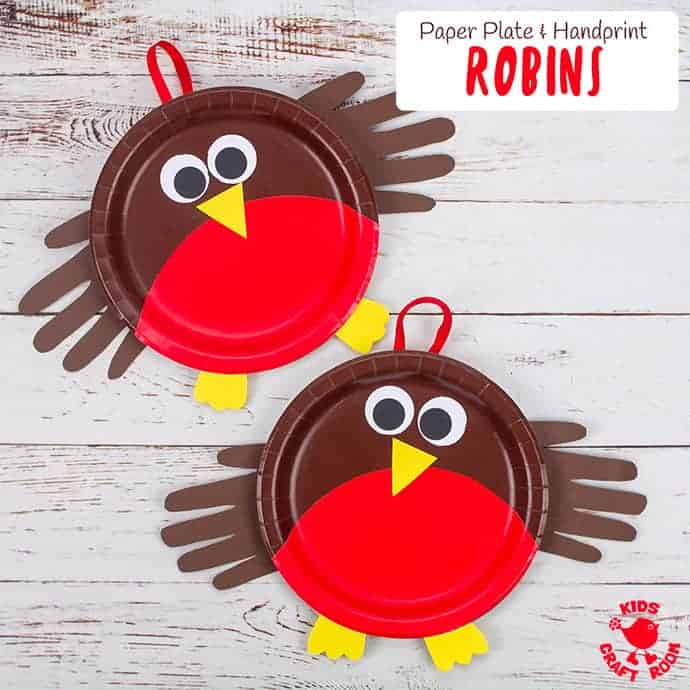
Make a cute paper plate and handprint robin craft! Great for toddlers and preschoolers.
Materials
- Brown Paper Plates
- Red Paper Plates
- Brown Cardstock
- Yellow, White and Black Paper Scraps
- Red Ribbon
- Large and Small Circle Paper Punch
- Sticky Tape
- Glue
- Scissors
- Pencil
Instructions
- To make the robin’s red breast cut a curve across the red paper plate. Use the photo as a guide.

- Glue the curved piece onto the brown paper plate to make the robin’s body.
- To make the robin’s wings draw around your hands onto brown cardstock and cut them out.
- For the robin’s eyes cut two white round shapes and two smaller black round shapes. Glue the black circles onto the white circles.
- Use your yellow paper scraps to cut a triangle beak and two feet.
- Glue the eyes, beak and feet onto your robin.
- Glue your handprint wings onto the back of the paper plate.
- Sticky tape a loop of red ribbon onto the back of the plate at the top.