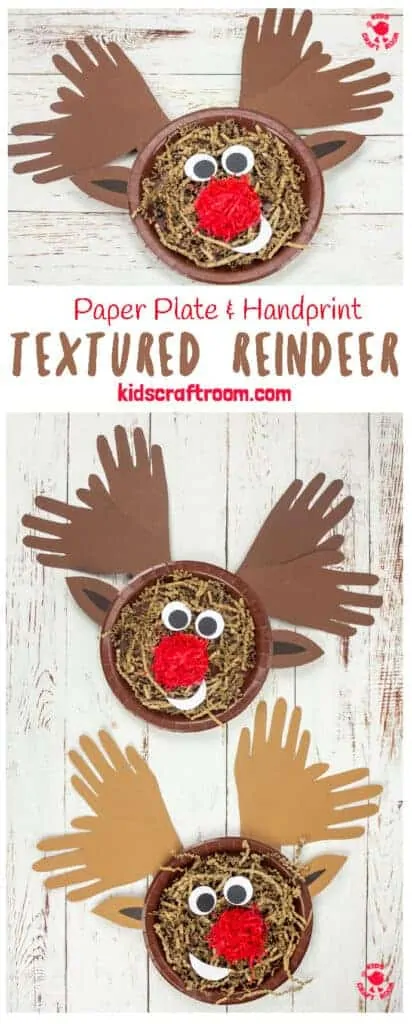
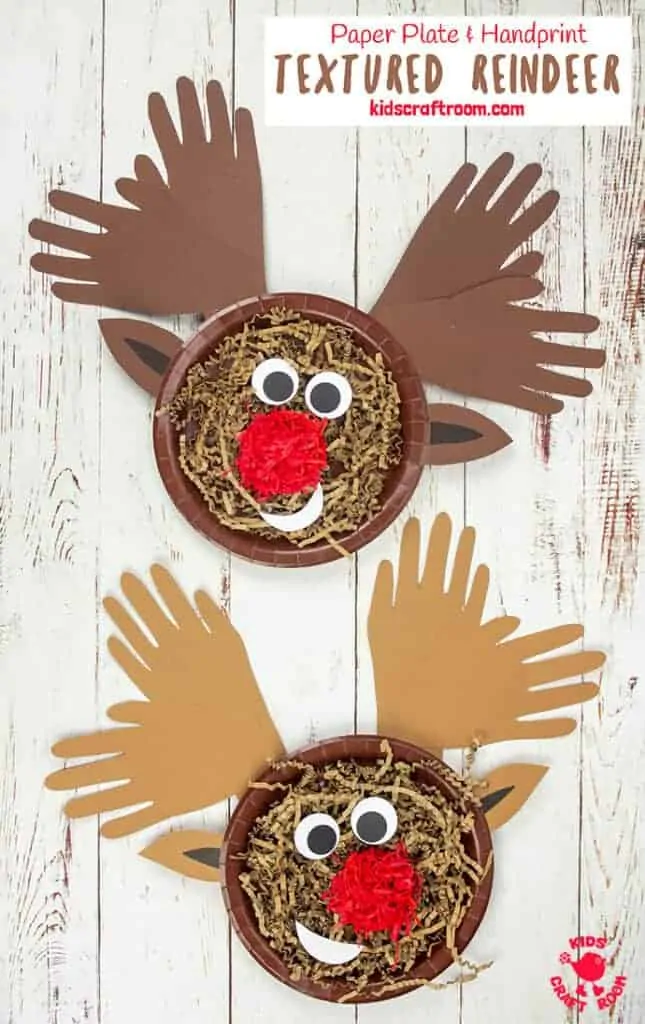
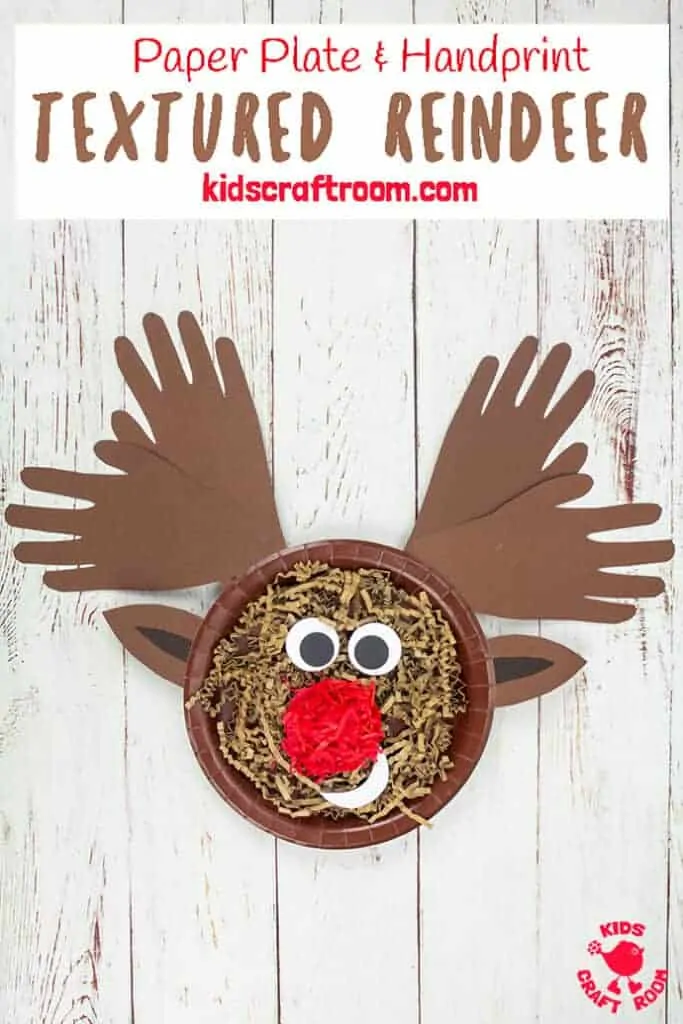
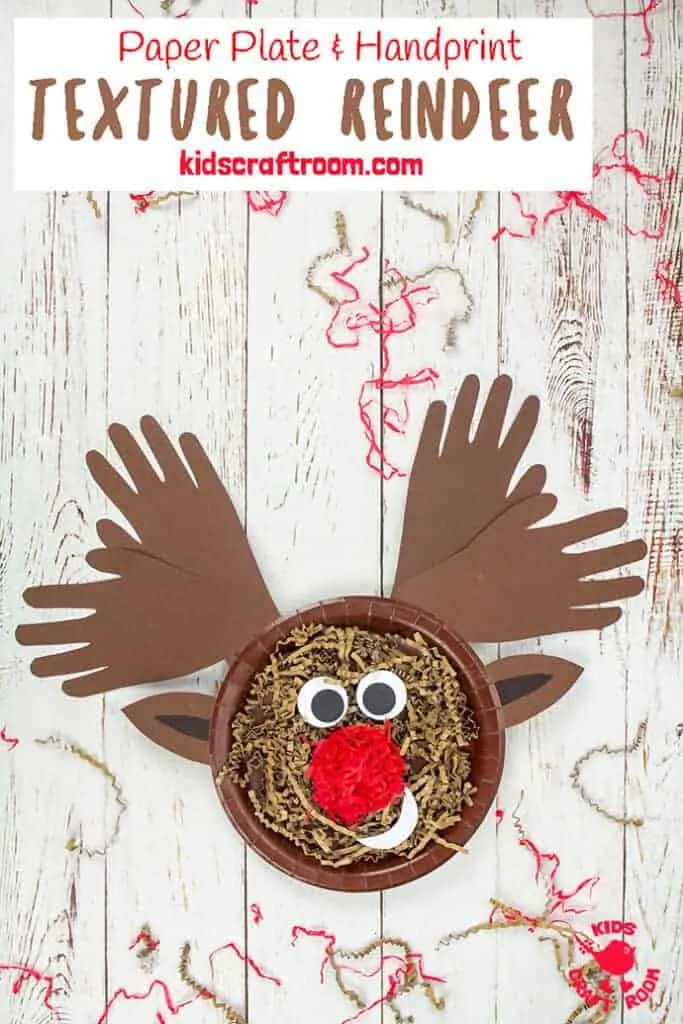
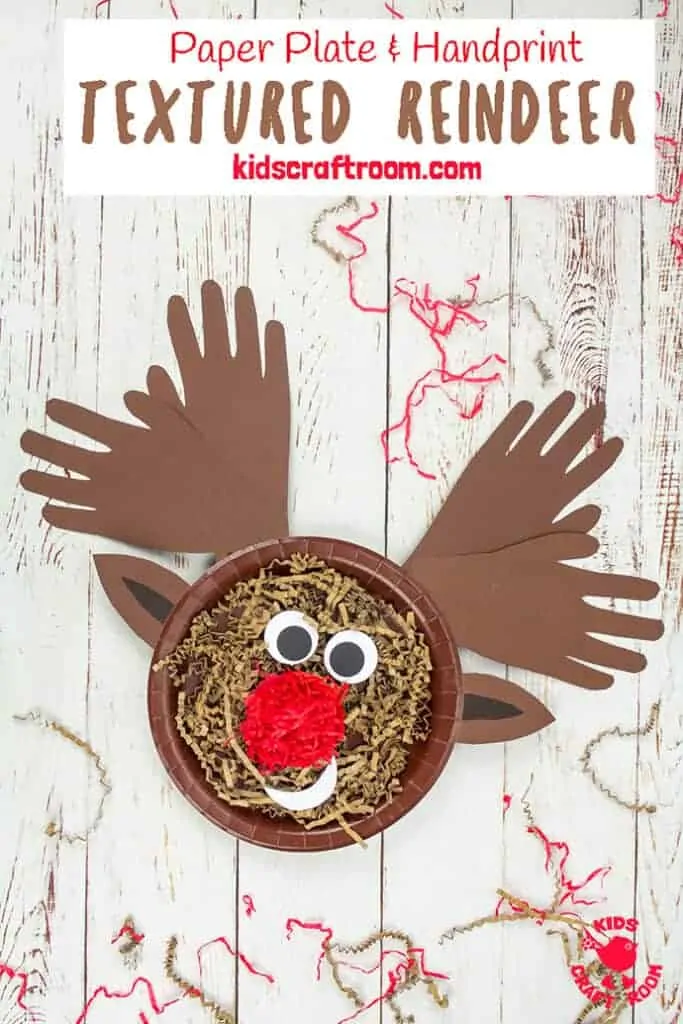
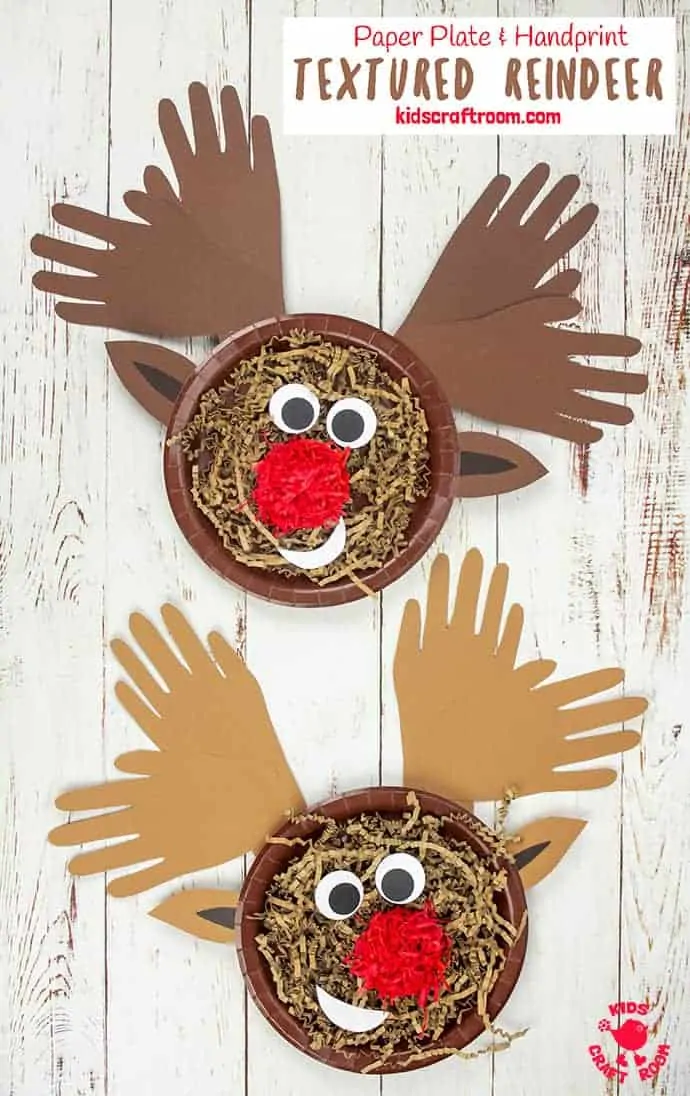
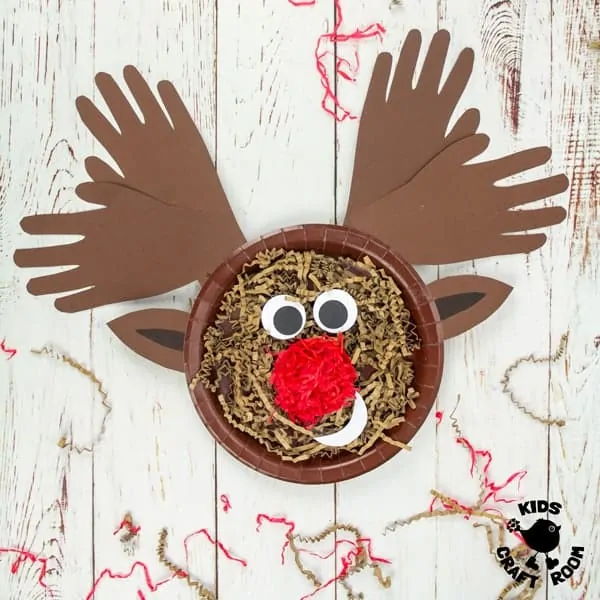
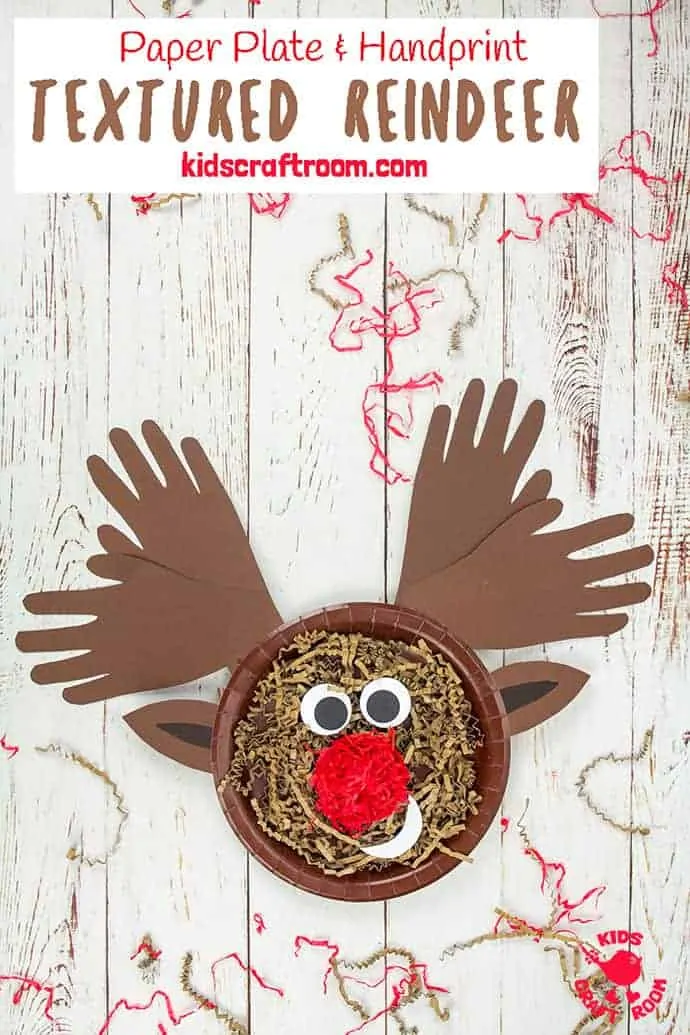
We love handprint crafts, they are always so cute and make such great keepsakes. This TEXTURED HANDPRINT AND PAPER PLATE REINDEER CRAFT is no exception and really is an adorable Christmas craft for the kids that you’ll want to keep for years to come.
This easy Rudolf craft is made on a paper plate base, has handprint antlers and a wonderful shredded paper texture which makes it a bit 3D. It’s a really simple handprint reindeer craft so it’s great for your toddlers and preschoolers and bigger kids will find it fun too.
Don’t worry if you haven’t got any shredded paper you could easily make this reindeer craft without it or swap it for tissue paper or fabric.
We absolutely adore Christmas crafts here on Kids Craft Room and have lots of other reindeer craft ideas you’ll enjoy too. Take a peek at our Flying Reindeer, Reindeer Puppet Cards, Printable Reindeer Headbands and these Popsicle Stick Reindeer from Artsy Craftsy Mom.
Textured Handprint and Paper Plate Reindeer Craft Tutorial
Supplies To Make Paper Plate Reindeer:
- Brown Paper Plates
- 2 Sheets Brown Cardstock
- Red Cardstock
- Black and White Paper Scraps
- Brown Shredded Paper
- Red Shredded Paper
- Large and Small Round Paper Cutter
- Black Sharpie Pen
- Glue
- Scissors
How To Make Paper Plate and Handprint Reindeer
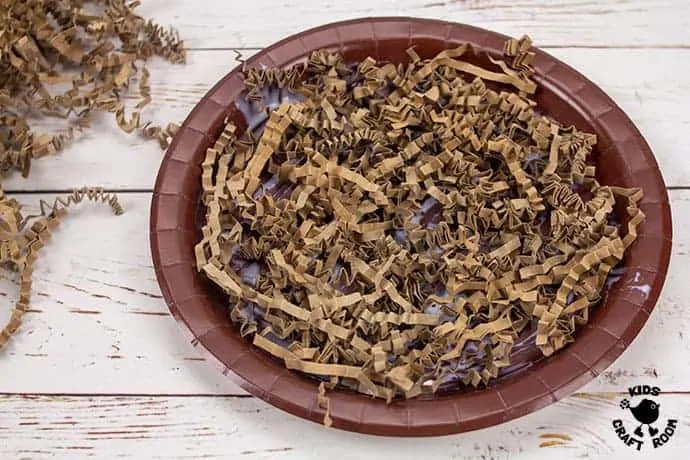
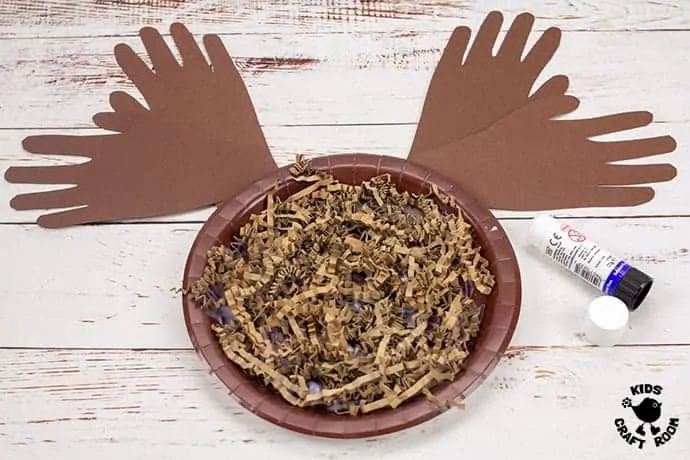
1 – Cover the base of your brown paper plate with glue and stick on the shredded brown paper.
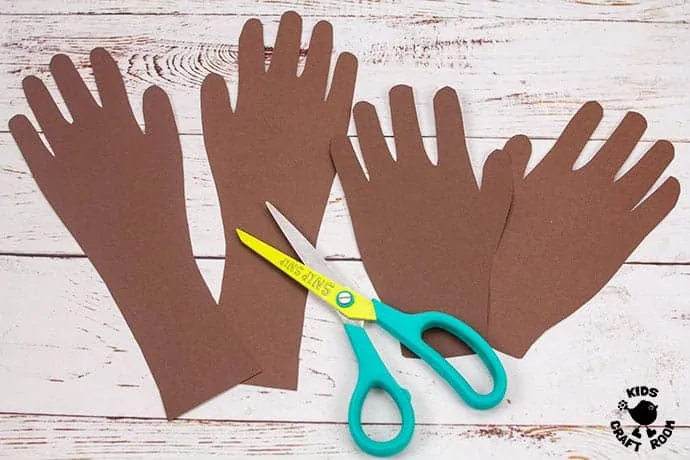
2 – Fold one sheet of brown cardstock in half lengthways and trace around your hand and arm. Fold the second piece of . brown cardstock in half widthways and trace around your hand. Cut the hands out.
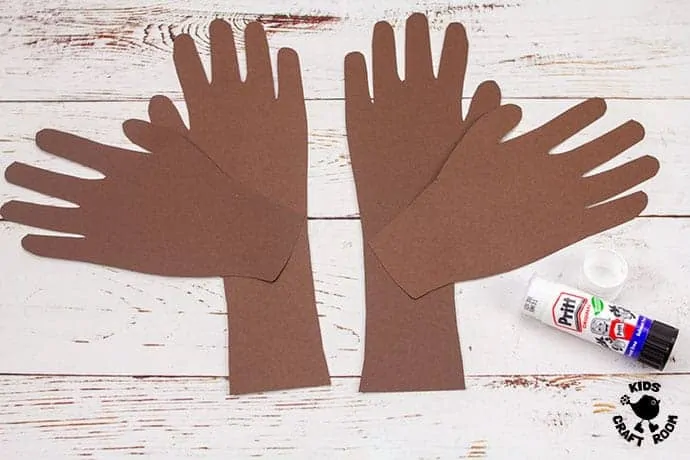
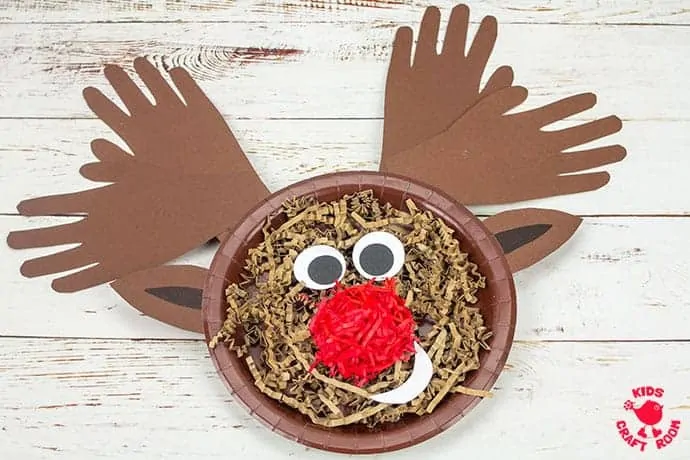
3 – Glue the short handprints onto the long handprints and arms at an angle to make antlers. Use the photo as a guide.
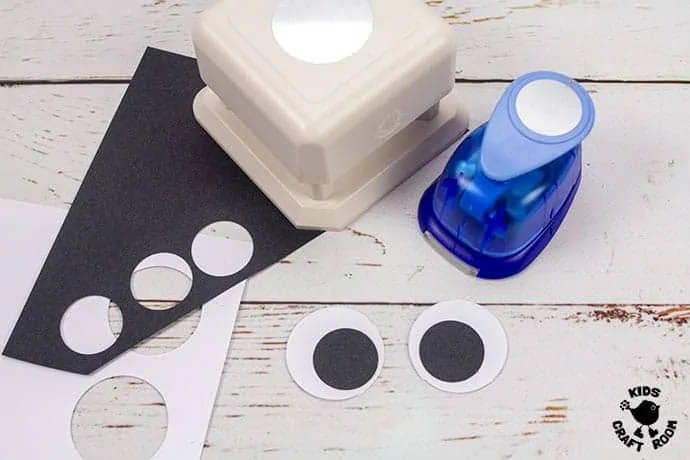
4 – Cut out two large white circles and two smaller black circles and glue them together to make eyes.
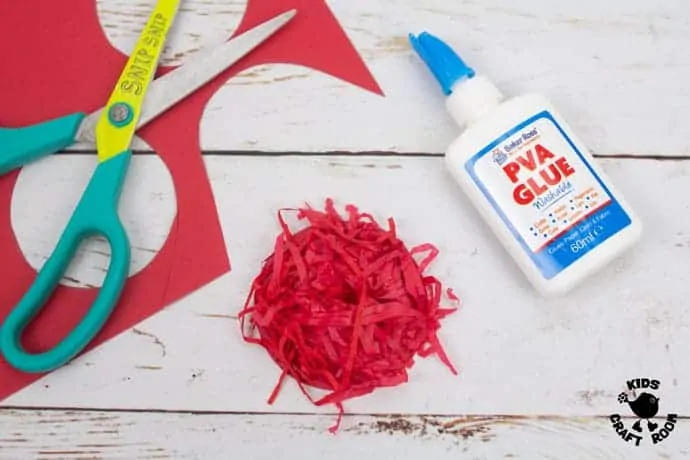
5 – Cut out a 10cm circle of red card to make Rudolf’s nose. Apply glue on one side and stick on the red shredded paper.
6 – Using the left over brown card from the handprints, cut two triangular ears and colour their middles with black marker pen.
6 – Glue the handprint antlers onto the back of the paper plate at the top.
7 – Glue on the ears, eyes and nose and add a paper smile if you choose.
Now your textured handprint and Paper Plate Reindeer craft is finished and ready to be enjoyed. We’re going to add a loop of ribbon onto the back of ours to hang them on the door. Roll on Christmas. 🙂
You can print the reindeer craft instructions below.
More Fun Christmas Crafts To Try:
Textured Handprint and Paper Plate Reindeer Craft
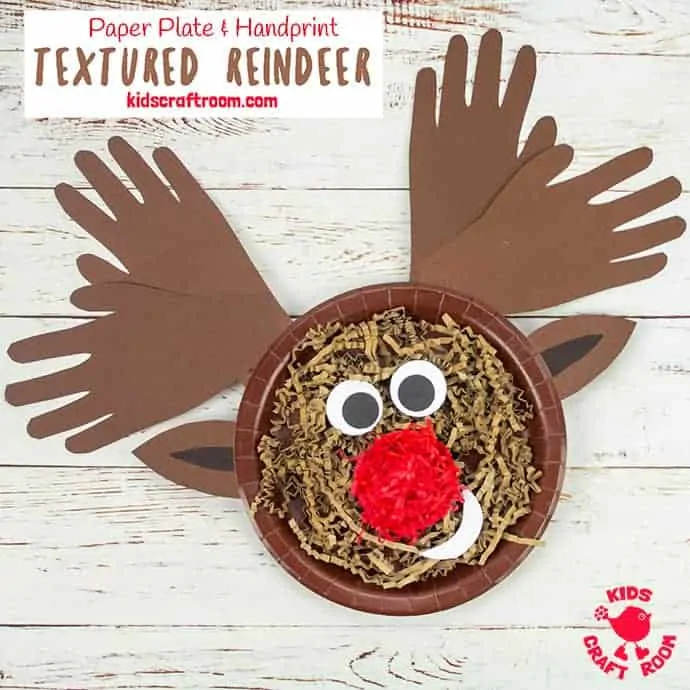
Make a cute textured handprint reindeer craft from a paper plate. Adorable and lovely as a Christmas keepsake.
Materials
- Brown Paper Plates
- 2 Sheets Brown Cardstock
- Red Cardstock
- Black and White Paper Scraps
- Brown Shredded Paper
- Red Shredded Paper
- Large and Small Round Paper Cutter
- Black Sharpie Pen
- Glue
- Scissors
Instructions
- Cover the base of your brown paper plate with glue and stick on the shredded brown paper.
- Fold one sheet of brown cardstock in half lengthways and trace around your hand and arm. Fold the second piece of . brown cardstock in half widthways and trace around your hand. Cut the hands out.
- Glue the short handprints onto the long handprints and arms at an angle to make antlers. Use the photo as a guide.
- Cut out two large white circles and two smaller black circles and glue them together to make eyes.
- Cut out a 10cm circle of red card to make Rudolf’s nose. Apply glue on one side and stick on the red shredded paper.
- Using the left over brown card from the handprints, cut two triangular ears and colour their middles with black marker pen.
- Glue on the ears, eyes and nose and add a paper smile if you choose.
