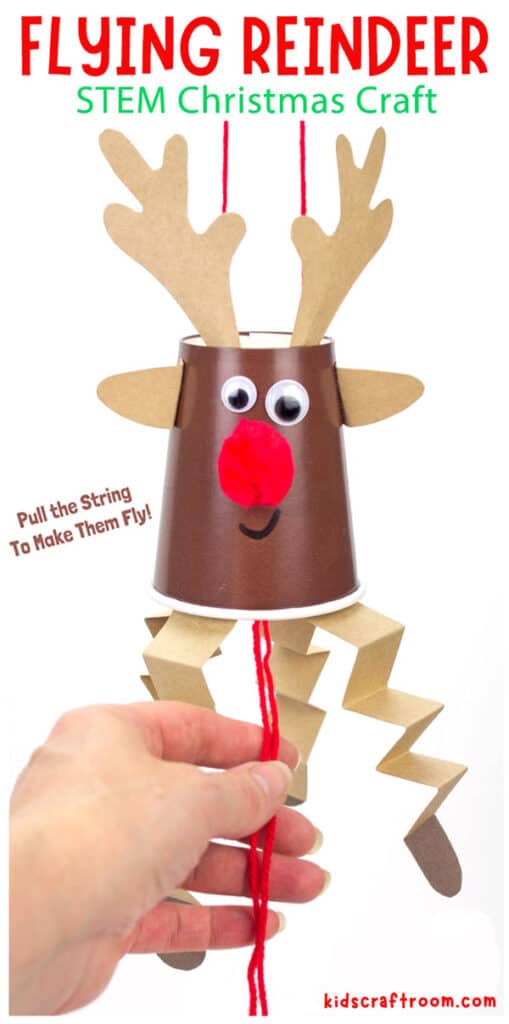

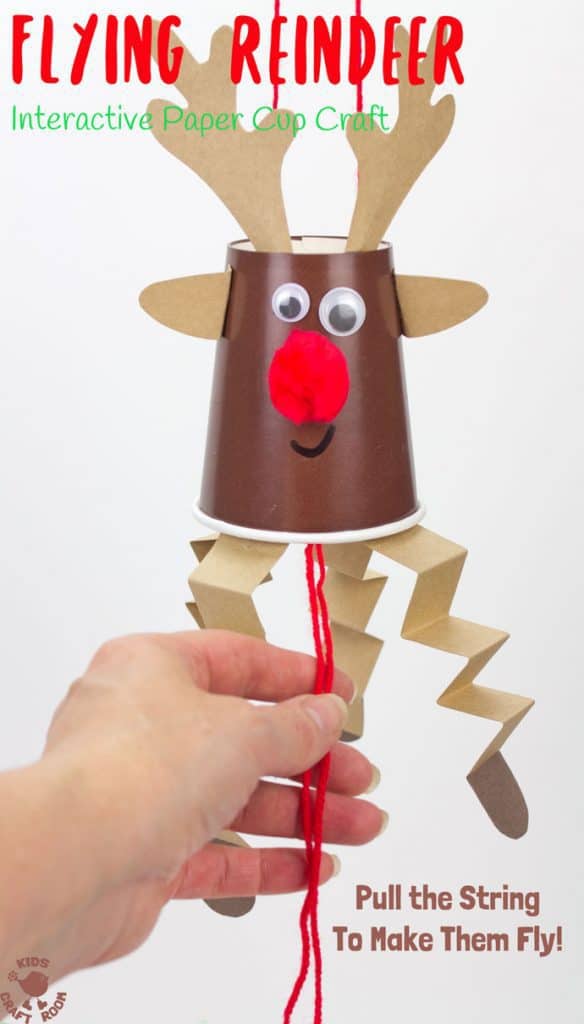
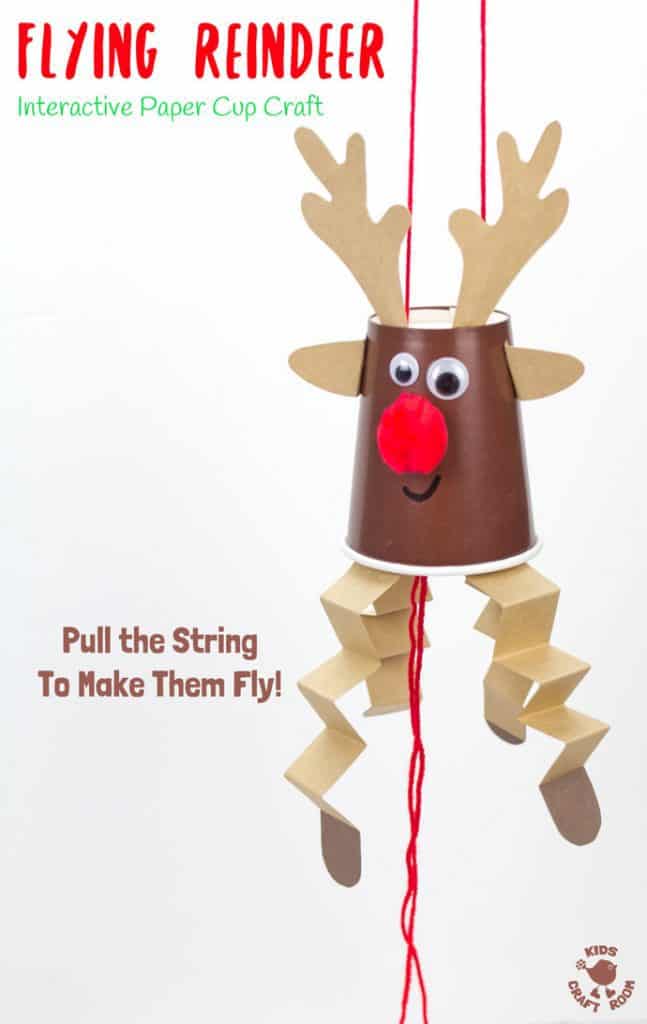
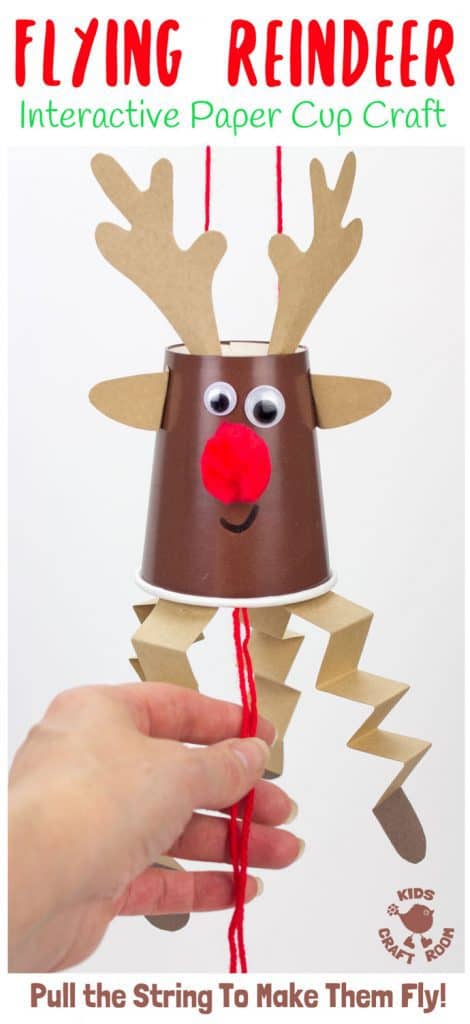
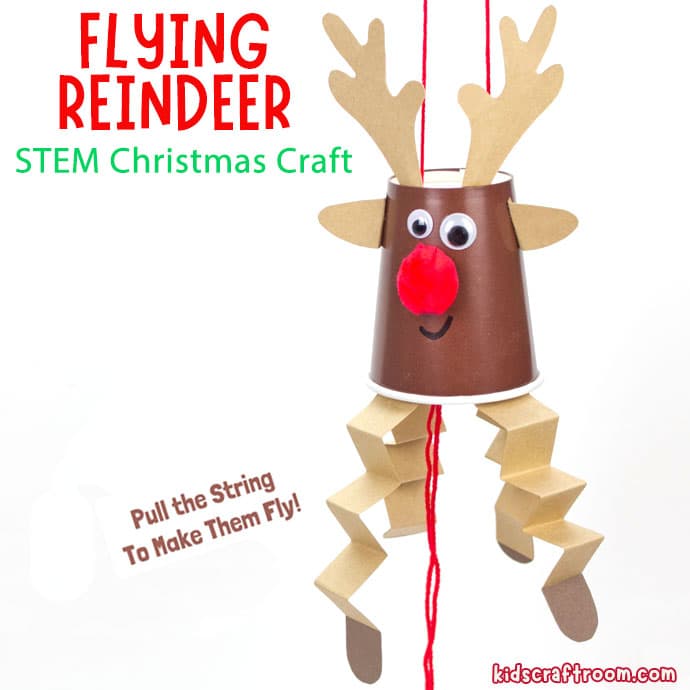
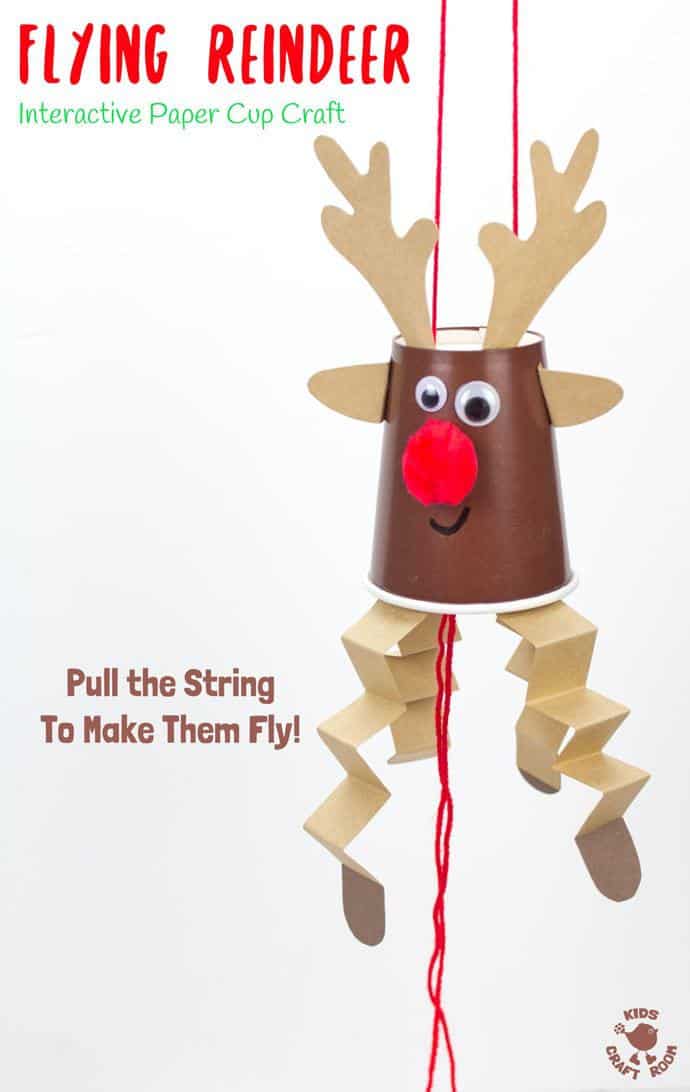
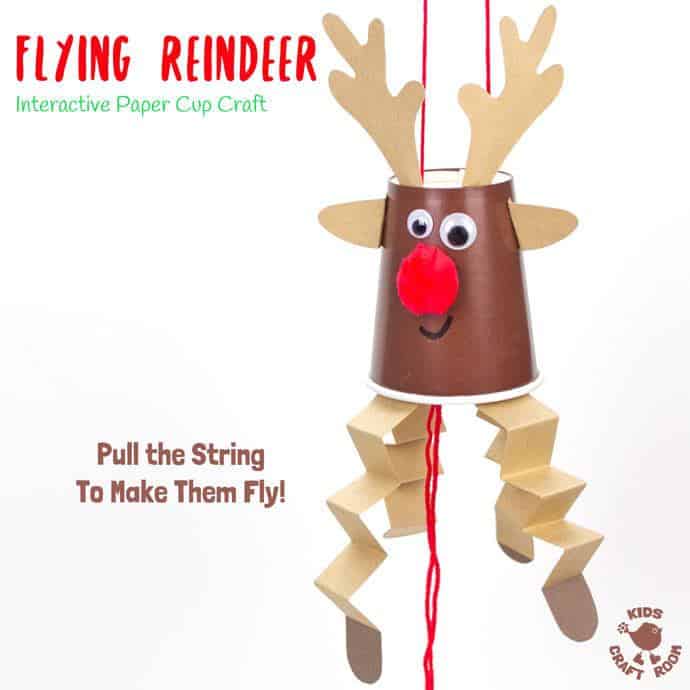
If you are looking for reindeer crafts for toddlers or preschooler then this STEM Flying Paper Cup Reindeer Craft is a must! DIY Rudolfs are super quick and easy to make from paper cups and the kids will have a blast playing with them too.
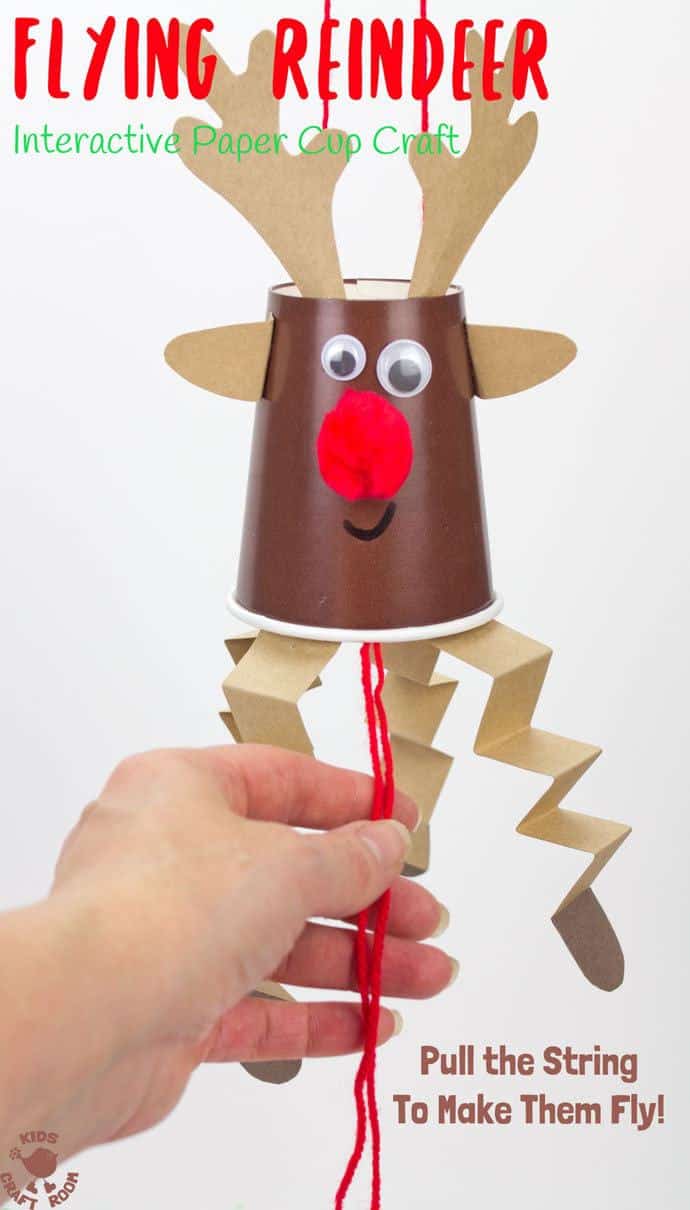
Pull the strings at the bottom and Rudolf shoots upwards. Release the string and he flies back down to earth! This is such a fun interactive reindeer craft for Christmas.
This is a also a great Christmas STEM craft too and a super fun way to bring learning into craft time. Kids will love this easy educational Christmas toy and experimenting and learning about gravity, forces, levers and friction.
When the kids have finished playing with their reindeer crafts you can just leave them hanging up because they make lovely Christmas decorations too.

STEM Reindeer Activity Ideas
This is a lovely educational Christmas craft that gives kids lots of opportunities to make predictions and experiment.
Kids can explore what happens when they use different thicknesses of yarn or place the holes in different positions.
They can try to see how high they can make their reindeer fly by using different lengths of yarn.
My boys enjoyed seeing who could get their reindeer to fly back to earth the quickest and quickly found that by adding a weight, (a coin taped to the inside) they could get it to land more quickly.
Once children understand how these simple climbing toys work, they can enjoy coming up with their own designs too.
We’ve already made Jumping Elves, Flying Witches, Climbing Spiders and Floating Ghosts!
Flying Paper Cup Reindeer Craft Tutorial
Supplies To Make Paper Cup Reindeer:
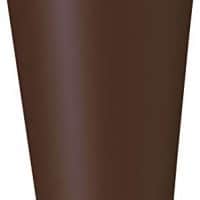
- Brown Paper Cups
- Light and Dark Brown Cardstock
- Red Yarn
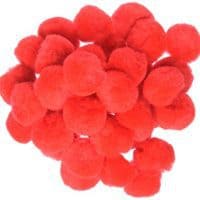
- Red Pom Poms
- Wiggle Eyes
- Black Marker
- Glue
- Scissors
How To Make Paper Cup Reindeer For Christmas

1 – Start your flying reindeer craft by making two small holes in the base of your brown paper cup.

2 – Next cut an arm span of red yarn and thread the two ends through the holes in the bottom of the paper cup to leave a loop. Pull the ends of the yarn through the paper cup and tie them together.
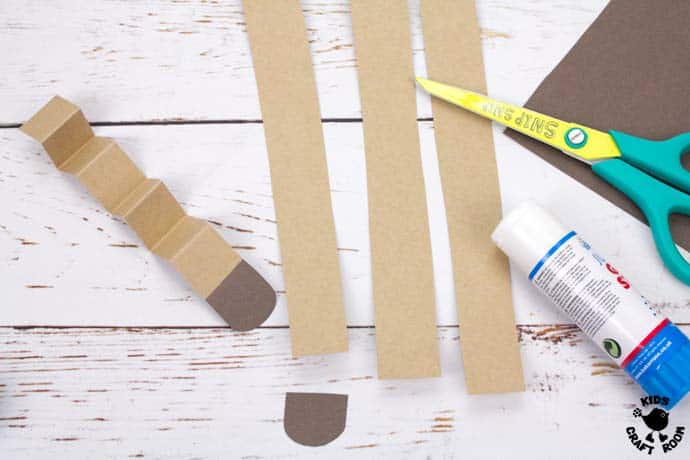
3 – Cut four thin strips of light brown cardstock to make the reindeer legs and concertina fold them. You can make them as long or short as you like.
4 – Cut four dark brown reindeer hooves and glue them onto the end of the legs.
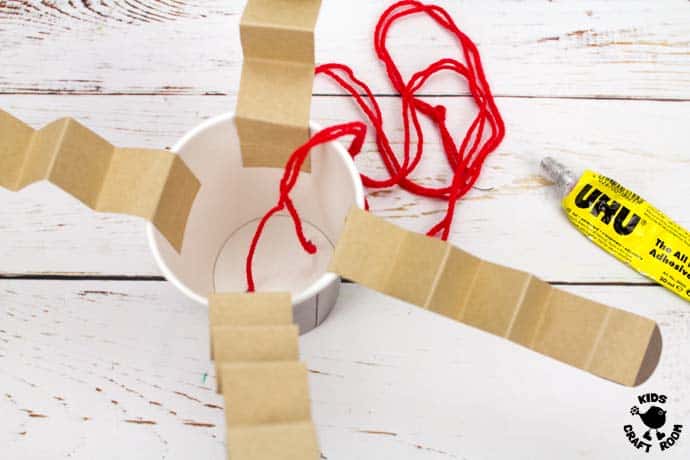
5 – Glue the reindeer’s legs into the inside of the paper cup.
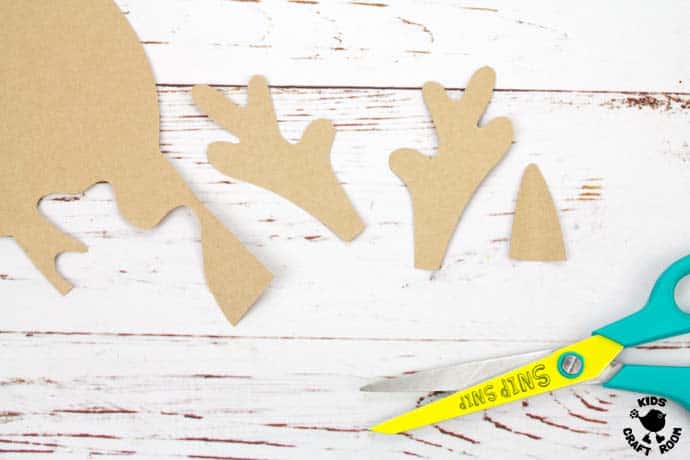
6 – Cut some reindeer antlers from light brown cardstock.
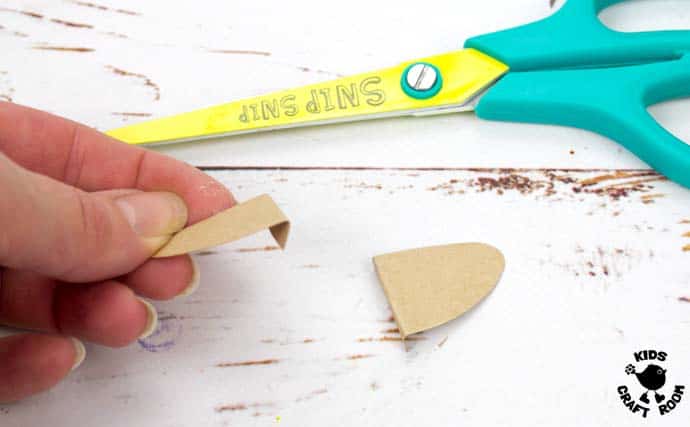
7 – Then make some small ears from light brown cardstock too and fold over the ends slightly.
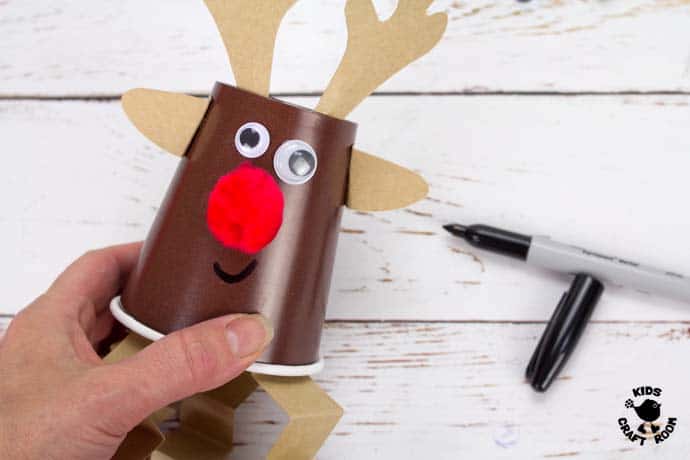
8 – Glue the antlers, ears, wiggle eyes and red pom pom nose onto the front of the paper cup reindeer craft.
9 – Finish off your flying reindeer by drawing on a friendly smile.
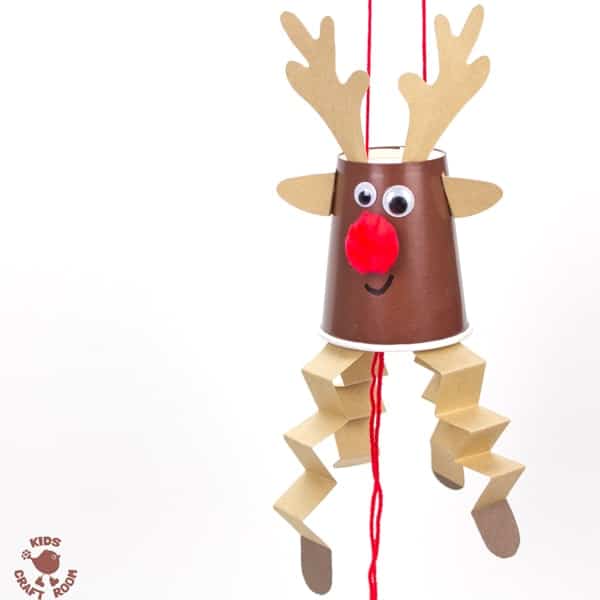
How To Make Rudolf Fly
Now your interactive flying reindeer is ready to be enjoyed!
To make Rudolf fly pull the two bottom strings out to the side. When you bring your hands back together he will fall back down.
You can make your reindeer fly up and down over and over!
You can print the reindeer craft instructions below.
(This post was first published Nov 2018 and has been updated August 23.)
More Fun Christmas Crafts To Try:

Flying Paper Cup Reindeer
Materials
- Brown Paper Cups
- Light and Dark Brown Cardstock
- Red Yarn
- Red Pom Poms
- Wiggle Eyes
- Black Marker
- Glue
- Scissors
Instructions
- Start your flying reindeer craft by making two small holes in the base of your brown paper cup.
- Next cut an arm span of red yarn and thread the two ends through the holes in the bottom of the paper cup to leave a loop. Pull the ends of the yarn through the paper cup and tie them together.
- Cut four thin strips of light brown cardstock to make the reindeer legs and concertina fold them. You can make them as long or short as you like.
- Cut four dark brown reindeer hooves and glue them onto the end of the legs.
- Glue the reindeer’s legs into the inside of the paper cup.
- Cut some reindeer antlers from light brown cardstock.
- Then make some small ears from light brown cardstock too and fold over the ends slightly.
- Glue the antlers, ears, wiggle eyes and red pom pom nose onto the front of the paper cup reindeer craft.
- Finish off your flying reindeer by drawing on a friendly smile.
Recommended Products
As an Amazon Associate and member of other affiliate programs, I earn from qualifying purchases.