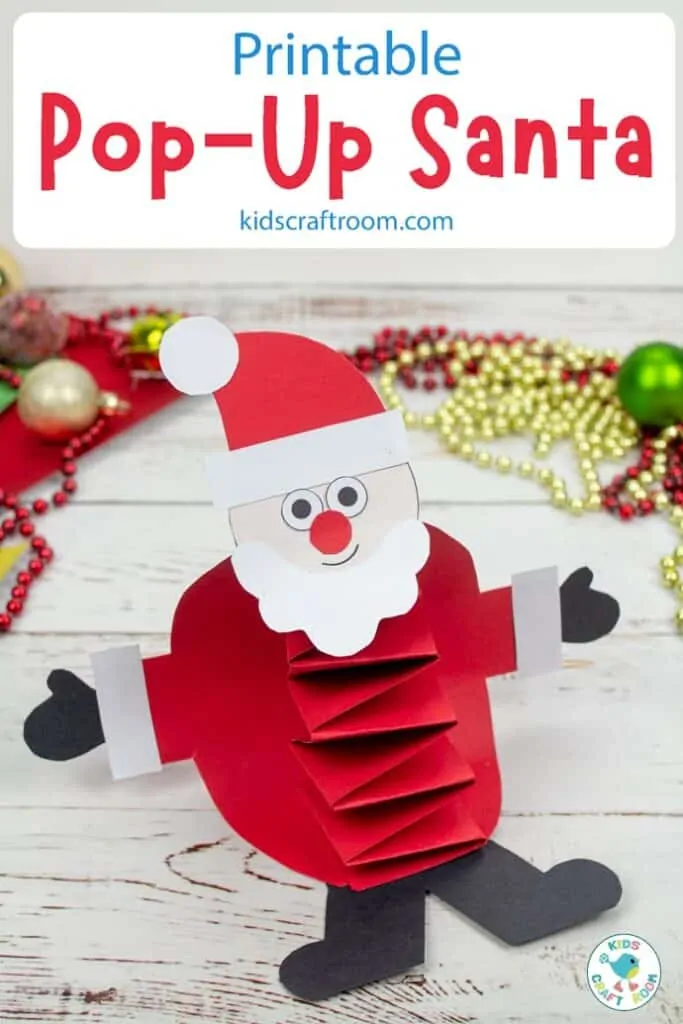
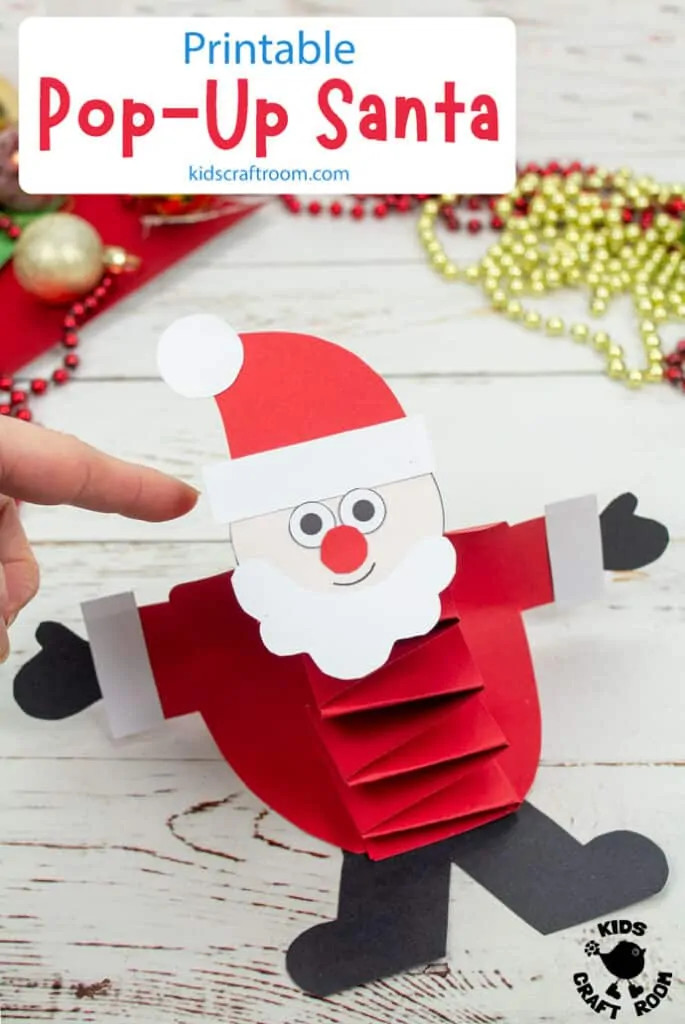
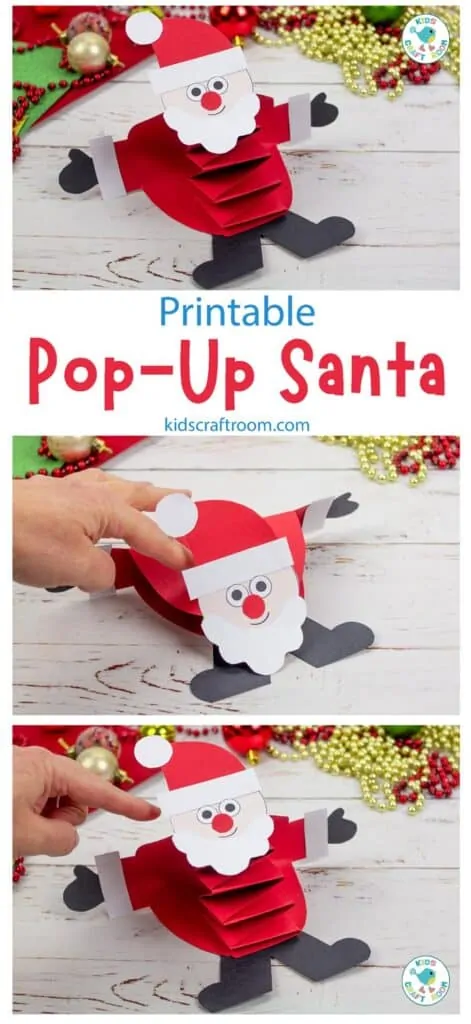
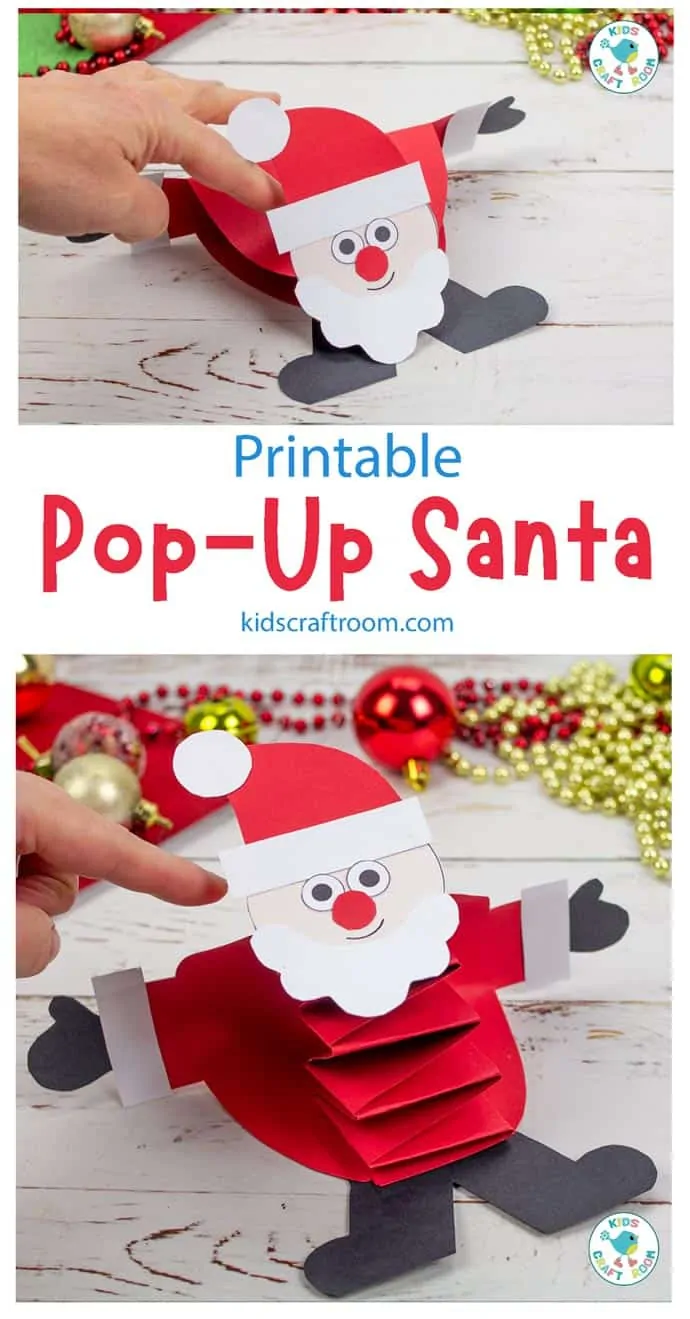
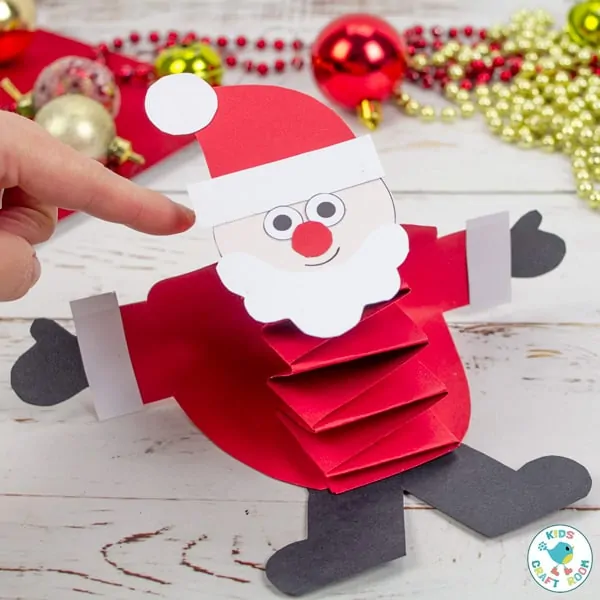
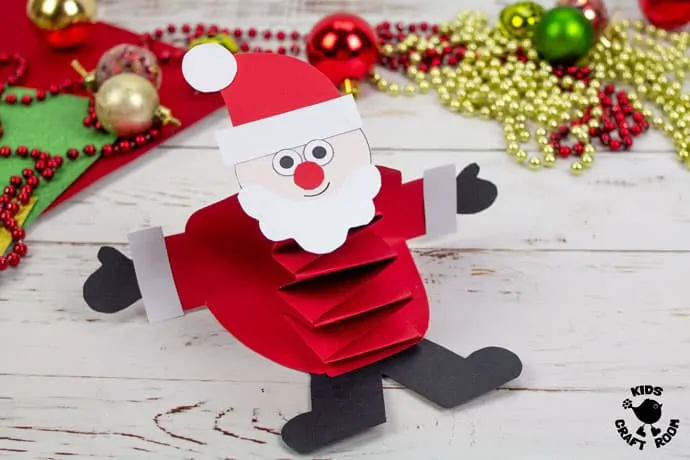
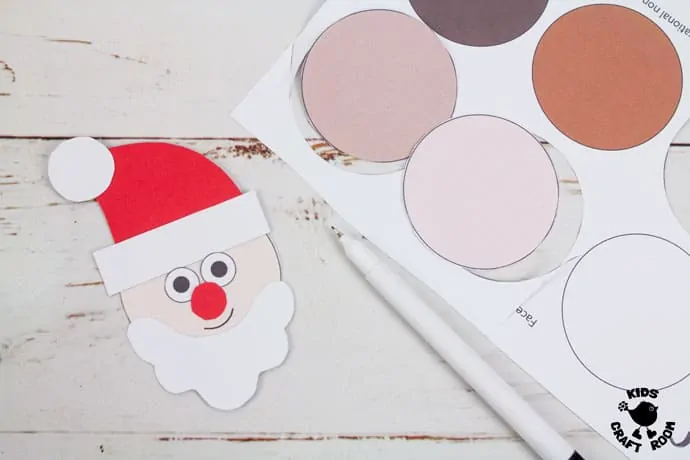
This Pop Up Santa Craft is so much fun! What’s more, it’s super easy to make with the printable template. This is a great Christmas craft the kids can actually play with too! and they will love him!
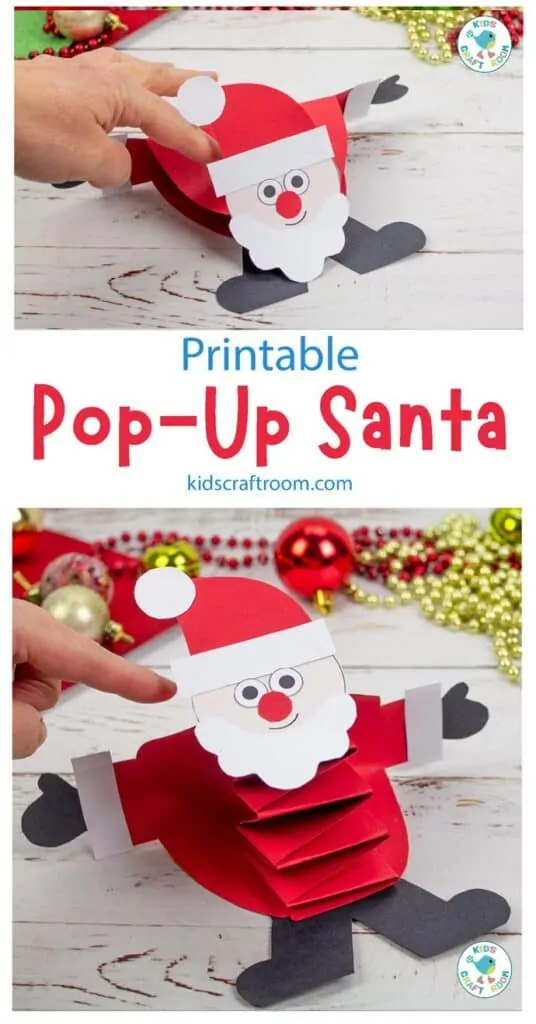
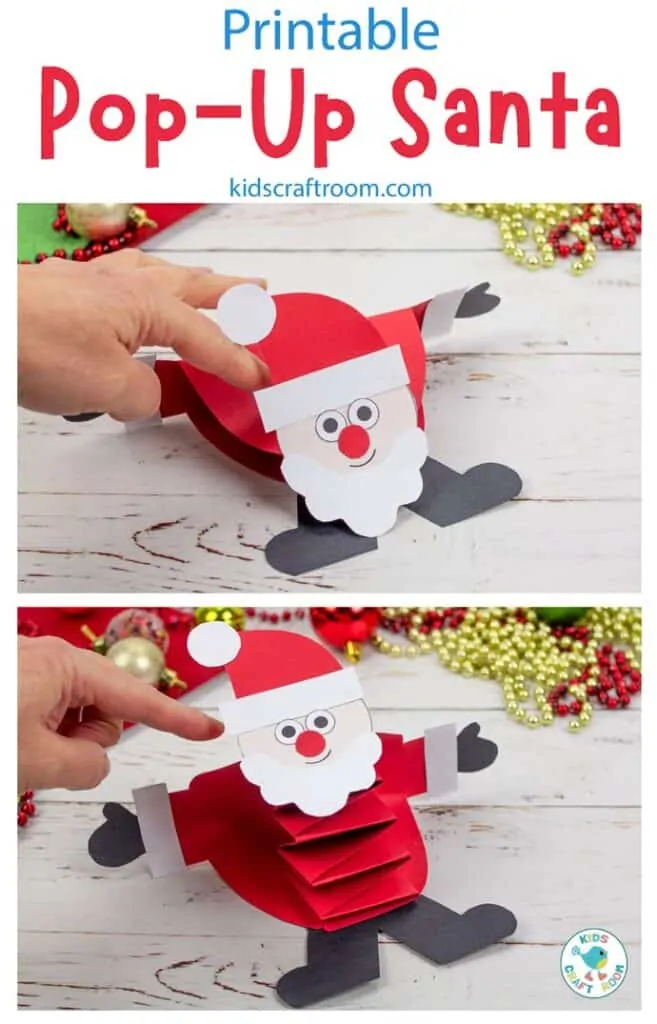
This characterful paper Santa sits on the table with his arms out wide. Kids will have great fun pushing him down with their fingers and watching him pop right back up! Boing, boing!
It really is a fabulously fun, interactive Christmas craft for kids! Who could resist a bouncy jolly Santa!
Do watch our video below to see him in action.
Scroll down to see how to make a pop up Santa of your own and to get your Santa craft template.
It’s such a great craft to bring some bouncy, springy Santa fun into your Christmas celebrations!
These bouncy pop up Santas are so easy to make with the printable template.
The printable Santa craft template comes in both colour and black/white.
The coloured version can be cut out and used as it is, and the black and white version can either be traced around onto coloured cardstock or kids can enjoy colouring it in on both sides.
This Santa craft printable also comes with 5 different multicultural skin coloured heads that you can choose from and a sixth colour your own option too.
Pop Up Santa Craft Tutorial
Santa Claus Craft Supplies:
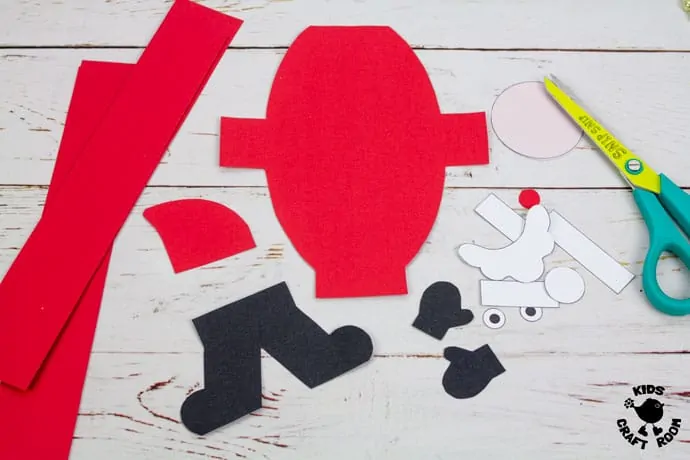
- Printable Pop Up Santa Craft Template
- Cardstock (white, black, red)
- Glue
- Marker Pen
- Scissors
- Optional: Colouring pens, pencils or paints
How To Make A Springy Pop Up Santa
1 – Trace and cut out the Santa craft template onto coloured cardstock.
2 – If you use the pre-coloured templates cut them out and glue the body and spring pieces back to back. If you’re colouring in the B/W template make sure to colour both sides of the body and spring pieces.
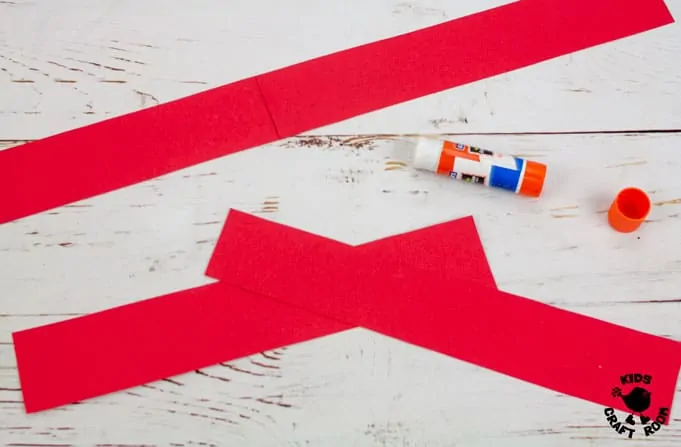
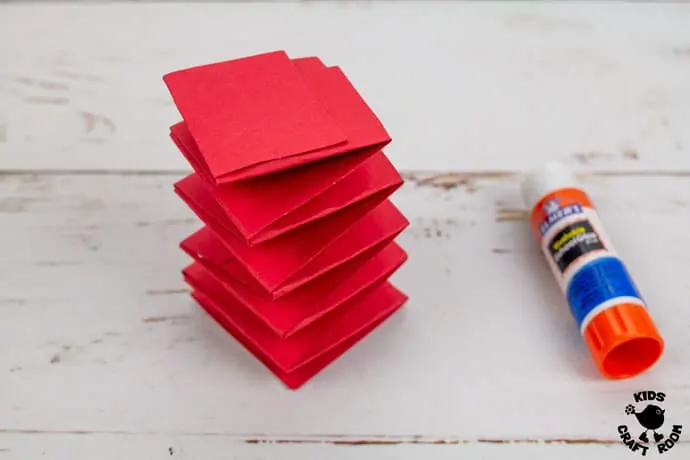
3 – Glue 2 spring pieces together to make a long strip. Repeat with the other two spring pieces.
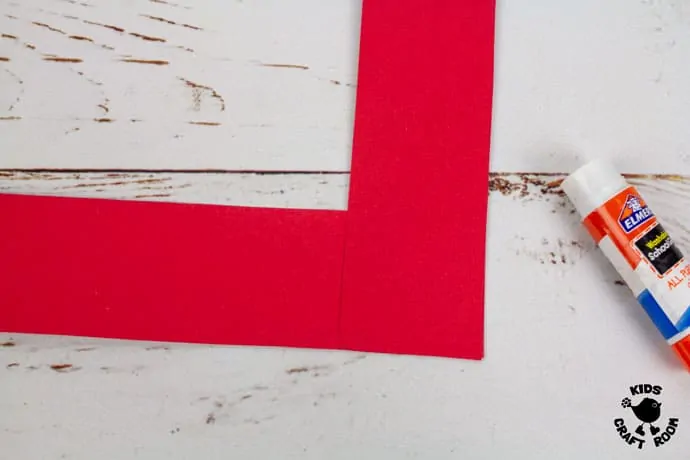
4 – Glue the ends of the two long spring pieces together at right angles.
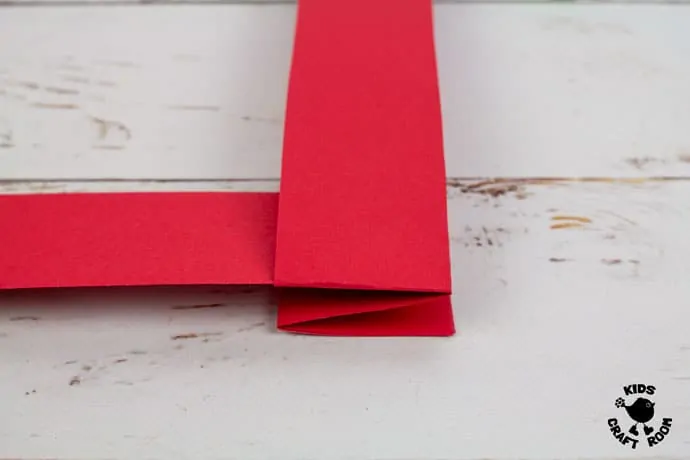
5 – To start to make your spring fold the horizontal strip over the vertical strip. Then fold the vertical strip over the horizontal strip.
6 – Keep repeating step 4’s folding pattern until you reach the end of the strips. Glue the two ends down to secure your spring together.
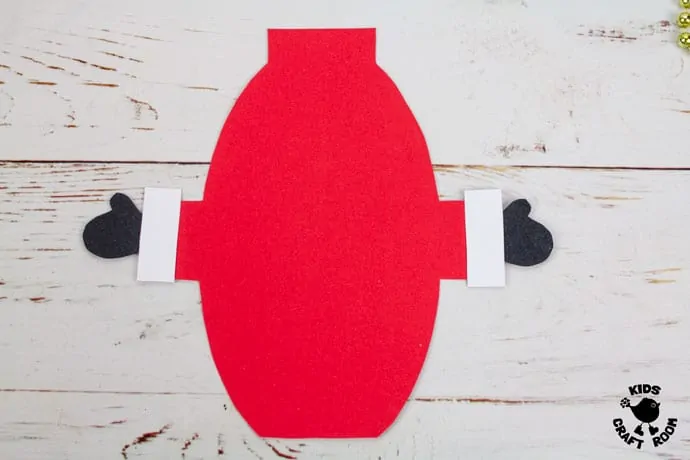
7 – Place the body tab side up and glue the mittens and their trimmings on to the end of the arms.
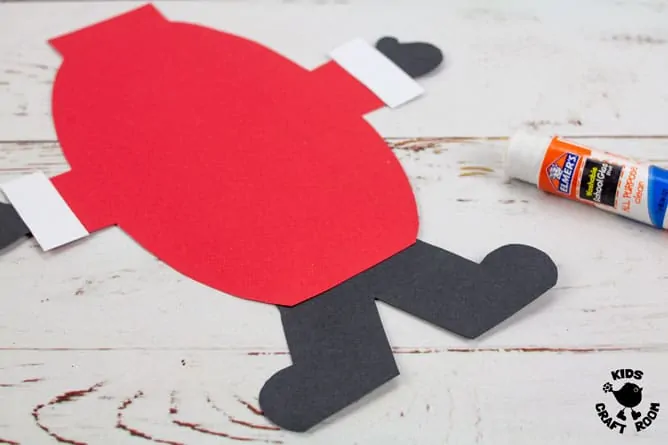
8 – Glue the legs onto the back of the body so that they poke out of the bottom.
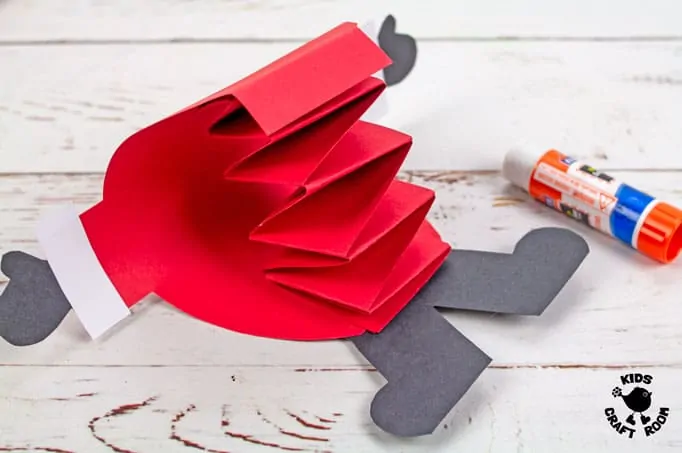
9 – Glue one end of the spring onto the body just behind the legs. Then curl the body up and glue it to the top of the spring. Fold the tab over the edge so that it points downwards.
10 – Choose your face colour and glue on the hat, trimming and pompom. Then glue on the eyes, nose and beard. Draw on a smile.
11 – Glue the head onto the tab at the top of the body. Now you can push Santa down behind his head and watch him pop back up.
Click here to get your Pop Up Santa Craft Kit
You might also like:
More Fun Christmas Crafts To Enjoy:
