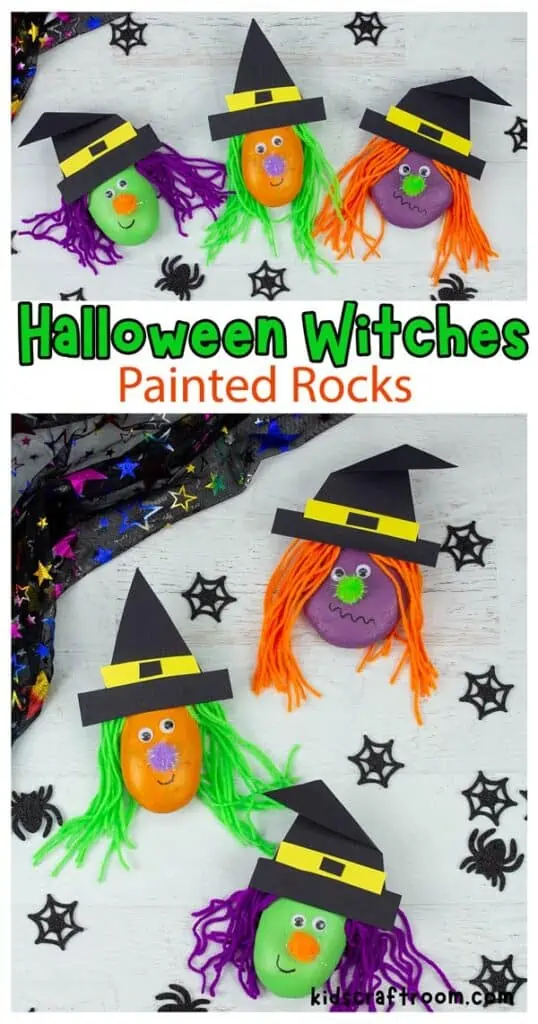
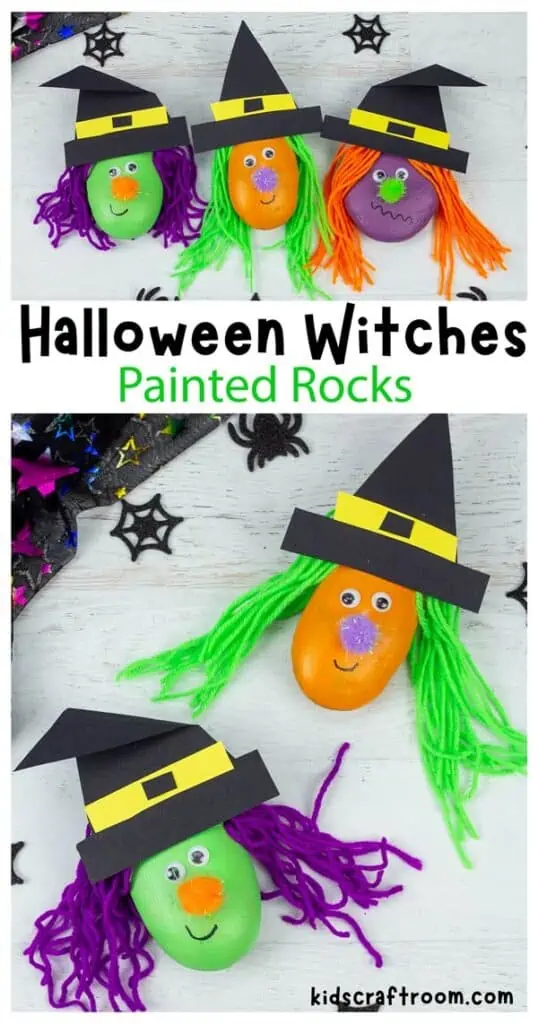
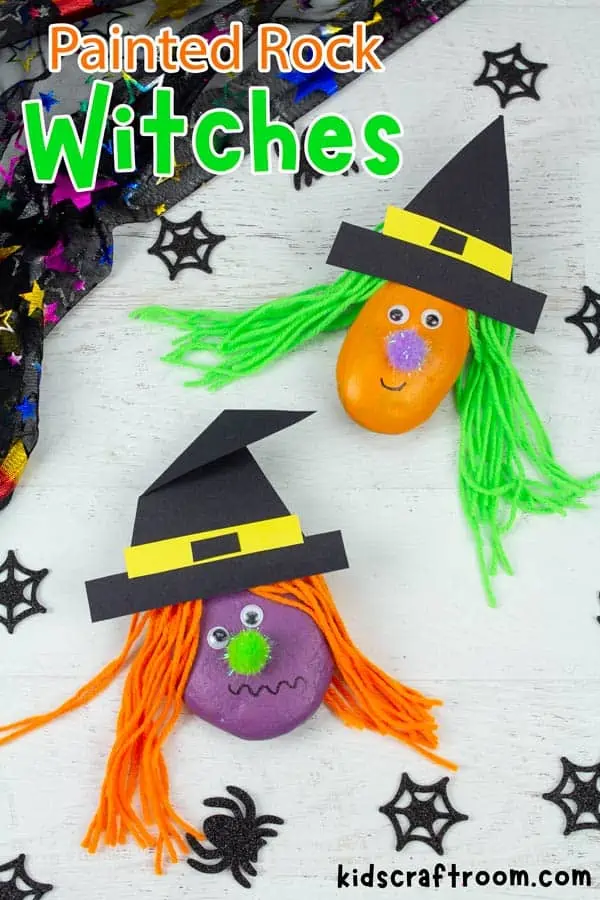
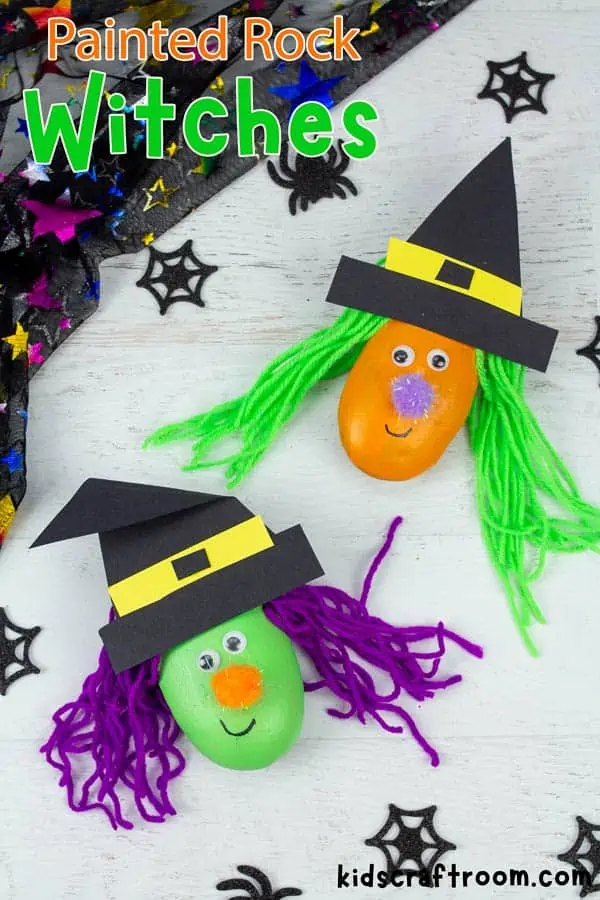
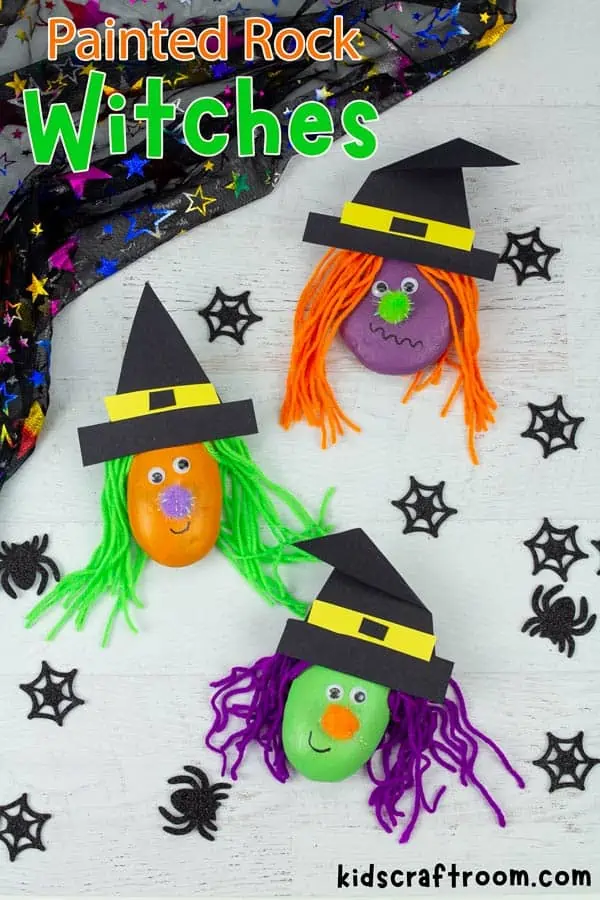
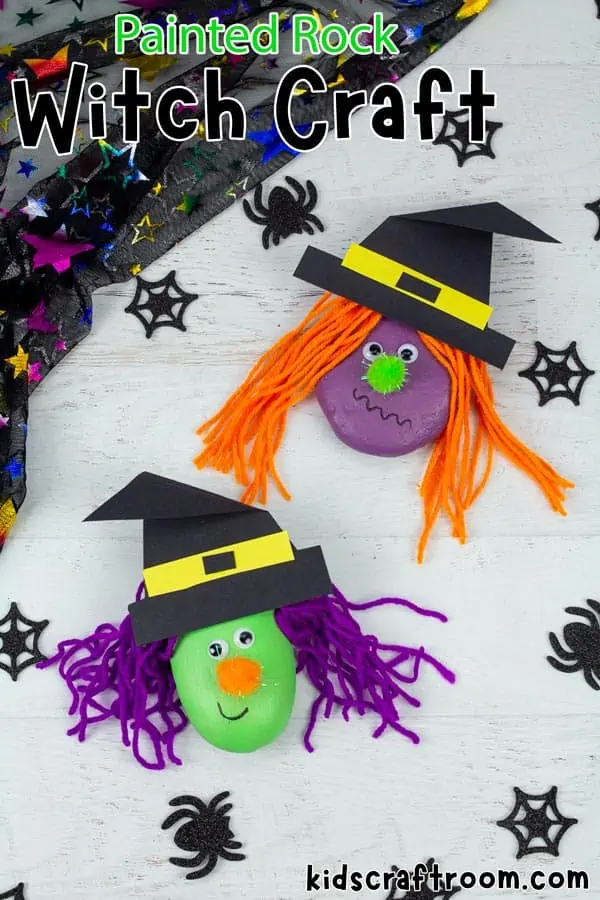
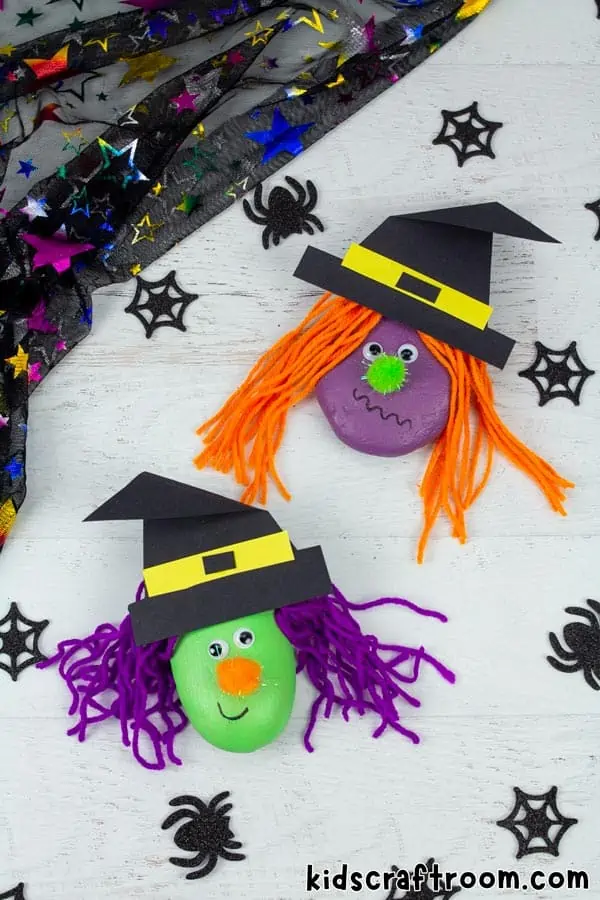
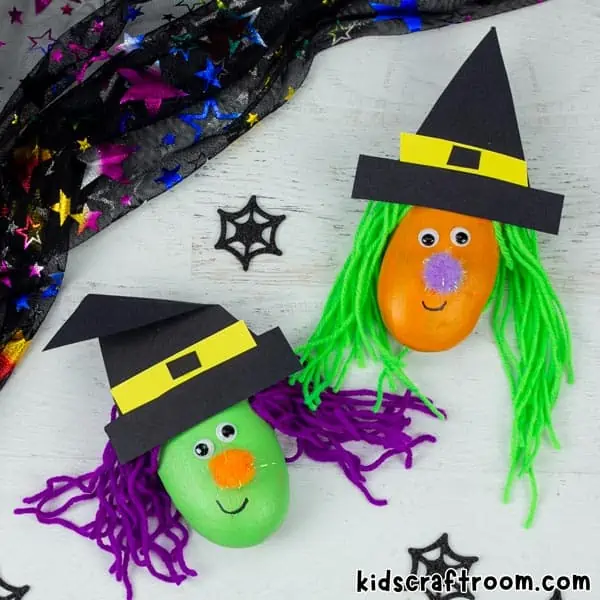
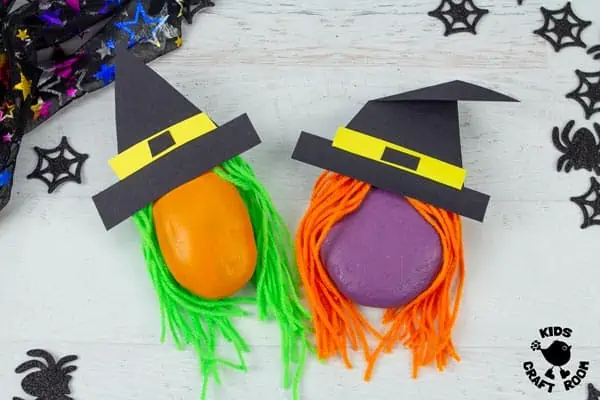
Halloween is the perfect time to get creative and have some fun. This ROCK WITCH CRAFT FOR KIDS is super easy to make and lots of fun to play with too!
This is a cool Halloween craft that lets you make your own magical witch, out of a rock! Rock witches make great pocket pals and you can have lots of fun together becoming friends, casting spells and creating magic!
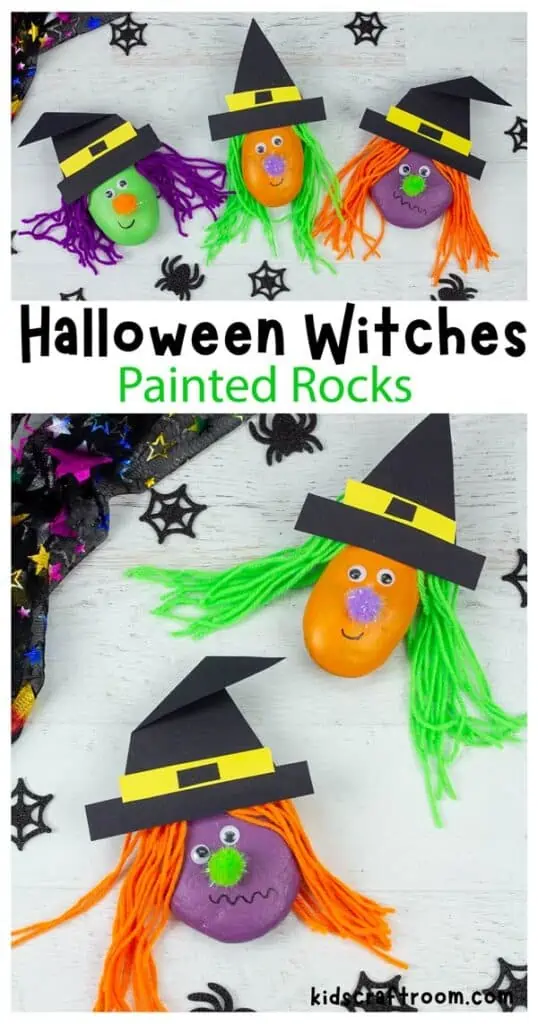
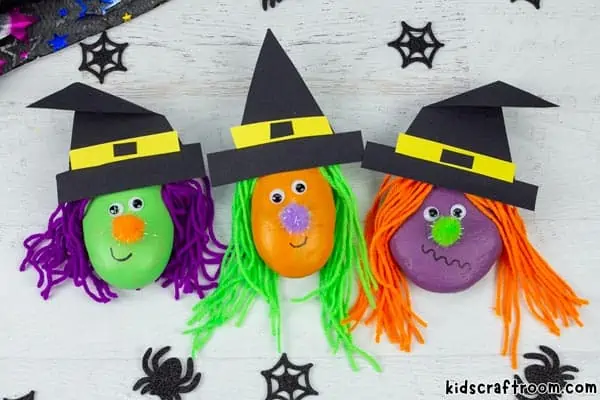
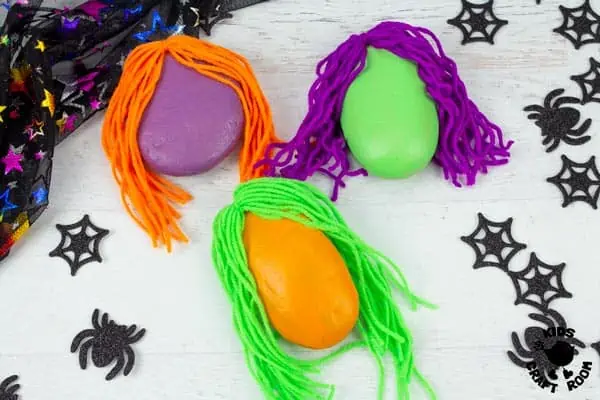
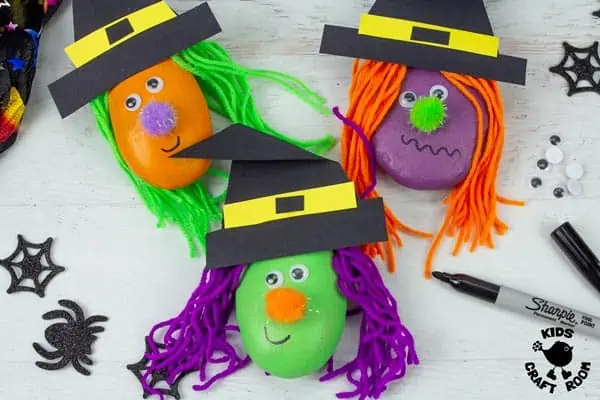
We loved this Halloween rock painting activity so much that we ended up crafting 3 rock witches, all with different coloured hair and faces! You can see our three designs in the photo below.
This rock painting witch craft is a fun, easy and exciting activity for kids of all ages! With just a few supplies you can have your very own rock witch in no time! All you need is some rocks, some simple craft supplies and a little imagination!
With just a few supplies, you can transform any rock into your very own spell casting painted rock witch! So gather up the kids and get ready to create some magic! Kids will love playing with their new spooky creation this Halloween!
How to Make a Painted Rock Witch
Witch Craft Supplies:
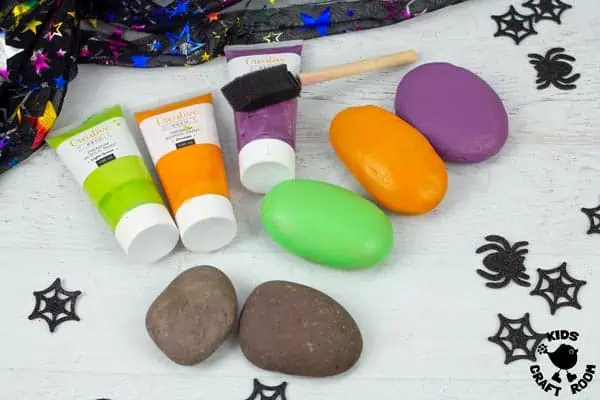
- Rocks/Pebbles
- Acrylic Paint
- Black Paper or Cardstock
- Yellow Paper
- Scrap Cardboard
- Coloured Yarn
- Glitter Pom Poms
- Wiggle Eyes
- Black Sharpie Pen
- Scissors
- Glue
- Paintbrush
Easy Kids Rock Painting Witch Craft
1 – To make your rock witch craft you’ll need to start by painting your chosen rock. We love to use acrylic paint because it covers with just one coat so we’re not left waiting for ages for layers of paint to dry! We chose typical Halloween colours of green, orange and purple.
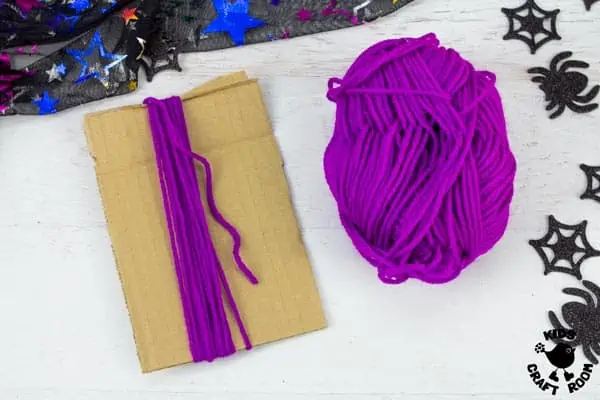
2 – Decide how long you want your witch’s hair to be and cut an old scrap of cardboard to that length. Then wrap coloured yarn around it. The more times you wrap the thicker the hair will be.
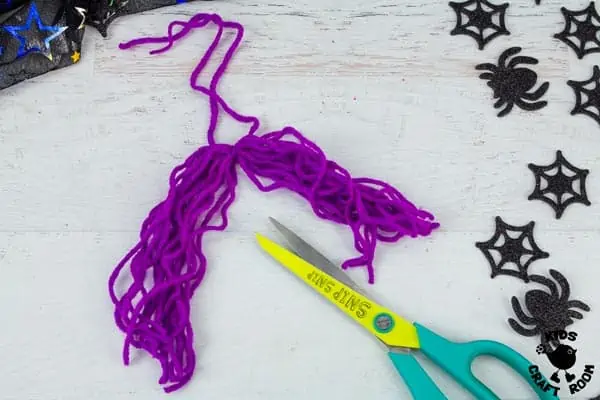
3 – To make your rock witch’s hair tie the wrapped yarn together with a length of additional yarn, then slide it off the cardboard. Now you’ll have a loop of hair . Opposite the tie, cut through the loop to make two curtains of hair held together in the middle. see the photo above.
4 – Now glue the hair onto the painted rocks.
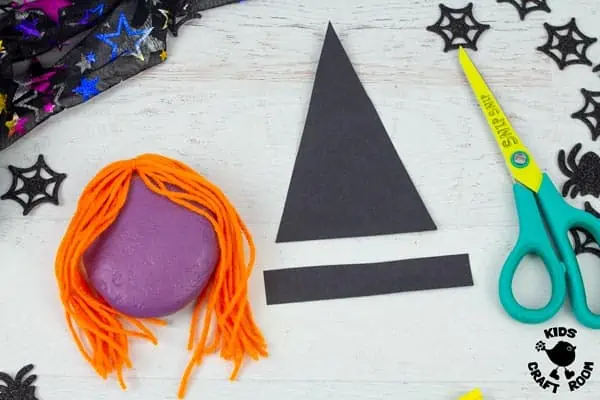
5 – To make the witch’s hat cut a rectangle hat brim from black cardstock or paper. Make sure it’s wider than your rock witch’s head. Then cut a paper triangle to make the pointed witch hat.
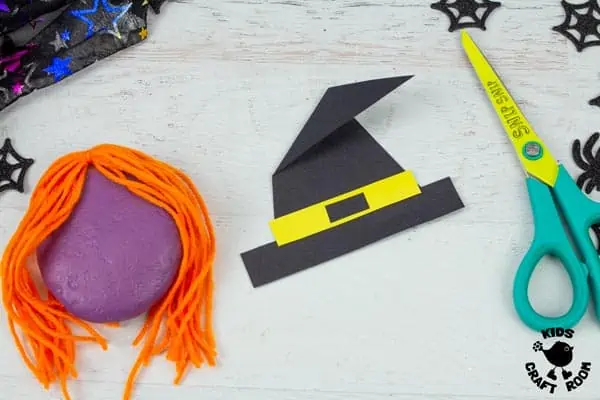
6 – Glue the hat rim onto the triangle. If you want to you can glue a band across the hat too. We cut a thin yellow rectangle and then a very small black rectangle to go in the middle, to make a buckle.
7 – Now glue the hats onto the witches’ heads. You can fold the top of the witch hat over if you like.
8 – Of course your rock witch will need a face so glue on some wiggle eyes and a pompom nose. Finish off your witch by drawing on a smile or a grimace!
More Fun Witch Crafts For Kids:
We hope you’ve enjoyed this rock witch craft! Be sure to share photos of the rock witches you make with us on our Instagram or Facebook page. We can’t wait to see them! In the meantime, have a spook-tacular Halloween!
More Halloween Crafts To Enjoy:
