
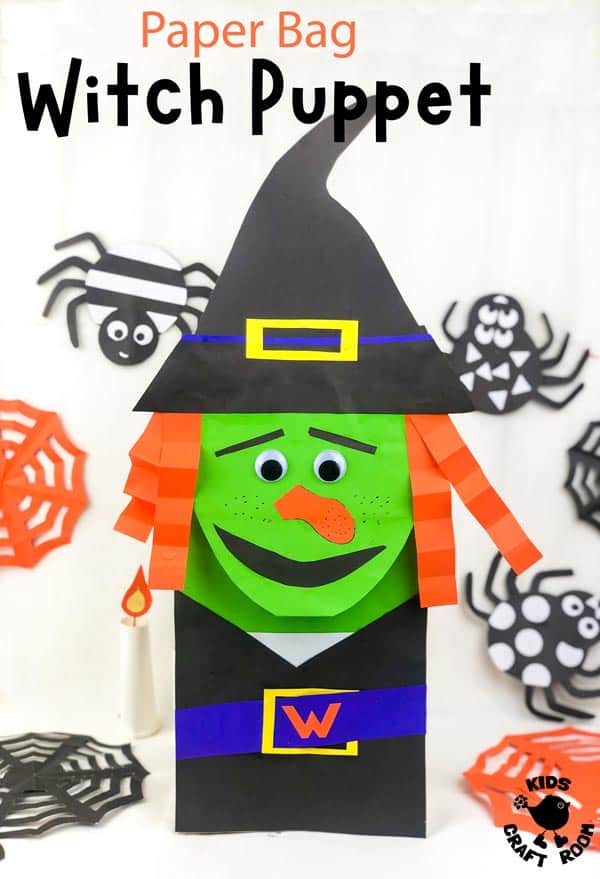

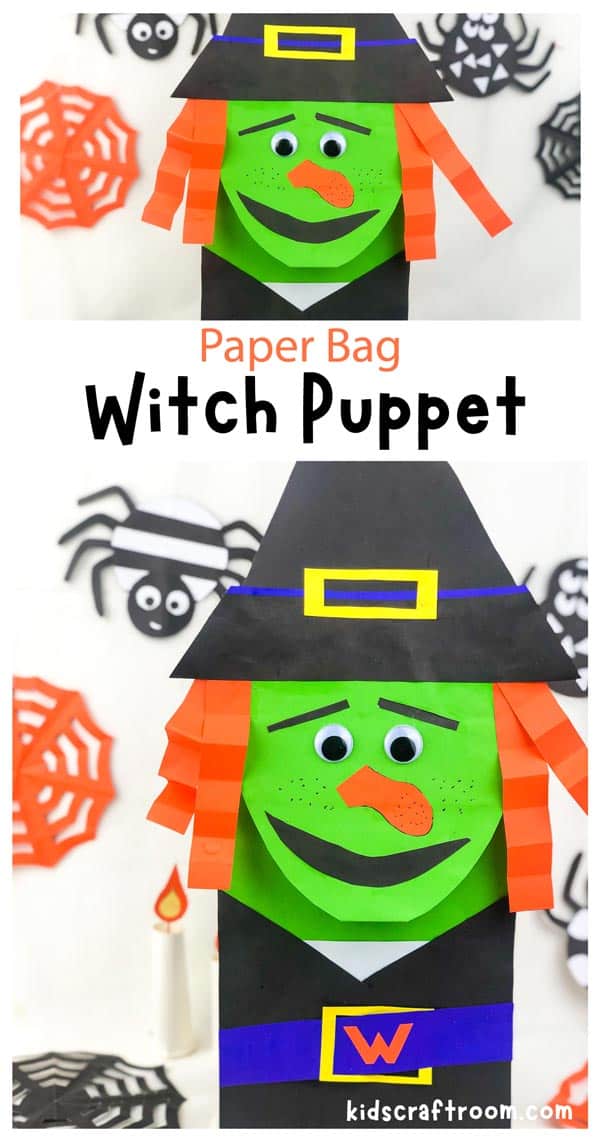
Would your kids enjoy some fun and spooky imaginative play this Halloween? This PAPER BAG WITCH PUPPET CRAFT is a great way to encourage creativity.
This witch hand puppet is lots of fun to make and is really easy to use. Kids just put their whole hand inside to bring their witch to life. No fiddly strings or finger holes in this Halloween puppet craft!
Paper bag witch puppets are easy and fun to make. All you need is a paper bag, some paper, wiggle eyes and markers. You don’t really need it but if you want it there’s a free printable template you can use too. (Be warned though, it’s just a rough hand drawn sketch, but it might be helpful for those of you less confident about cutting by hand.)
Kids can have lots of fun dressing and decorating their witch puppet any way they want. When their puppet is ready they put on a spooky puppet show for the whole family! Why don’t you all make a Halloween puppet and enjoy making them interact together? We’ve got a great Vampire Paper Bag Puppet you’ll like. I bet they can get up to all sorts of Halloween hocus pocus together! Hours of spooky fun for everyone!
This paper bag witch puppet is the perfect way to get your child into the Halloween spirit and let their imaginations run wild. So what are you waiting for? Grab your paper bags and let’s make some Halloween paper bag puppets!
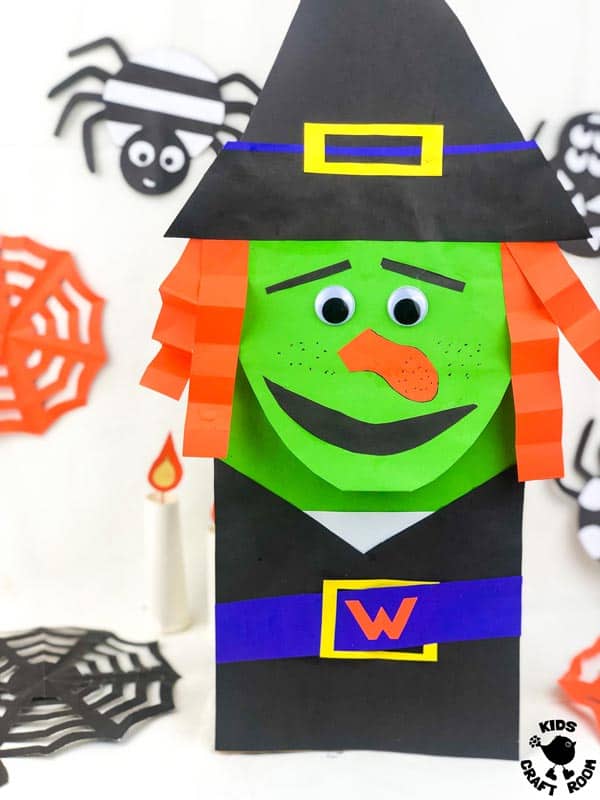
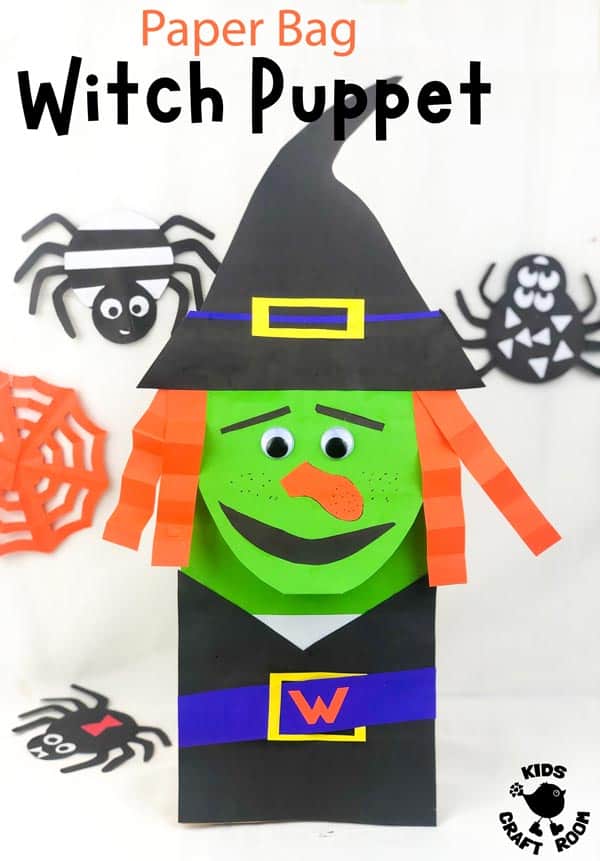
Halloween Witch Paper Bag Puppet
Witch Craft Supplies:
- Free Printable Witch Template ( Just a quick hand drawn sketch but it might be helpful.)
- Paper Bag (green preferably)
- Coloured Construction Paper
- Googly Eyes
- Marker Pen
- Scissors
- Glue
How To Make a Halloween Witch Puppet From A Paper Bag
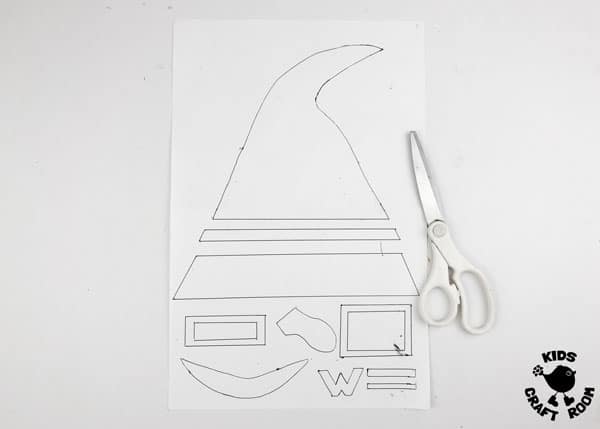
1 – If you feel you need it, print the hand sketched witch template, or just use the photo above as a guide.
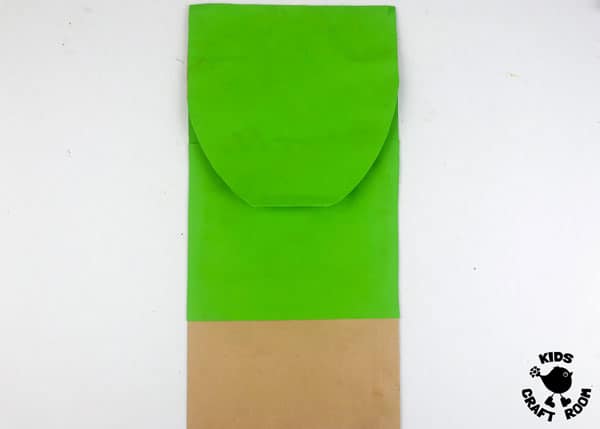
2 – If you’re not able to use a green paper bag, turn your brown paper bag upside down and then cover the base and front with green paper.
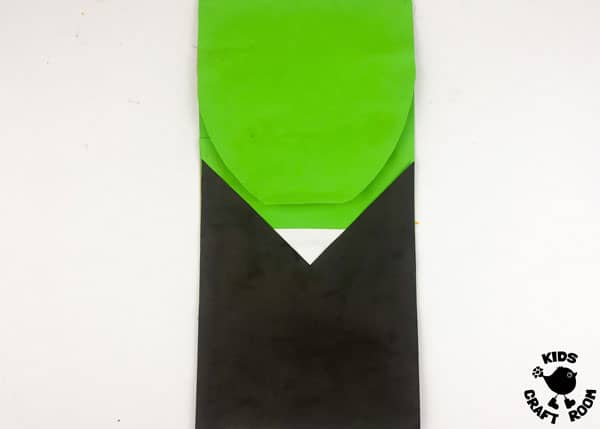
3 – To make the witch’s dress, cut a rectangle from black paper to fit on the front of the bag. Remove a triangle to make a V neck. If you want to you can put a piece of white behind it too to look like a vest.
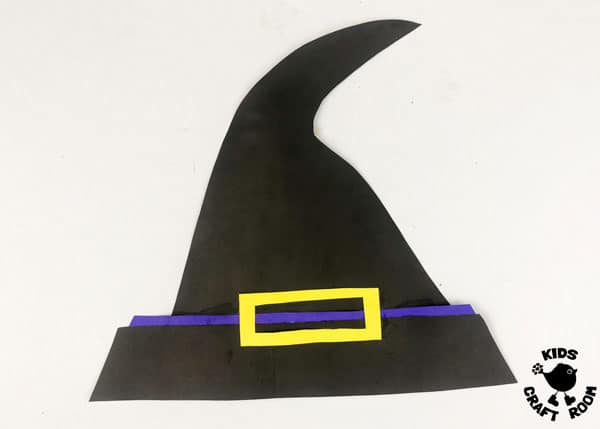
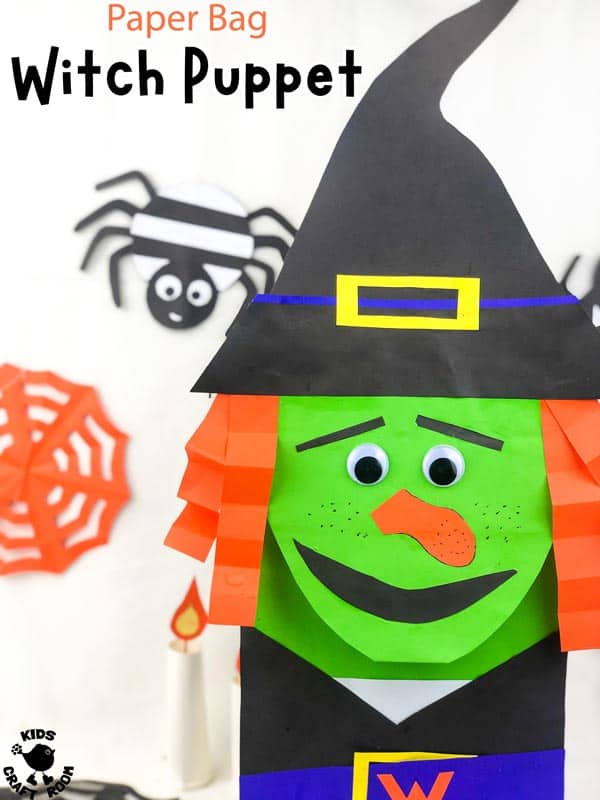
4 – Cut a witch’s hat from black paper. Add a purple trim and yellow buckle.
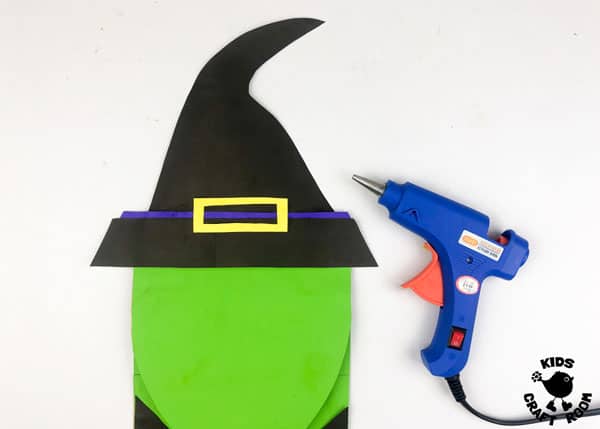
5 – Glue the hat onto the bottom of the paper bag, which is now at the top.
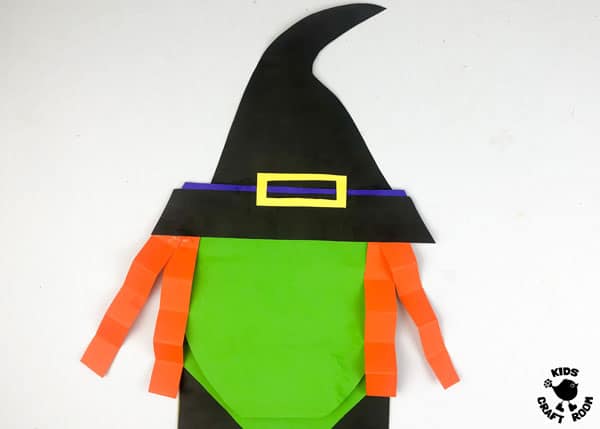
6 – Cut and concertina fold some orange paper rectangles to make the witch’s hair and glue them on.
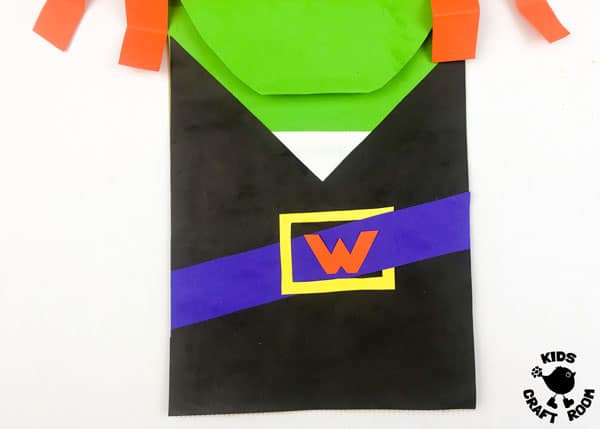
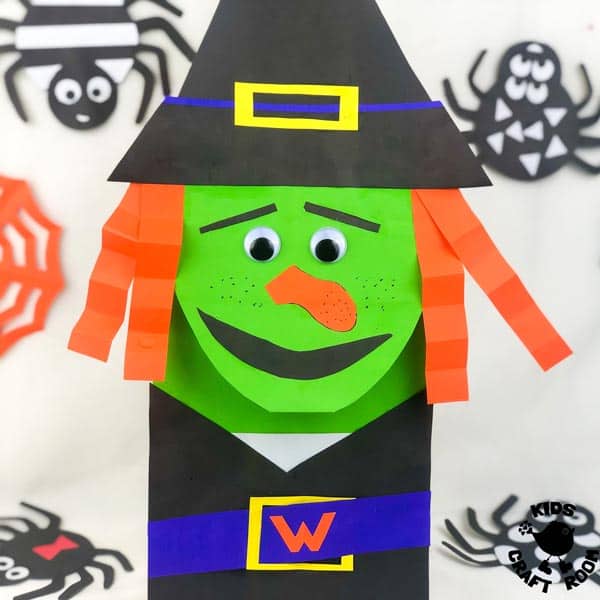
7 – We gave our witch a fancy diagonal belt adorned with a W. You can copy ours or keep it simple and just do a horizontal band and buckle.
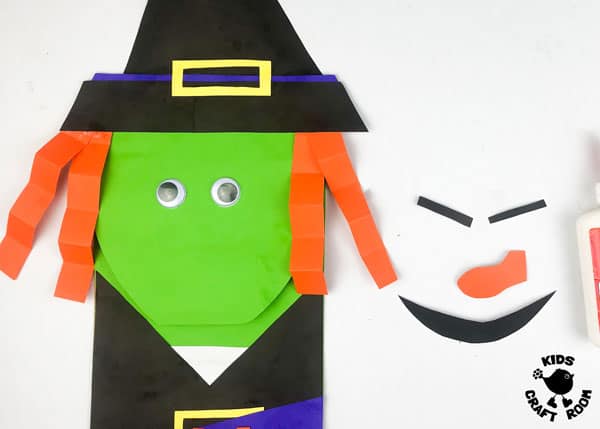
7 – Use the template guide to cut out some eyebrows, nose and mouth for the witch and glue them on with some wiggle eyes.
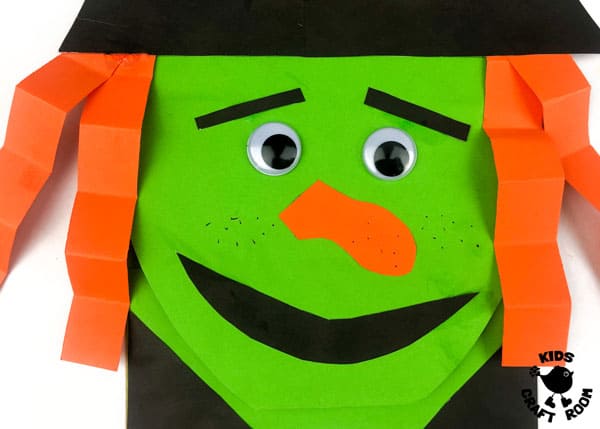
8 – Use your marker pen to draw on some freckles or warts.
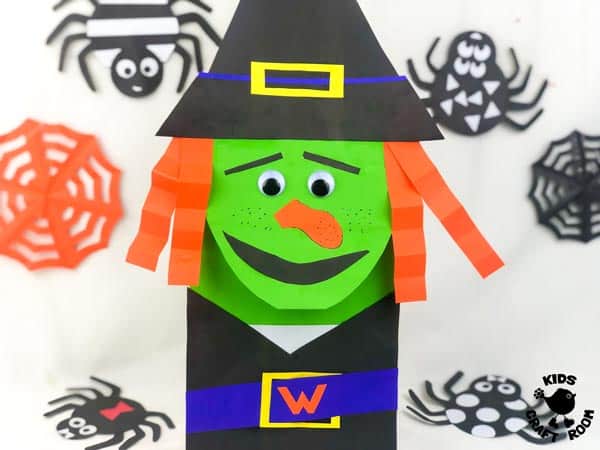
9 – Now you can put your hand into the paper bag witch puppet to bring her to life! I bet she can’t wait to mix up some magic potions in her cauldron!
More Halloween Crafts To Enjoy:
