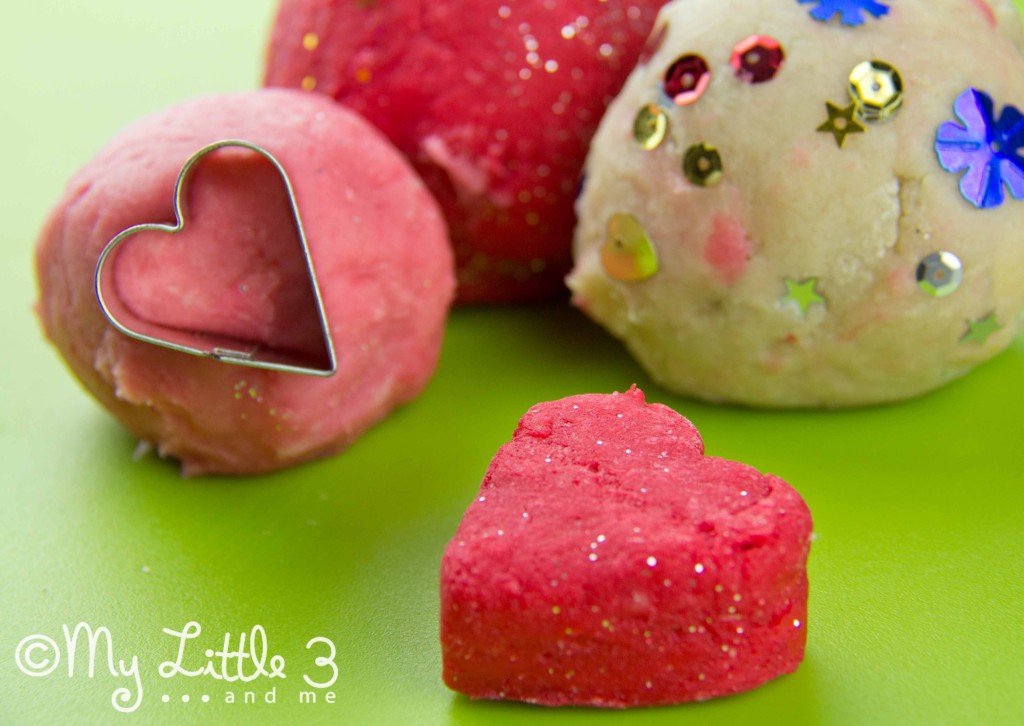
Play dough always offers an exciting play and learning experience for children and is easily adapted to a loved up Valentine theme with colour, smell and sparkles.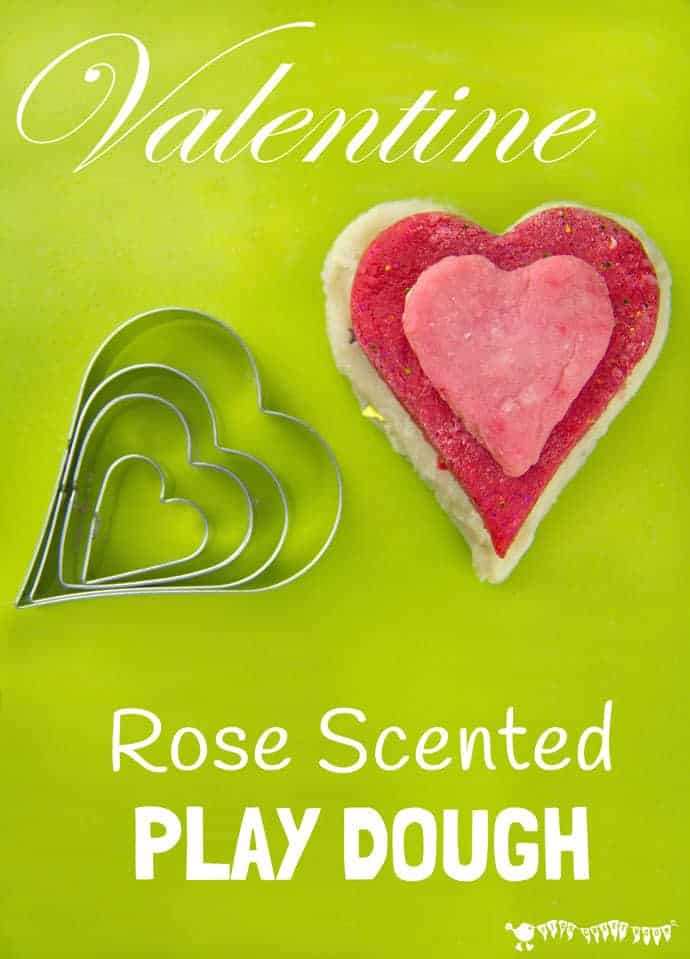
-
- Home-made play dough is so easy to make. Once you’ve tried it I doubt that you’ll ever buy any again.
How To Make Rose Scented Valentine Play Dough
Supplies To Make Play Dough
1 cup of flour
1/2 cup salt
1 tablespoon of cream of tartar
1 tablespoon of cooking oil
1 cup of recently boiled water
A few drops of food colouring
A few drops of rose water
sequins and glitter
How To Make Valentine Rose Scented Play Dough
- In the order listed put all of the ingredients, except the glitter and sequins, into a bowl and mix well to make a smooth thick paste.
- Cook on full power in the microwave for approximately 5 minutes. Stopping and stirring at the end of each minute.
- The dough will gradually thicken until it can be formed into a ball.
- Allow to cool and then knead until smooth and add in any glitter or sequins you’ve chosen to use.
- Store in an airtight container.
(This dough could be cooked in a pan on the hob if you prefer.)
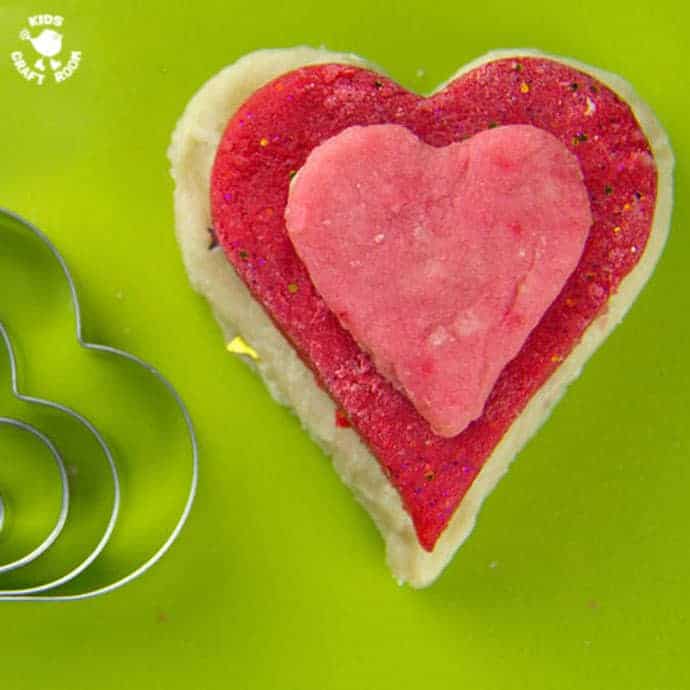
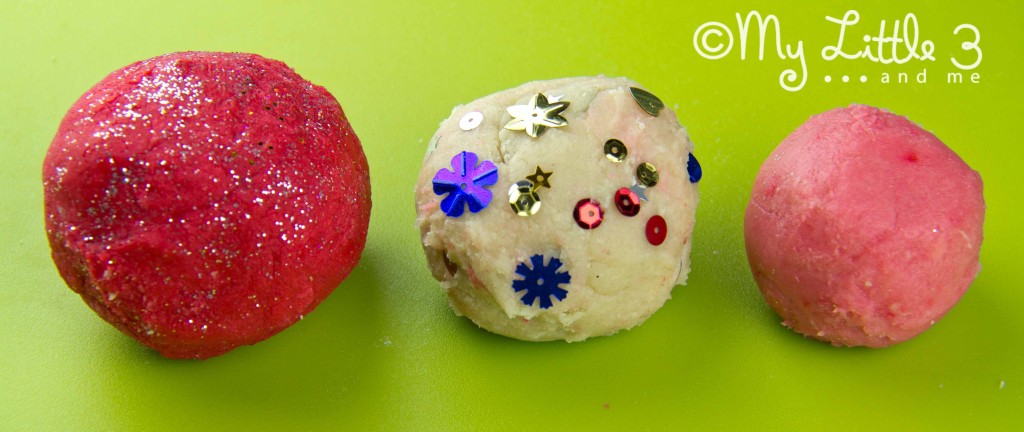
I made three separate bowls full; In the first I added lots of red food colouring and finished off with glitter. In the second I omitted the colours and rose water to leave the dough plain then I finished with some sequins, and in the third I just added a couple of drops of red colouring to make a light pink colour.
Experiment With More Homemade Play Dough Variations
It’s worth experimenting with different additions to the basic play dough mix to suit different times. Here’s a few more ideas of things you could add but I expect you could think of lots more:
- Jelly crystals for a rich smell and colour
- Spices, nutmeg, cinnamon etc
- Grated scented soap
- Food flavourings like peppermint or almond essence
- Cocoa powder
- Oatmeal
- Coffee granules
- Dried flowers
- Sand
Different additions can give the dough new smells, colours and textures that children will enjoy exploring again and again.
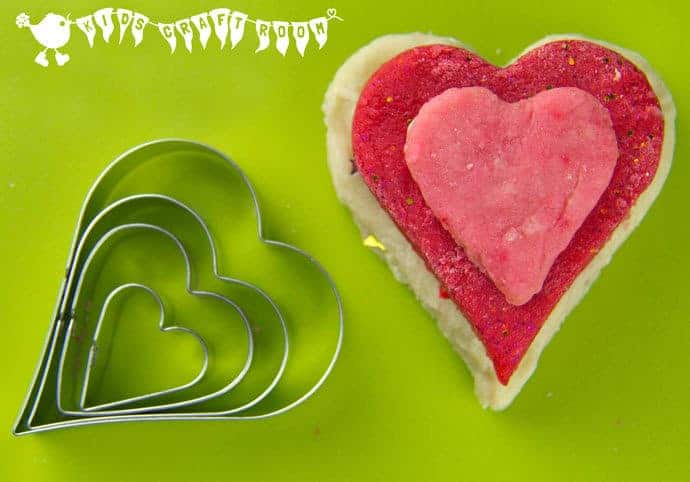
We all think of giving children a rolling pin and cutters with play dough but what about broadening the experience for them with the addition of other simple tools to explore textures, shapes and patterns. Here’s some ideas:
-
scissors
- garlic press
- sieve
- toothbrush
- toothpick
- knife
- fork spoon
- vehicles with patterned tyres
- lace fabric (to push in to the dough to make patterns)
- bottle tops
- leaves
- stones
Given a few simple props children are often very inventive. You could try using play dough with:
- different containers like yogurt pots and empty chocolate box middles
- toy animals
- toy cars
- tea set
- some toy money (they may become an ice cream parlour or bakers)
- cake cases and candles, perhaps it’s Teddy’s birthday
The Value Of Play Dough – What Are The Children Learning?
I can’t go away from this post without quickly mentioning the science in play dough too. You can use a cooler water and let your children measure out and mix up the recipe. ( It will just take a little longer to cook.) What do they notice if they add less or more water? What’s the salt for? How long would it keep without the salt? (Maybe you could try a windowsill side by side comparison of that one over a week or so.) What happens if the play dough is warm or cold? Does the play dough change if it’s left unwrapped?
I think what I love most about play dough is that it has no boundaries and alongside the fine motor skill development and hidden science is the opportunity for children of all ages to express themselves in so many different ways through the exploration of colour, texture and shape and the wonders of imaginative play.
We hope you have a lot of fun.
This activity supports: Expressive Arts and Design: in the EYFS Early Learning Goals. Mixing Materials and Changing States in Key Stage 1 and 2 Science.
More Fun Valentine Crafts For Kids:
