


I expect lots of you made a variation of this Spiral Christmas Tree Ornament Craft when you were little. It’s a childhood classic that’s been enjoyed for generations.
This paper Christmas craft has been so popular over the years because it’s super simple, is great for scissor practice and looks fabulous!
Today we’re giving this classic paper Christmas craft a new twist and making it even simpler with our free printable spiral Christmas tree craft templates! Yay!

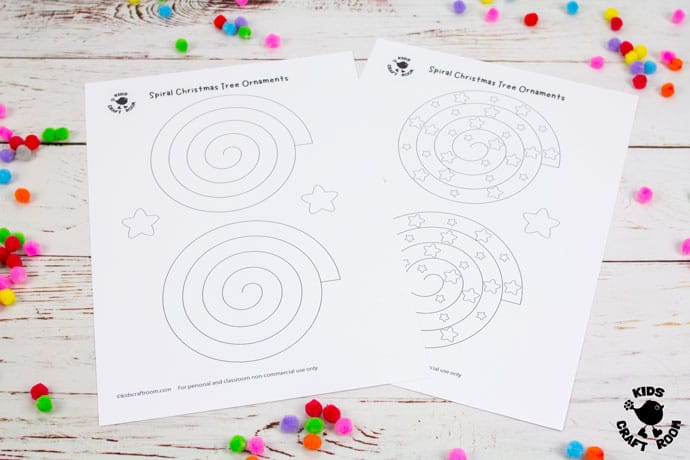
Our printable spiral paper Christmas tree craft template comes in two designs. A plain one that you can decorate yourself and also a ready decorated one with lots of little stars, which children can enjoy colouring in.
We’ve also made each template with spirals going clockwise and anticlockwise. This means it’s easy for both left handed and right handed children.

Paper Spiral Christmas Tree Ornaments Tutorial
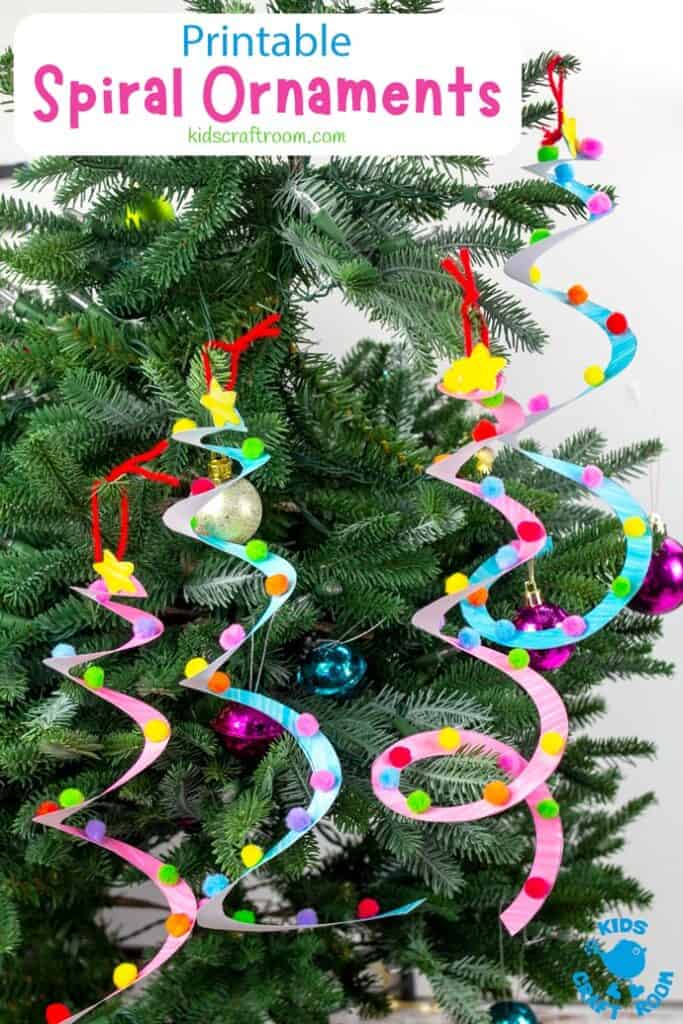
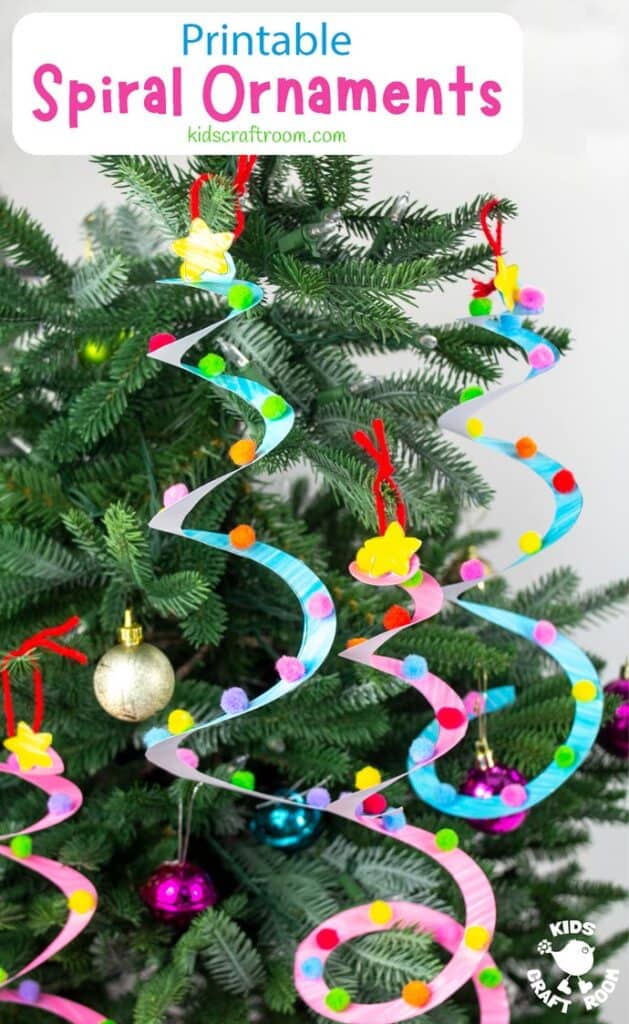
We’ve decorated our spiral Christmas tree craft with mini pompoms which look so bright and colourful but you can use anything you like, such as buttons, glitter or drawings.
Simply decorate your Spiral Christmas Tree Ornament Craft, cut them out and hang them on the Christmas tree for some festive colour and cheer.
Spiral Decorations Supplies:
- Free Printable Spiral Christmas Tree Ornament Craft Template (Get yours at the bottom of this tutorial.)
- Printer Cardstock
- Colouring Pens or Pencils
- Mini Pom Poms
- Hole Puncher
- Yarn
- Scissors
- Glue
How To Make Spiral Christmas Tree Ornaments
1 – Download and print the free Spiral Christmas Tree Ornament Craft Template (Get yours at the bottom of this tutorial.) You can choose the left or right handed version or really challenge your little one’s cutting skills and give them both!
(The thicker your card the more robust your spiral tree ornament will be and the spiral will also hang more tightly.)
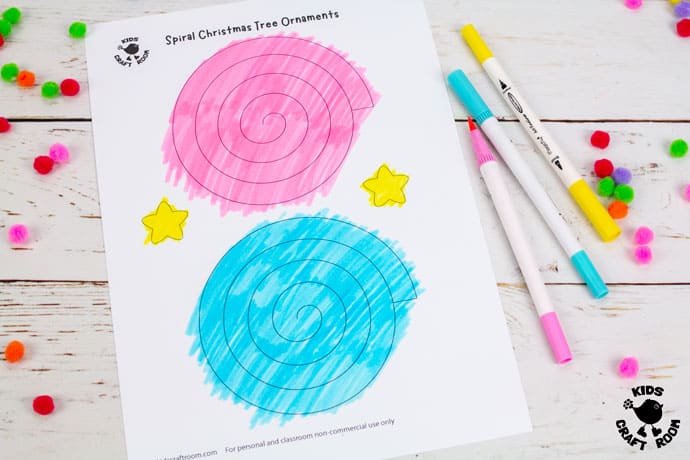
2 – Colour your spiral tree ornaments in. We used our Magicfly Marker Pens but you could use colouring pencils or paint too.

2 – Carefully cut around the spiral.
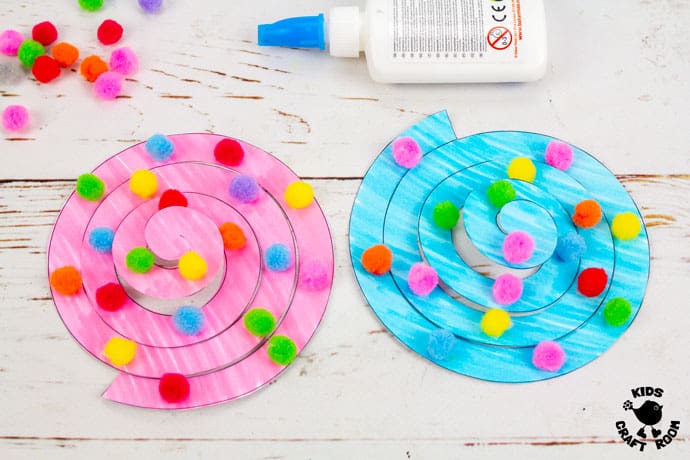
3 – Glue on any decorations you have chosen. We love these mini pom poms, they’re so bright and colourful! (Make sure whatever you use isn’t too heavy.)
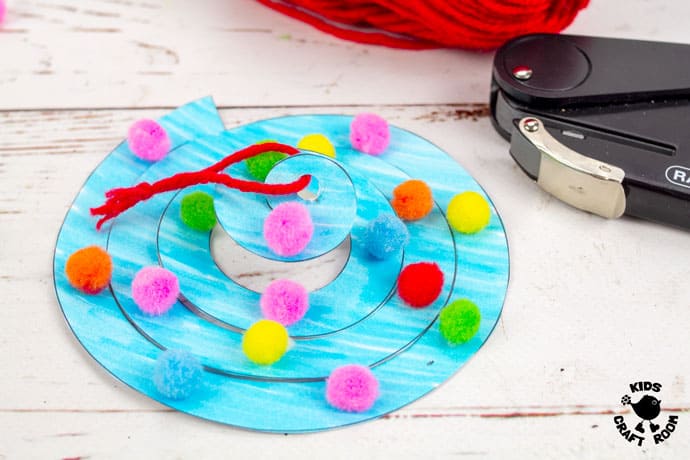
4 – Use your hole puncher to make a small hole in the middle of your spiral ornament. Thread the hole with a short piece of yarn and tie it into a loop.
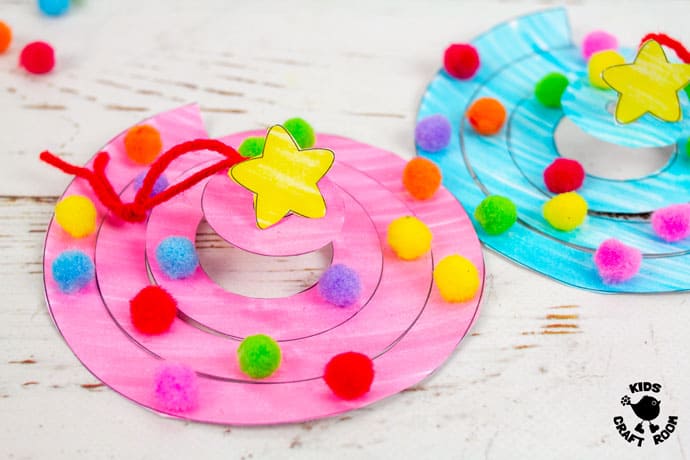
5 – Finish off your pretty spiral Christmas tree decoration by glueing the paper star into the middle.

Now you can hang your spiral ornaments on to your Christmas tree. Don’t they look fabulous!
You might also like:
Scroll down to fill in the form to get your FREE templates sent straight to your inbox.

You can also print the instructions below if you need them too.
More Fun Christmas Crafts To Enjoy:

Spiral Christmas Tree Ornament Craft

You'll love how bright and colourful this Spiral Christmas Tree Ornament craft is. They're great for scissor skill practice and are super easy to make with the printable template which comes with left and right handed options.
Materials
- Free Printable Spiral Christmas Tree Ornament Craft Template
- Printer Cardstock
- Colouring Pens or Pencils
- Mini Pom Poms
- Hole Puncher
- Yarn
- Scissors
- Glue
Instructions
- Download and print the free Spiral Christmas Tree Ornament Craft Template
- Colour your spiral tree ornaments in.
- Carefully cut around the spiral.
- Glue on any decorations you have chosen.
- Use your hole puncher to make a small hole in the middle of your spiral ornament. Thread the hole with a short piece of yarn and tie it into a loop.
- Finish off your pretty spiral Christmas tree decoration by glueing the paper star into the middle.