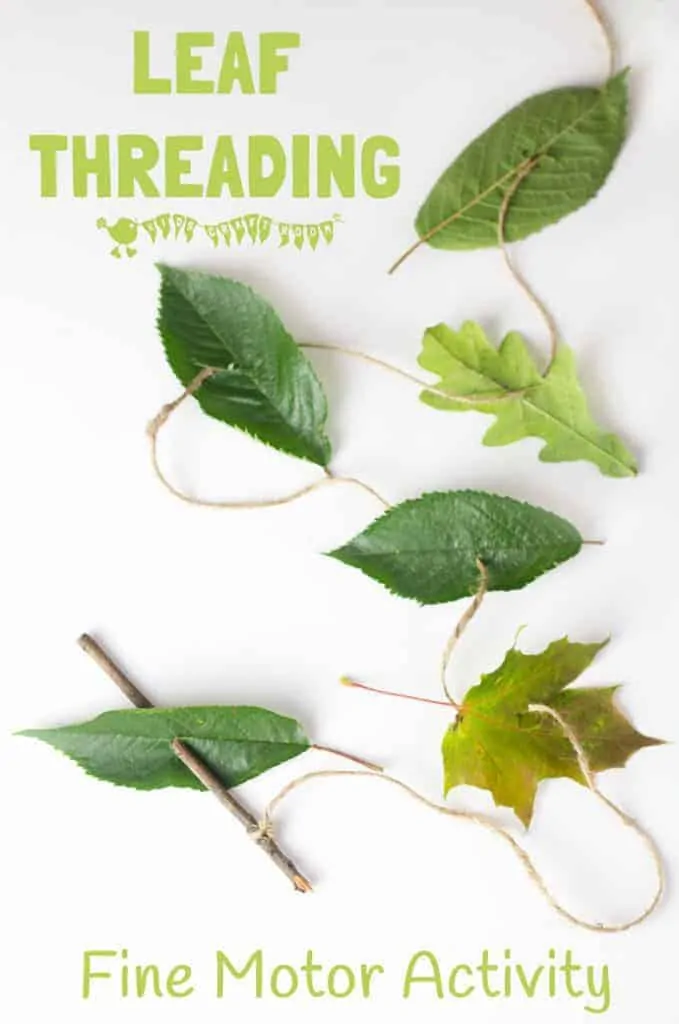
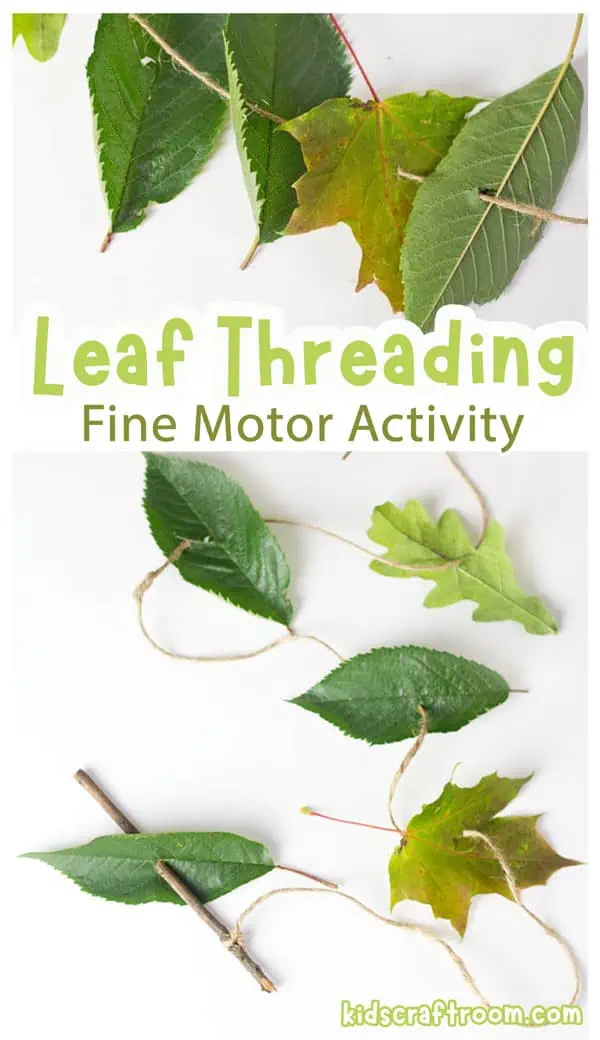
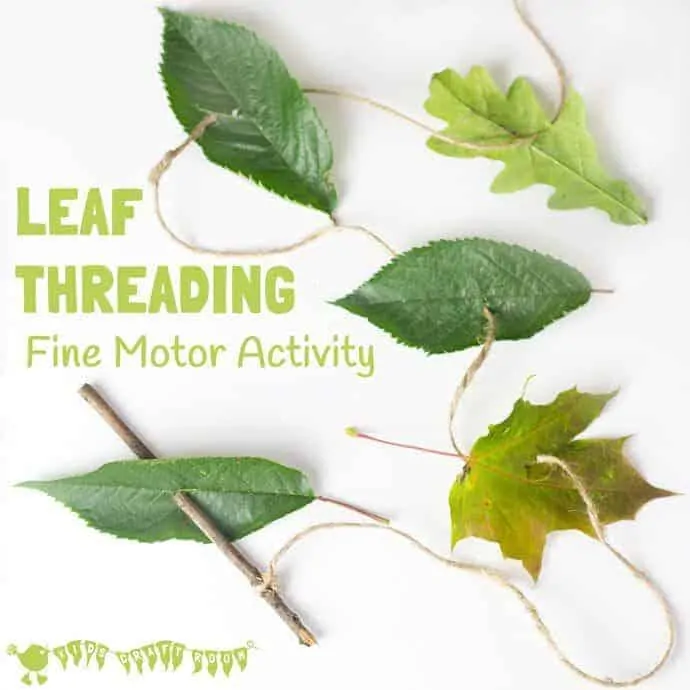
I love finding new and exciting ways for kids to engage with Nature, get creative and develop their motor skills and this All Natural Leaf Threading activity ticks all the boxes!
You’ll love how quick and easy this threading activity is to set up and because it uses natural things it’s virtually free too.
An added bonus with leaf threading is that it also provides a wonderful sensory experience for kids as they explore the sight, feel and smells of this activity too.
Check out all our exciting Sensory Play posts here.
How To Set Up An All Natural Leaf Threading Activity
I like getting kids involved from start to finish, so if possible, I’ll take little ones out with a small bag or basket so they can help choose and collect the sticks and leaves we’re going to use in this fine motor activity. It gives them a chance to run about and develop all those gross motor skills too.
Once we’ve got a nice selection of leaves of different sizes, shapes and colours and a few sticks, we bring them home and give them a quick rinse and dry. Kids love helping with this too and it often prompts lots of chatter about the science of floating and sinking.
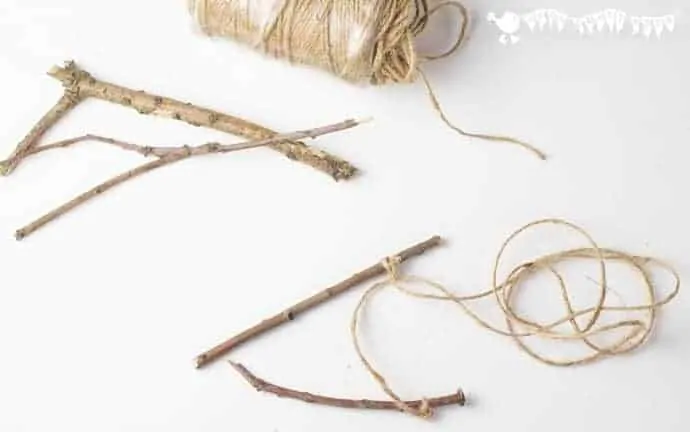
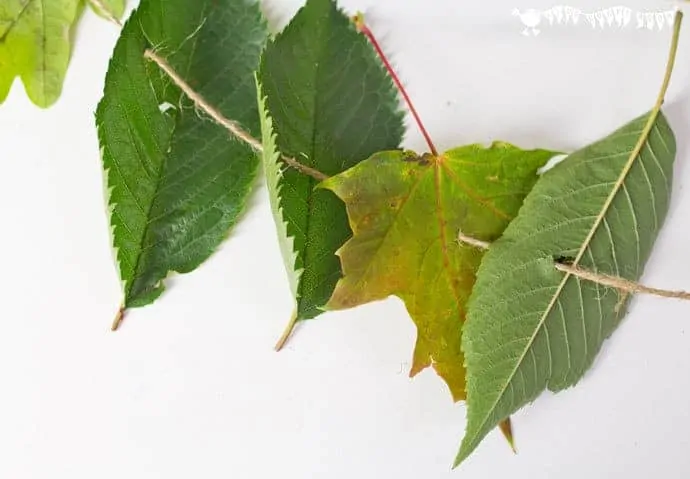
To start the threading I make simple “needles” by tying a length of jute twine between two sticks. Jute is a lovely fibre for kids to experience, it’s texture is a bit rough and totally different to yarn and it often has a faint earthy smell to it too.
Having a stick on either end of the jute twine stops the leaves from falling off and allows two children to work together too, using one end each.
What Is My Child Learning When Leaf Threading?
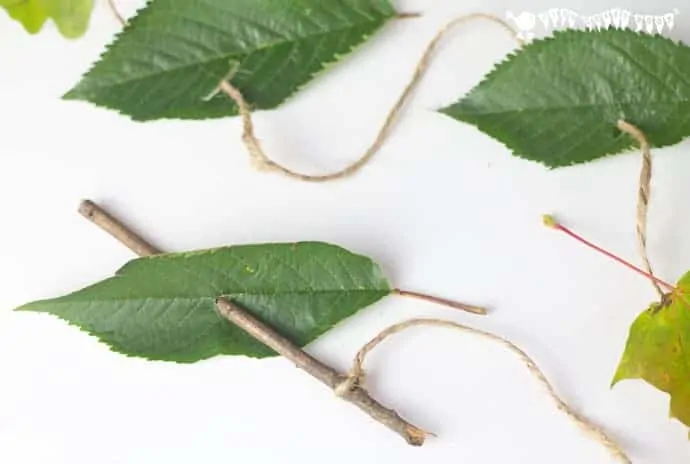
Children can enjoy pushing their natural stick needles through the leaves and threading them onto the jute twine. The smells, sights, and textures of an activity like this provides a sensory rich experience that children can find quite absorbing.
Children are encouraged to use both hands simultaneously as they hold the leaf with one hand and push the stick with the other.
Hand-eye co-ordination is strengthened and the fine motor muscles of the hands and arms are given a good work out.
See below for ways to stretch and extend this leaf threading activity for different ages and abilities.
Leaf Threading Activity Differentiation
Children can gain a great deal from this leaf threading activity when allowed to experience it in their own way. If you do want to add some structure or challenges here are some ideas to get you going.
-
- Thread and order the leaves according to size, from largest to smallest etc.
- Give the children some 2 step patterns to follow according to leaf colour, shape or size e.g.. big, small, big, small or red, green. red, green, or oak, chestnut, oak chestnut.
- Extend to three or more step sequences e.g. red, yellow, green.
- Ask the children to make their own patterns for you or another child to copy.
- Record the patterns with coloured pens or pencils on paper.
When the children finish their leaf threading activity I like to hang them up in a window or outside under a tree, they look wonderful and kids can enjoy watching them dry and change colour over time.
We’ve also removed the sticks and looped them into necklaces too. For safety I prefer to tie in a small length of elastic too just incase the necklace got caught on something and I’d never leave children unsupervised with this activity.
You might also like:
More Fun Autumn Crafts For Kids:
