

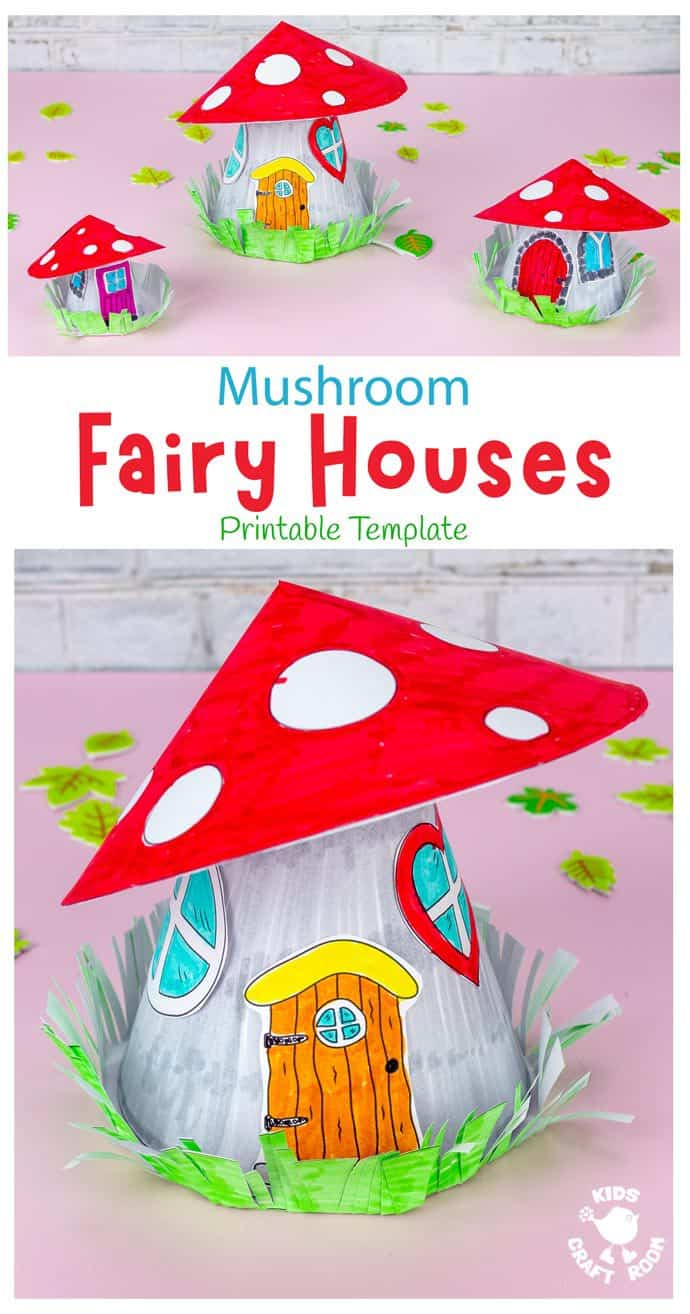
I love all the crafts we do here on Kids Craft Room but I have to admit that some of them do steal a very special place in my heart. This Mushroom Fairy House Craft does just that; I am totally smitten!
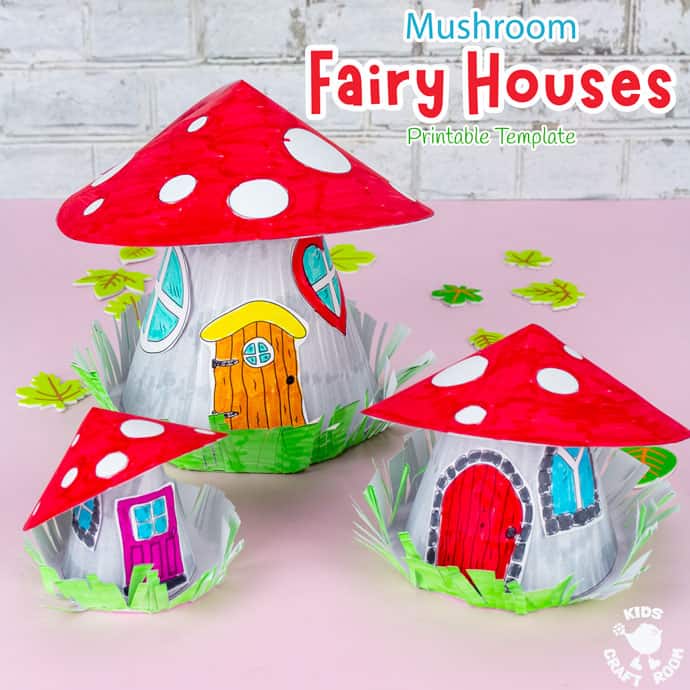
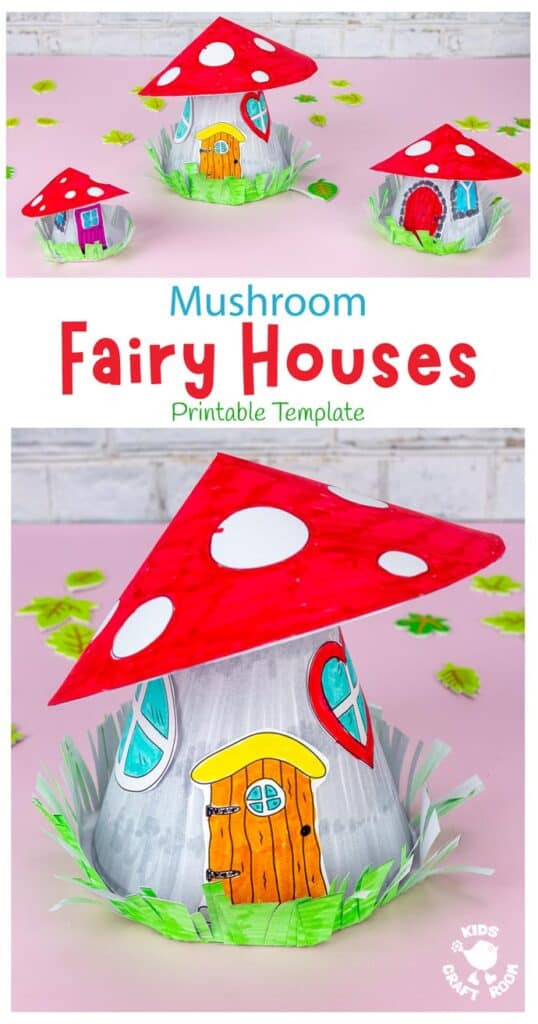
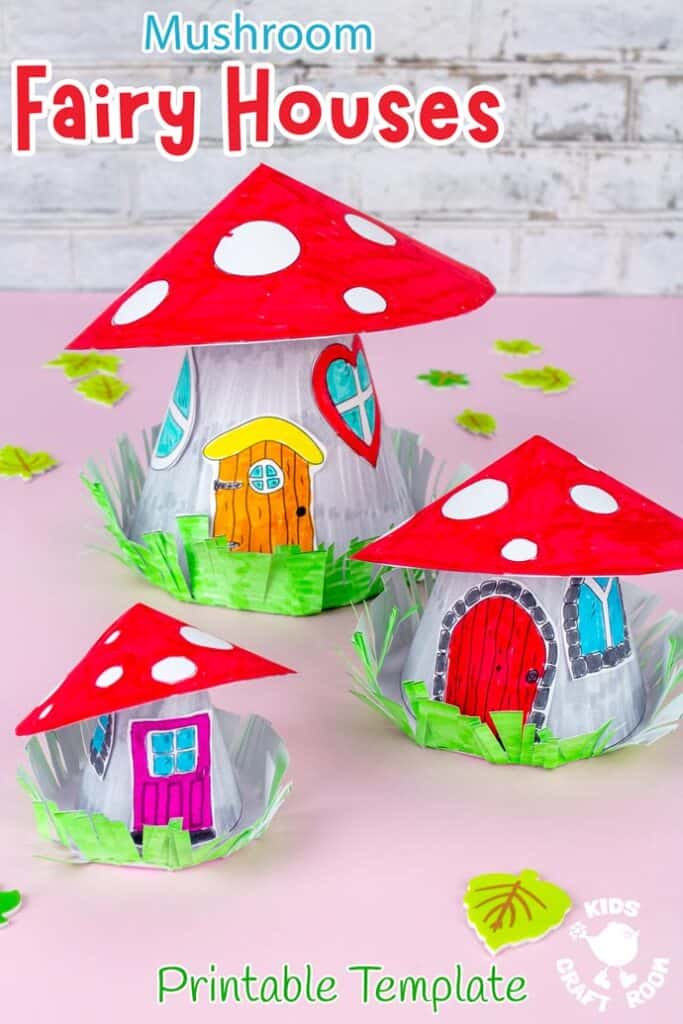
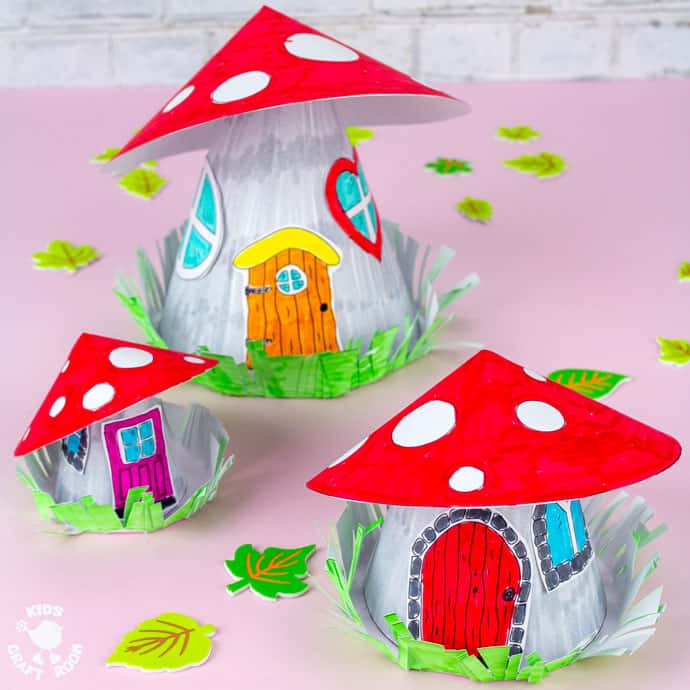
These little mushroom houses come in three different sizes so you can make your own fairy house village.
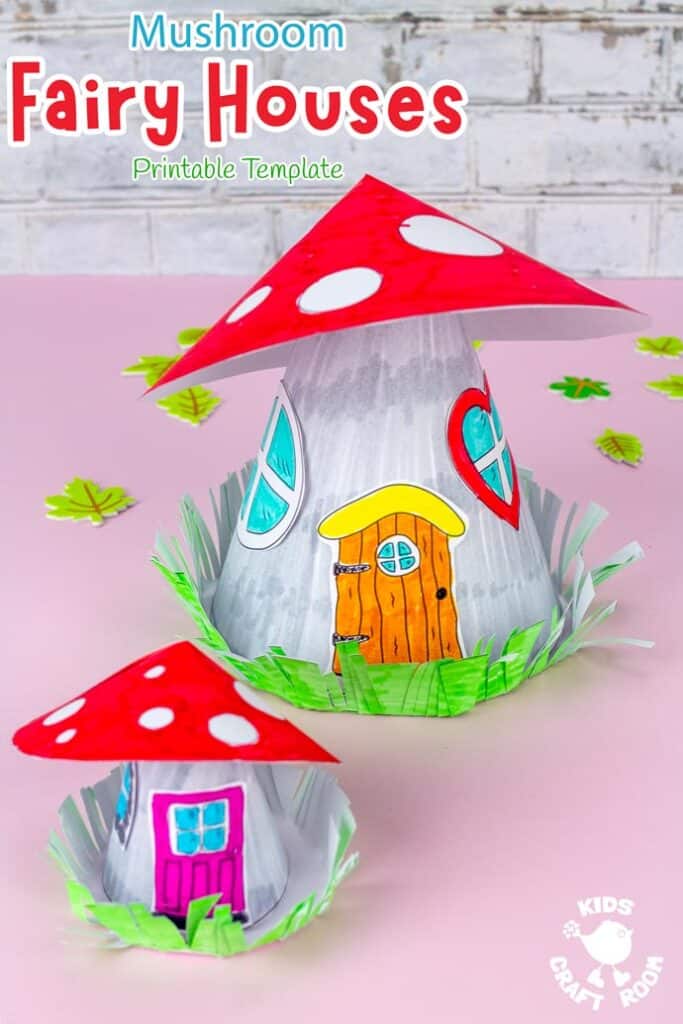
There are also lots of mix and match doors and windows to glue on, so each house can have its own personality!
They are just darling!
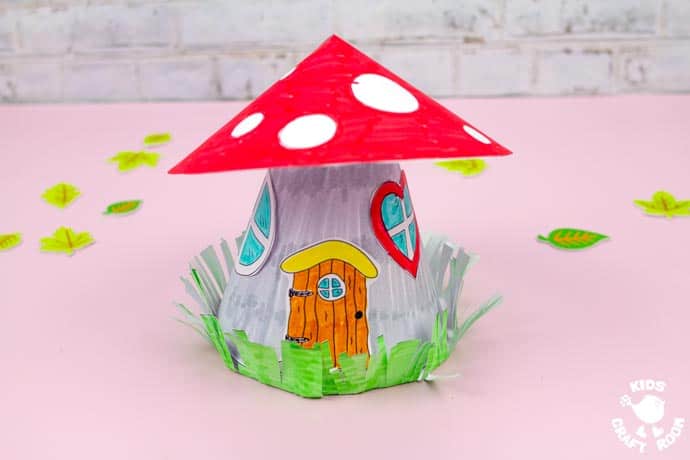
This is a great little mushroom craft for Spring, Summer and Autumn and I think it goes really well with woodland and forest study themes and all your favourite fairy stories too.
Although having said that, it’s a super cute toadstool craft for any time of year really. We’ve got a little display of them on our windowsill and I’m sure we’ll be keeping them out all year round!
This simple cut and stick fairy house craft is really easy to make with the printable template. It comes in both black and white for kids to enjoy decorating themselves, and also full colour.
This Fairy House Mushroom Craft is of course super fun to make and play with but it’s also great for skill development too. You can use it for:
- fine motor scissor skills
- following step by step instructions
- combining with a woodland, forest or fairy writing activity
- combining with a woodland or forest study unit
- a reward or extension activity in the classroom
- decorating homes and classrooms
Mushroom Fairy House Craft Tutorial
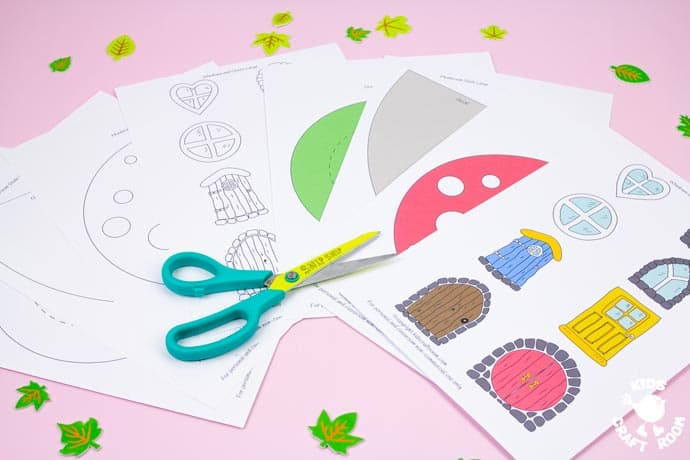
Supplies To Make Fairy House Toadstools:
- Mushroom Fairy House Printable Template
- Printer Cardstock
- Scissors
- Glue
- Colouring Pens/Pencils etc.
How To Make Mushroom Houses
1 – Download and print the fairy house templates.

2 – If you are using the black and white version then colour them in. You only need to colour the outer ring of the grass and the fairy doors and windows that you intend to use.
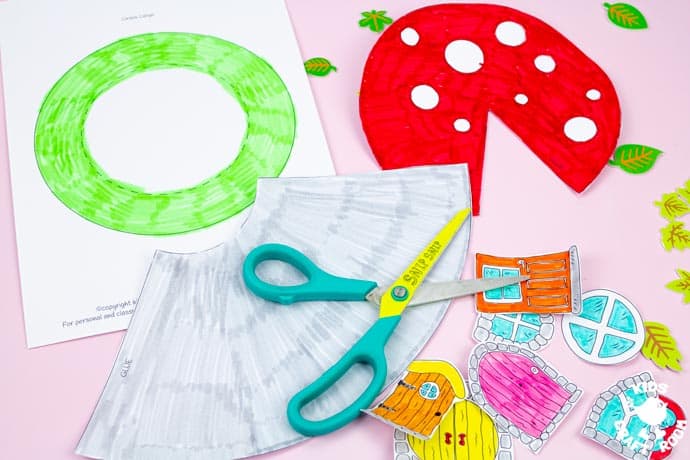
3 – Cut out all the template pieces.
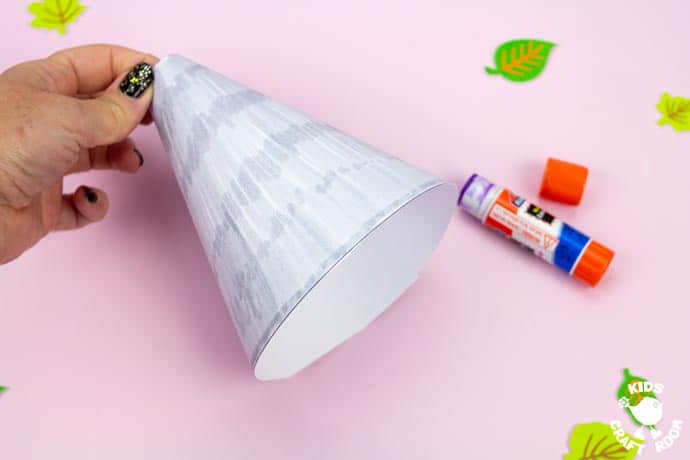
4 – Roll the mushroom stalk into an open ended cone and glue it into place.
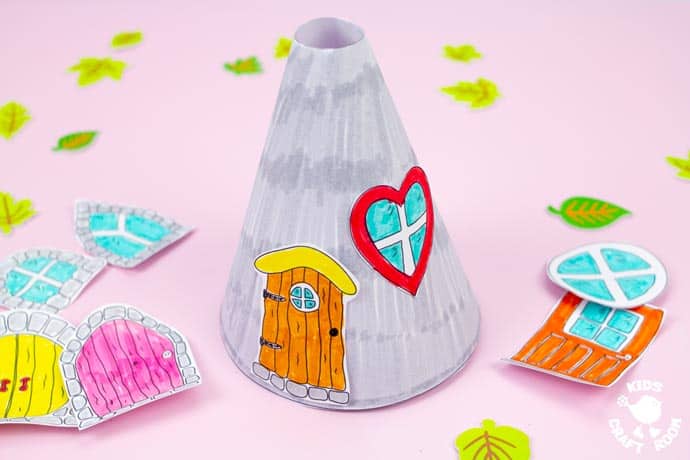
5 – Chose your doors and windows and glue them onto the mushroom stalk.
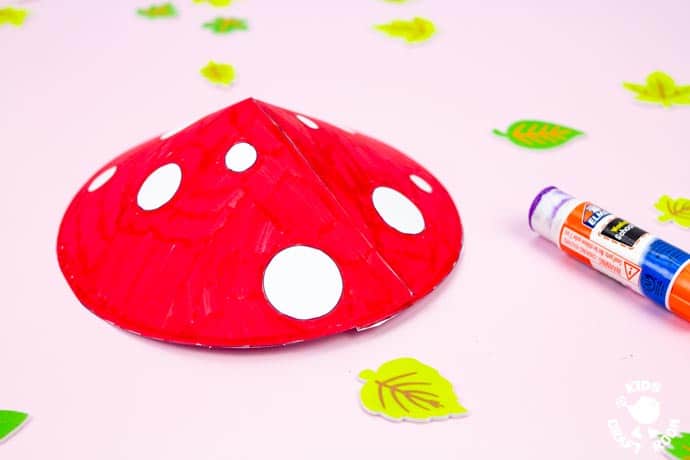
6 – Glue the two flat edges of the mushroom cap together to make a wide cone.
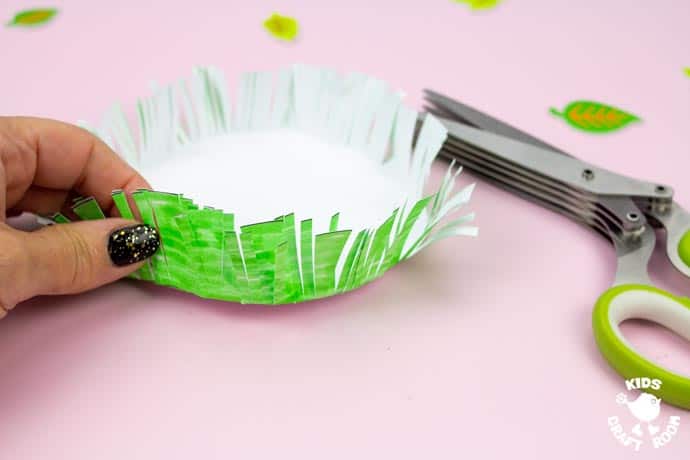
7 – Cut all around the outer edge of the grass to the inner circle. Fold the grass over to make a dish shape, with the green on the outside.
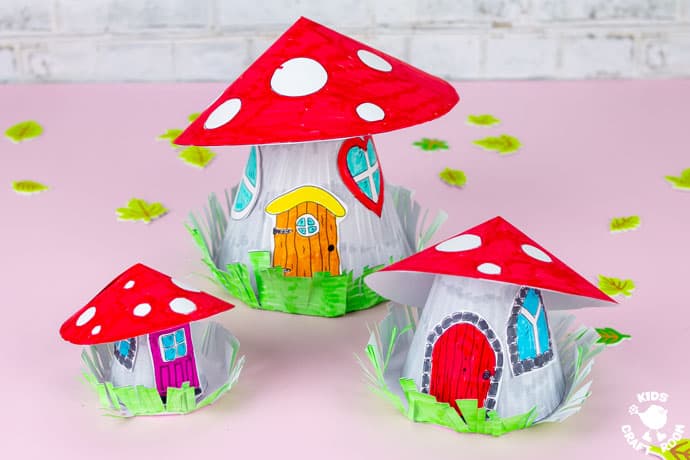
8 – Put each mushroom stalk into the right sized mushroom base. (Small, medium and large.) Put the right sized mushroom cap on top of each mushroom.

Click here to buy your Mushroom Fairy House Template from our shop.
You might also like:
- Cute Moving Baby Hedgehogs
- Apple Tree Fairy Houses
- Pinecone Hedgehogs
- Clothespin Fairies
- Squirrel Hats
More Fun Autumn Crafts To Try:
