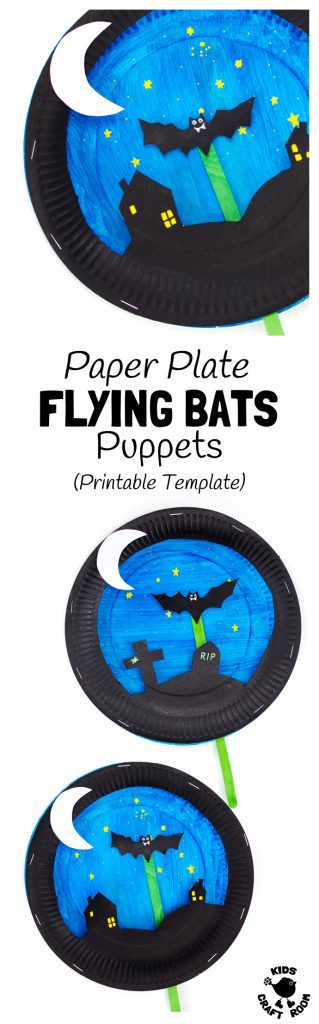

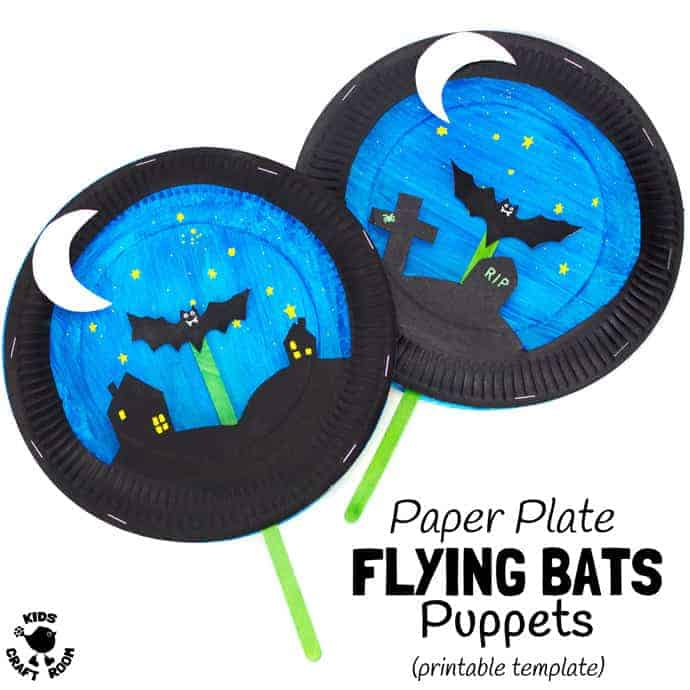

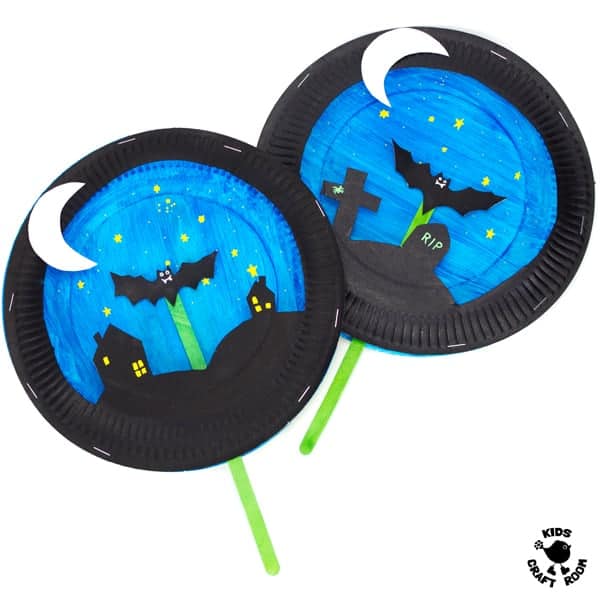
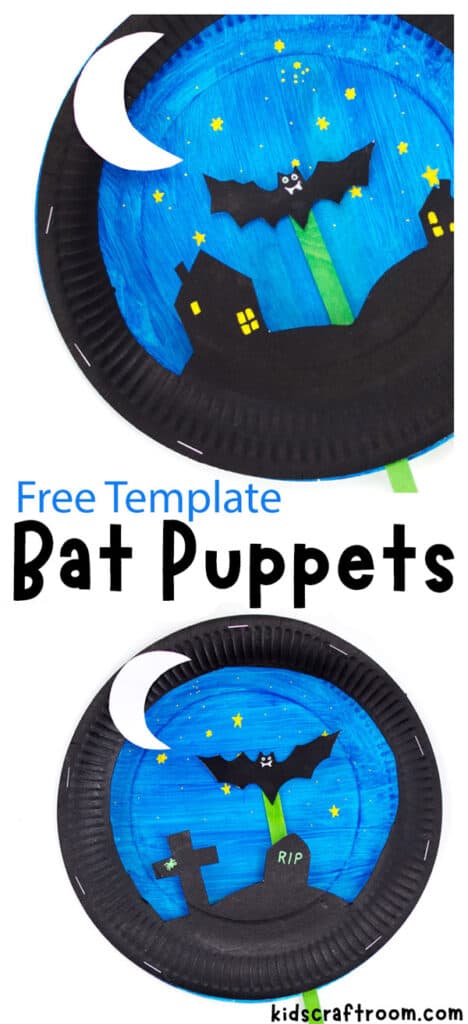


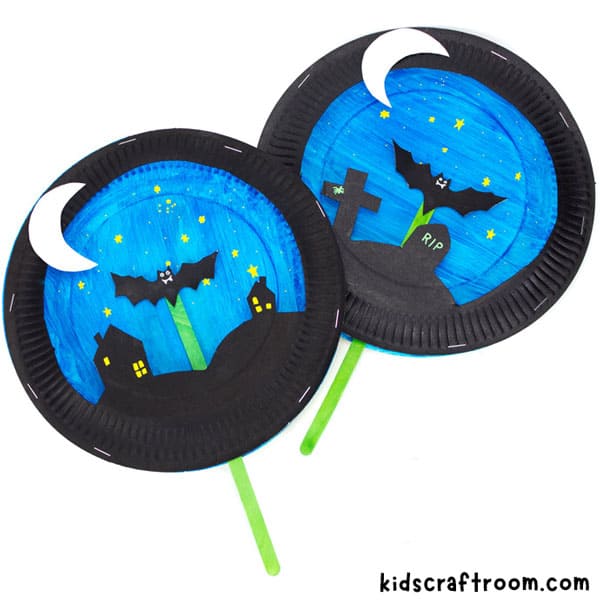
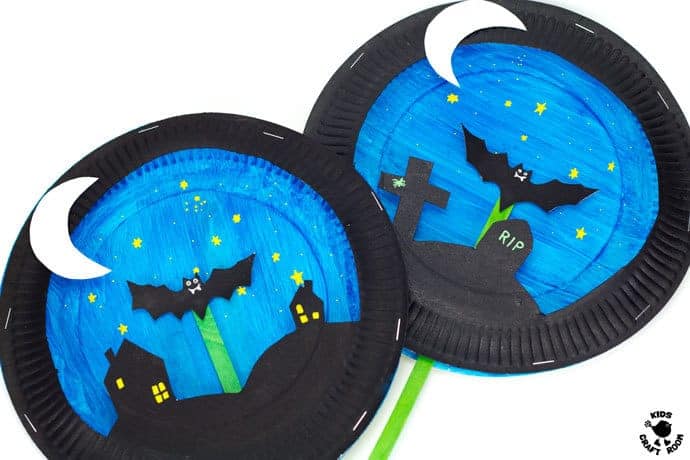
Now the nights are drawing in and Halloween is round the corner we thought it was the perfect time of year to make a gorgeous Paper Plate Bat Puppet Craft.
This fun bat craft has a bat puppet that kids can enjoy playing with and flying around in its own little paper plate theatre back drop!
It’s super easy to make with the free printable template and is such a great bat craft to inspire imaginative play and story telling.
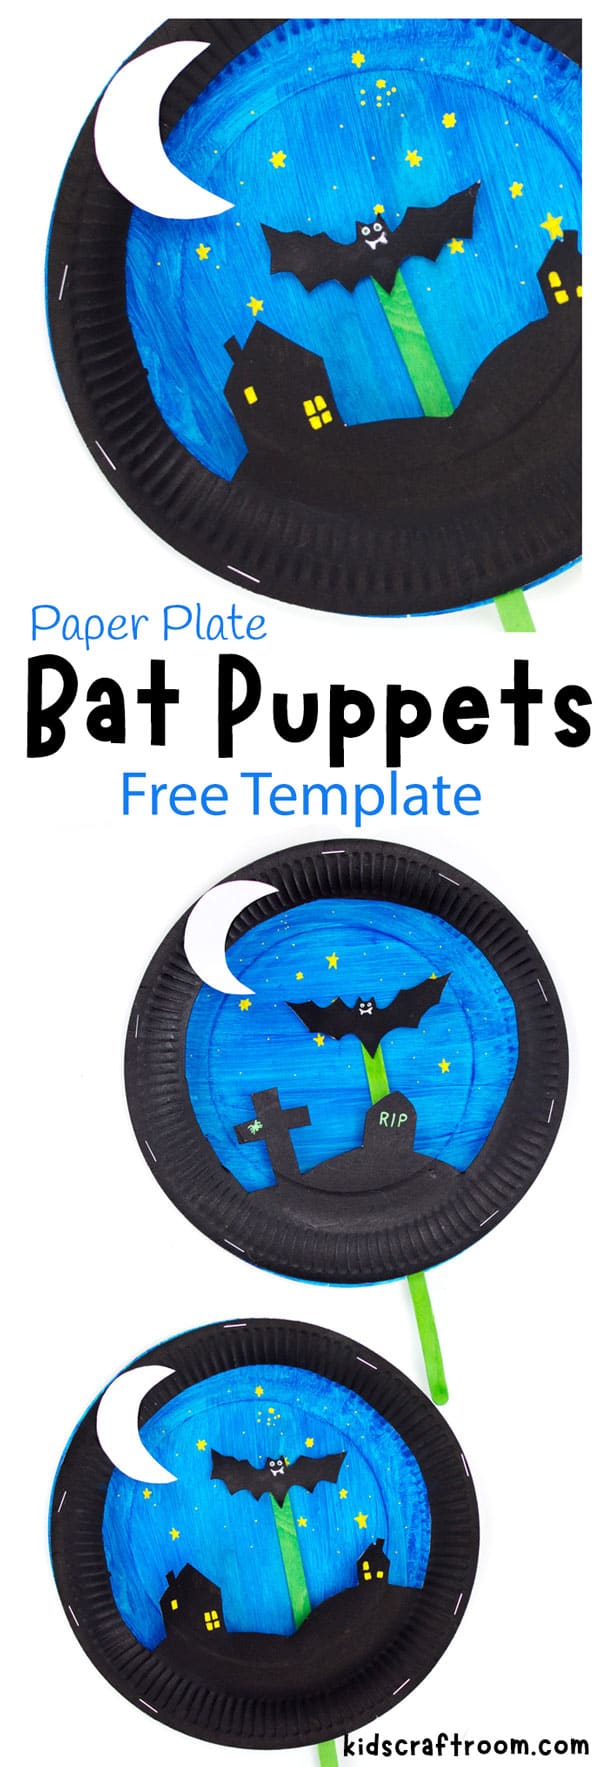
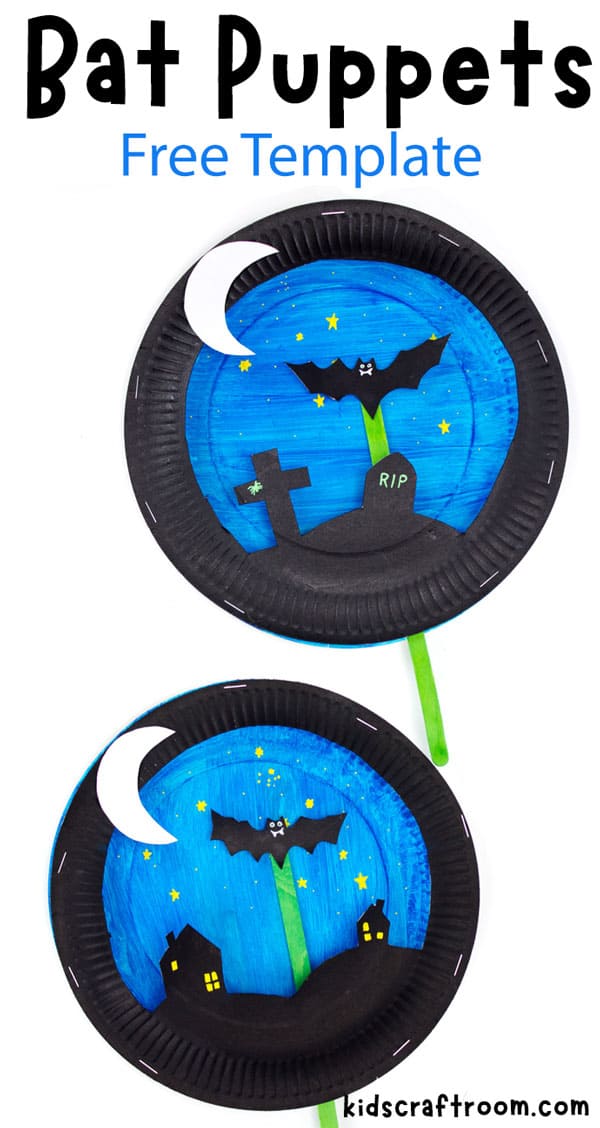
To keep it simple to make there are two printable templates to choose from so your flying bat puppets can either soar between the hills and rooftops or if you want a Halloween bat craft, then there’s a spooky graveyard scene!
Of course if you fancy a different night-time scene for your bat puppet, then it’s easy to design your own too.
Come Autumn and Winter as parents and educators we often start chatting to the children about dark nights, starry skies and nocturnal animals don’t we?
These paper plate flying bats are a great talking point that can be enjoyed purely for fun or incorporated into your seasonal study units.
They also go really well with our other favourite Autumn crafts and Halloween activities for this time of year.
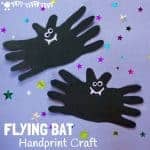
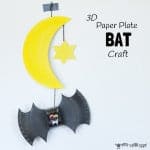
If you’re looking for even more bat fun you’ll love our Handprint Bat Craft, great for younger kids or our 3D Paper Plate Bat Mobile, which looks fantastic hanging in a bedroom.
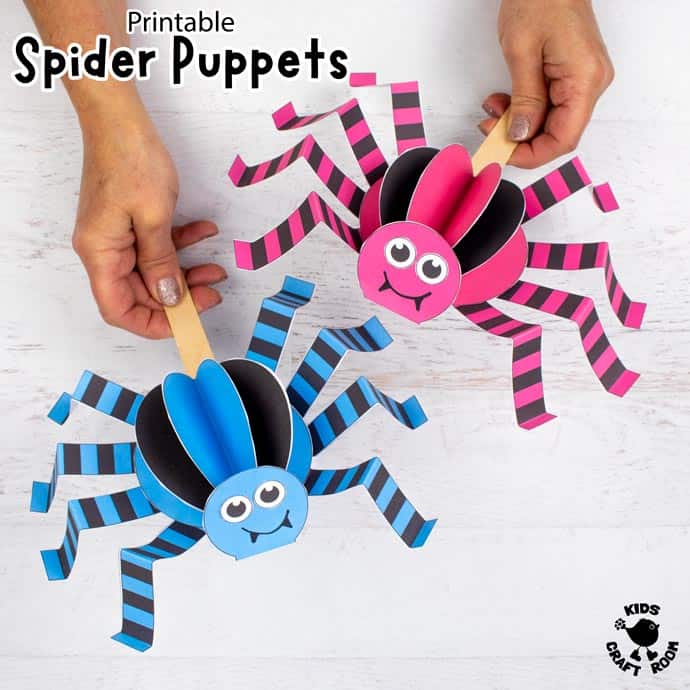
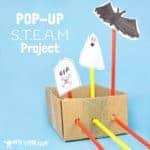
If your kids like a challenge, why not get them building their own Pop -Up Halloween Scene? Perhaps you’re looking for another paper plate animal craft? Handprint Spiders in their colourful webs fits perfectly!
Paper Plate Flying Bat Puppets
Supplies To Make Paper Plate Bat Puppet Craft
- Printable Bat Craft Template (available at the bottom of the post)
- 9 Inch Paper Plates
- Craft Sticks
- Paint
- Glue
- Stapler
- Posca Paint Pens
How To Make A Flying Bat Puppet
1 – Start by printing and cutting out the bat craft template. (Available at the bottom of this post.) Choose from the two night scenes, either the houses or the graveyard.
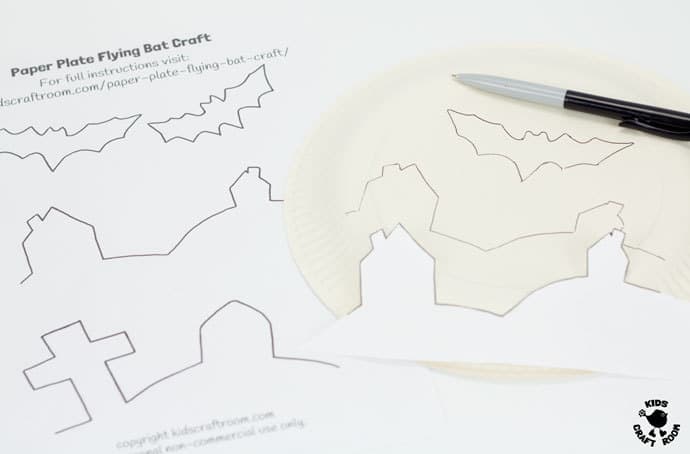
2 – On the back of a paper plate, place the template across the lower quarter of the inner circle and draw around the upper part of the template.
3 – Place your bat template in the middle of the paper plate and draw around that too.
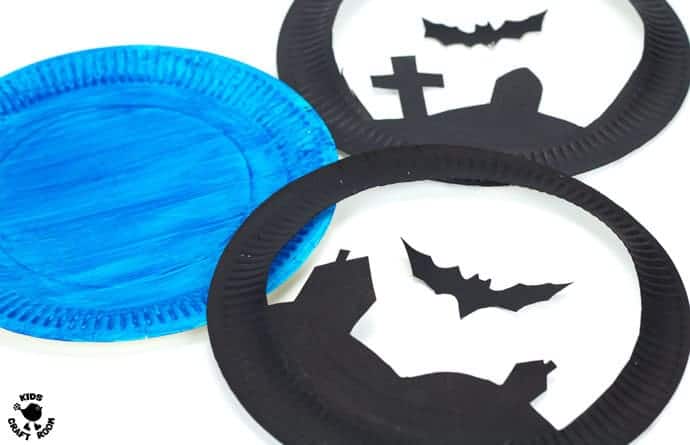
4 – Carefully cut out the middle of your paper plate and the bat, leaving the traced night scene and rim intact.
5 – Now paint the back of the cut paper plate and the bat black. And paint the front of a second paper plate blue.
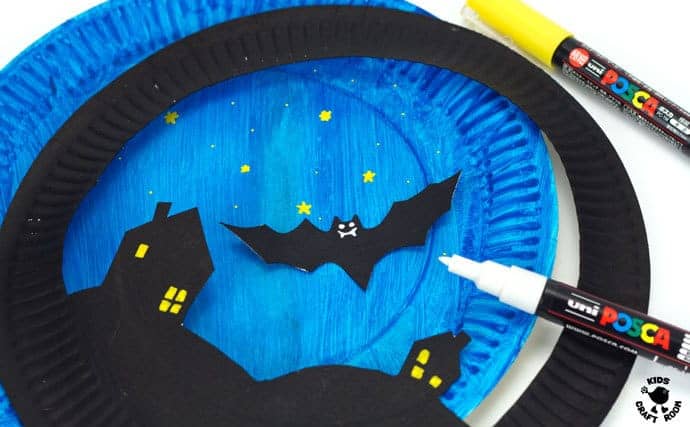
6 – When the paint has dried add some night time features to your bat craft using paint or marker pens. I love to use Posca Paint Pens because kids can add fine detail and the yellow and white go straight over the black paint without any problems!
You can add stars to your blue night sky and teeth and eyes to your bat. Yellow windows on the building give a cosy night time feel and cobwebs and RIP add a spooky Halloween atmosphere to the graveyard scene.
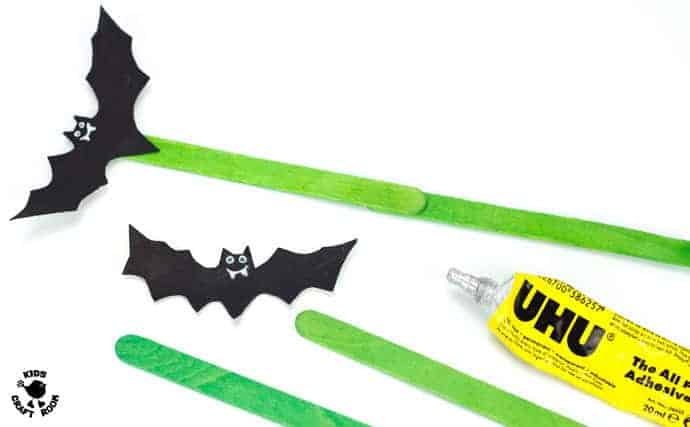
7 – You need a long handle on your bat puppet so glue together two popsicle sticks and stick the bat onto one end.

8 – Lay the black paper plate on top of the blue paper plate with the bat puppet handle poking out between them at the bottom.
9 – Staple all around the two paper plates leaving a small section at the bottom open so the bat puppet can be moved from side to side.
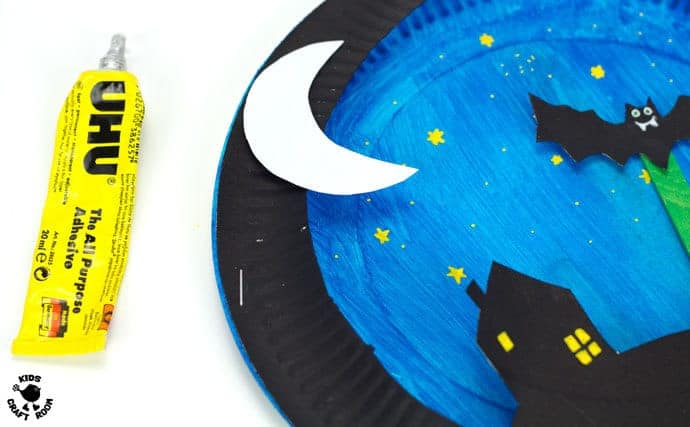
10 – Take a scrap of paper plate you cut from the middle of the back plate earlier, shape it into a crescent moon and glue it onto the rim of your flying bat craft.
This bat puppet craft is so much fun. I just adore crafts that kids can actually play with too, don’t you?
Scroll down to get your free template.
More Fun Halloween Crafts For Kids: