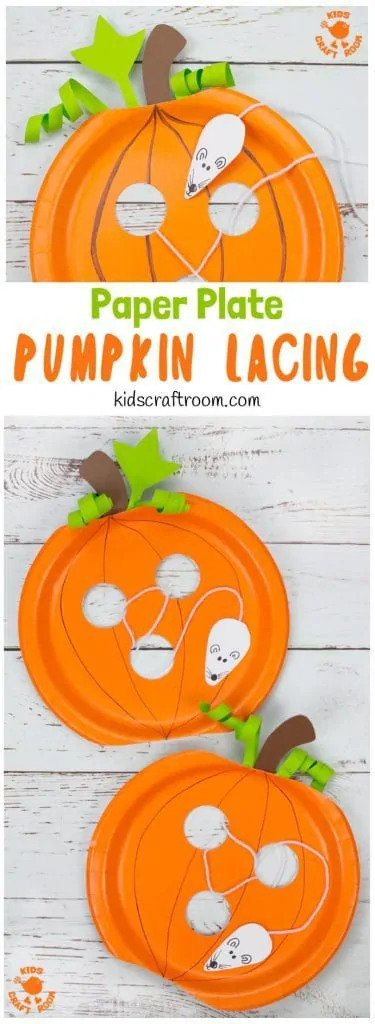
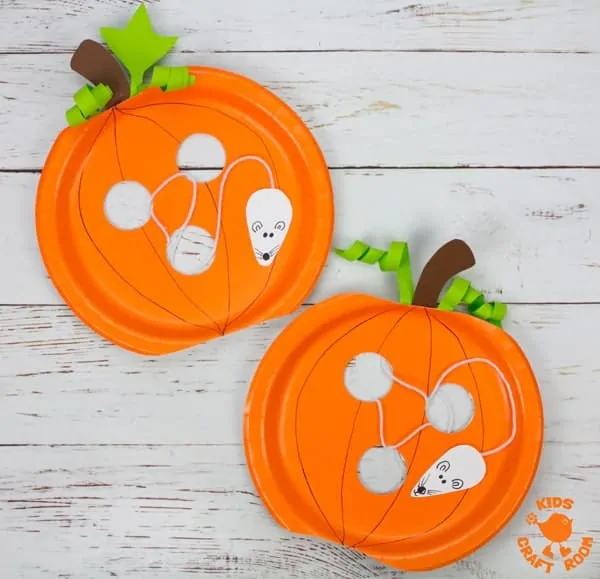
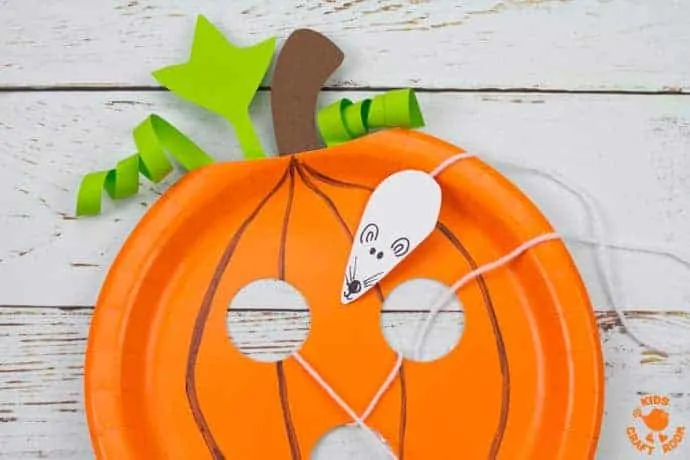
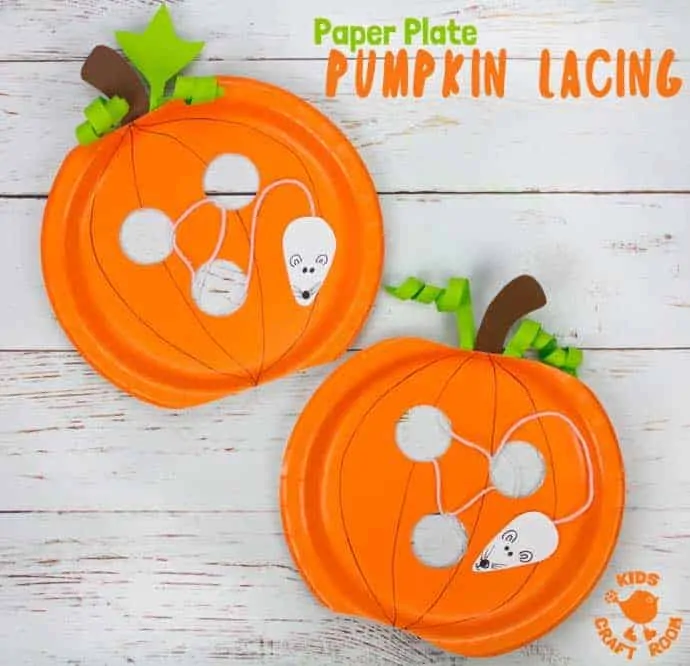
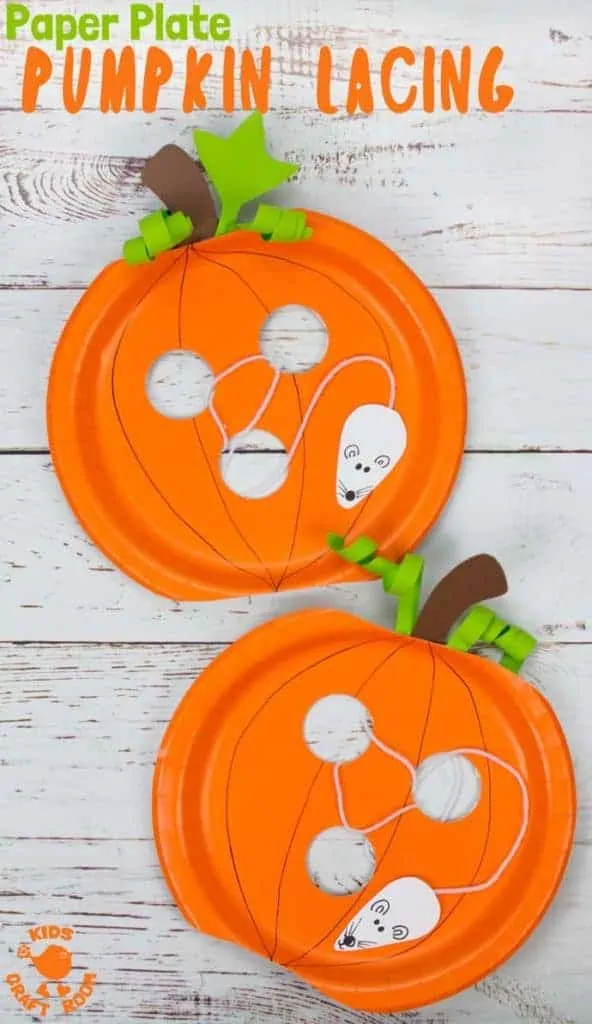
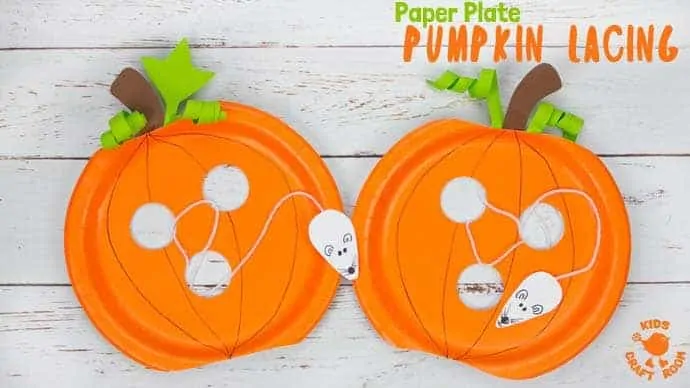
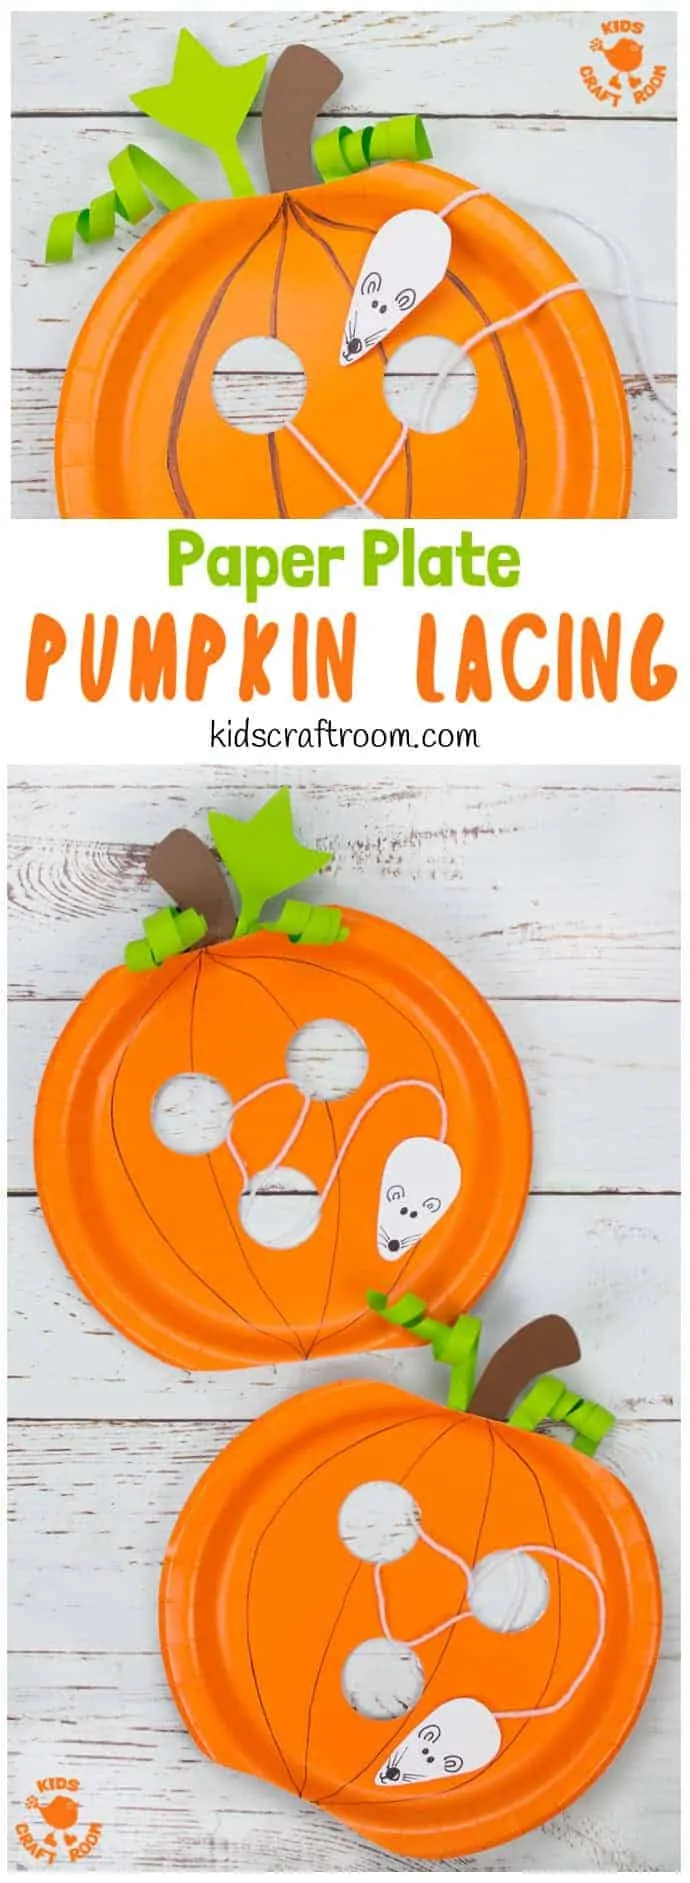
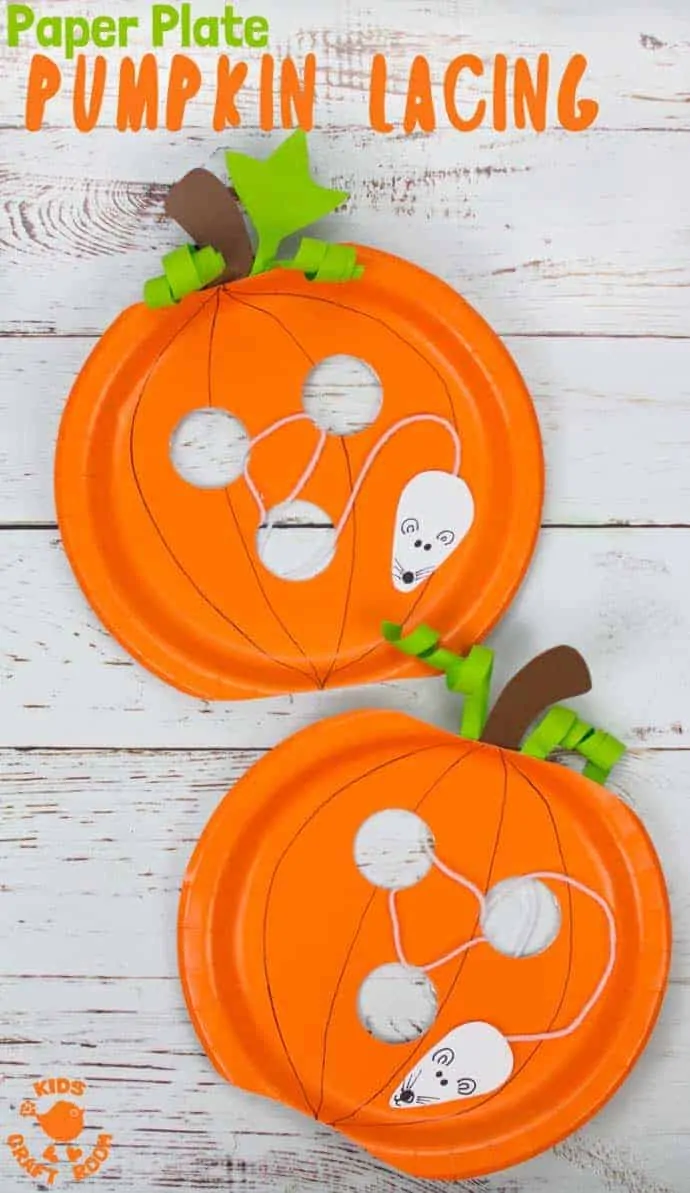
This Paper Plate Pumpkin Lacing Craft is loads of fun for toddlers and preschoolers. Kids can enjoy lacing the little harvest mouse in and out of the holes in the pumpkin that the cheeky fellow has nibbled!
This paper plate pumpkin craft is super easy to make and gives kids lots of opportunity to practise threading and developing their fine motor skills and hand eye co-ordination.
Pumpkin crafts are so fun for Fall and farming themes and we love that this one gives kids the opportunity to play and learn too!
We were inspired to make this paper plate pumpkin lacing activity after readers went bonkers over our apple lacing craft. We’ve used a similar idea to make this pumpkin Fall craft, but instead of a worm eating an apple we’ve got a mouse eating a pumpkin. So fun!
We love that this pumpkin lacing activity also works really well as a non-scary Halloween craft too.
Paper Plate Pumpkin Lacing Craft Tutorial
Pumpkin Craft Supplies:
- Orange Paper Plates
- Martha Stewart All Over The Page Punch US / UK
- Brown, Green and White Cardstock
- White Yarn
- Scissors
- Marker Pen
- Sticky Tape
How To Make Paper Plate Pumpkins For Lacing
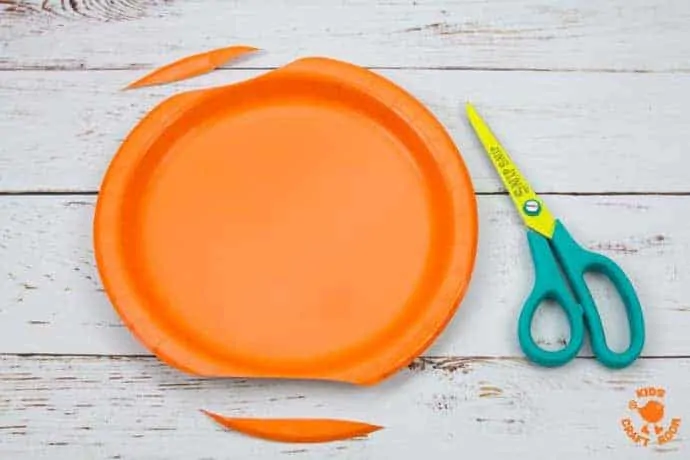
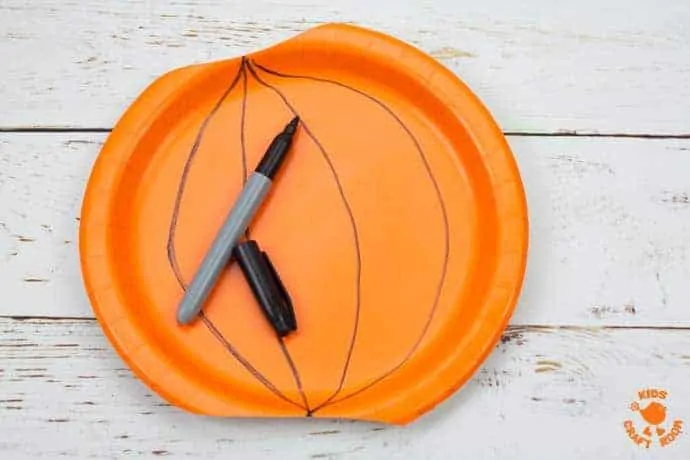
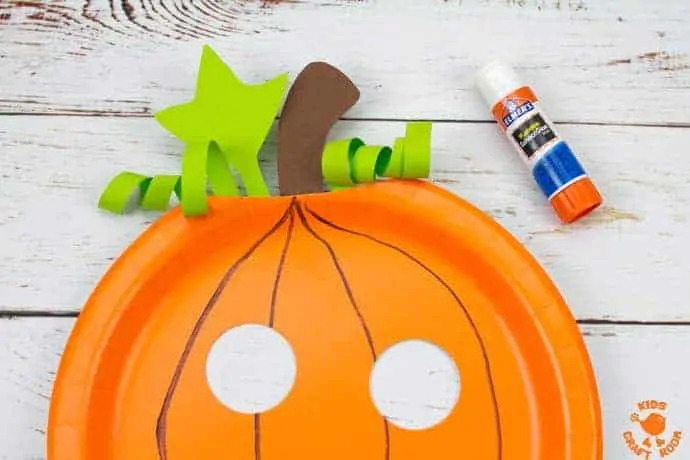
1 – Start by cutting a small section out of the top and the bottom of your paper plate to make a pumpkin shape. We used orange paper plates for this pumpkin craft but if you don’t have any then ordinary white paper plates painted orange will do.
2 – With a marker pen draw curved lines from top to bottom to make the bumpy shape of your pumpkin.
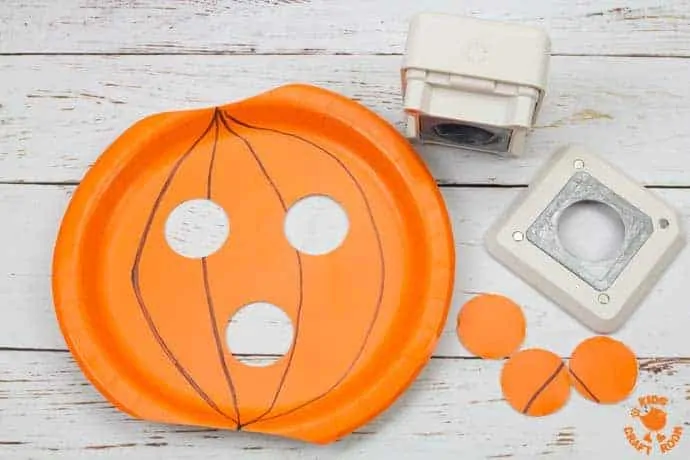
3 – Use the Martha Stewart All Over The Page Punch US / UK to cut some holes for the mouse to thread through. We adore this punch and wished we’d discovered them sooner! They come in different shapes and are such a great way to cut neat shapes into the middle of paper and card unlike traditional punches that can only cut at the edge.
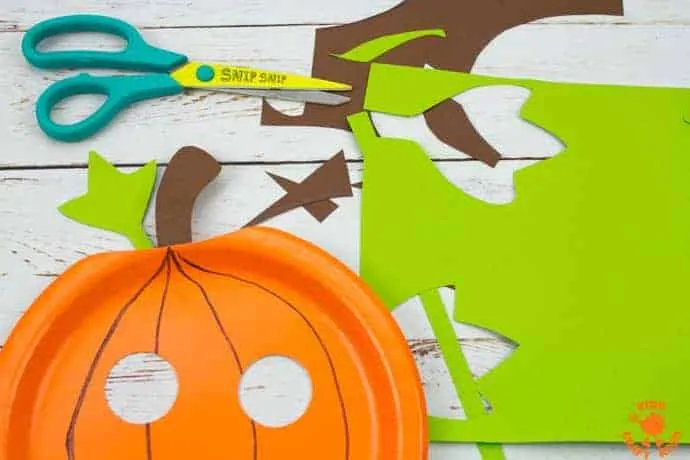
4 – Cut a brown stalk and green leaf from your cardstock and glue them onto the top of your pumpkin at the back.
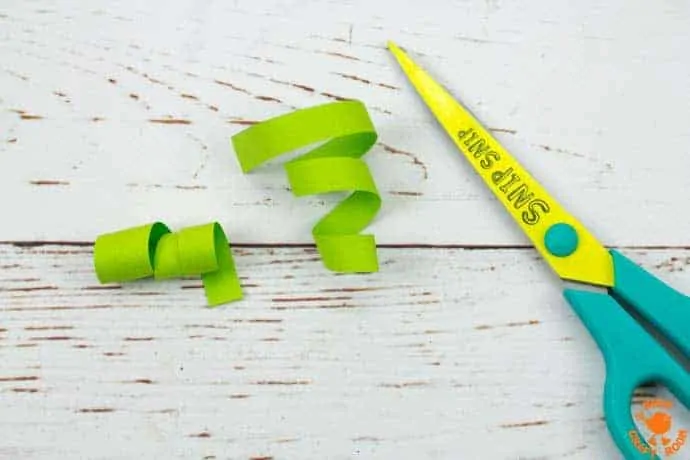
5 – Cut some thin strips of thin green card or paper and curl them around a pen to make the pumpkin tendrils.
6 – Glue the tendrils to the back of the pumpkin top as well.
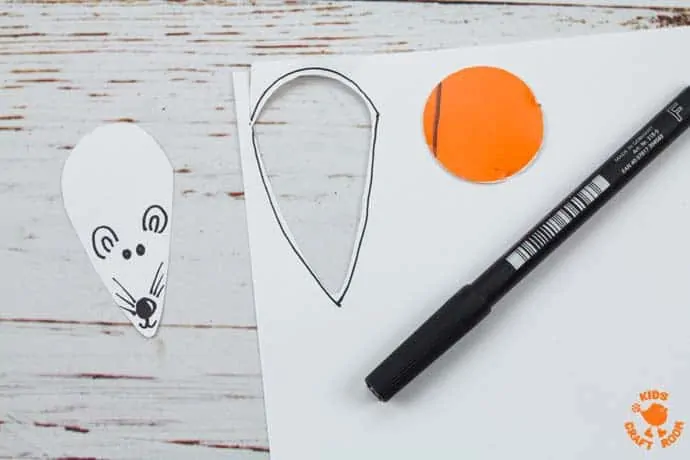
7 – When you are making your cardstock mouse you need to make sure it is small enough to fit through the holes in the pumpkin craft. An easy way to do this is to draw a semi circle tracing around one of the cut out circles from step 3. Elongate the lines down in a triangle shape to make the mouse. When you cut it out snip inside the line slightly and that way your mouse should be slightly narrower than the holes.
8 – Add a face to your harvest mouse with a marker pen.
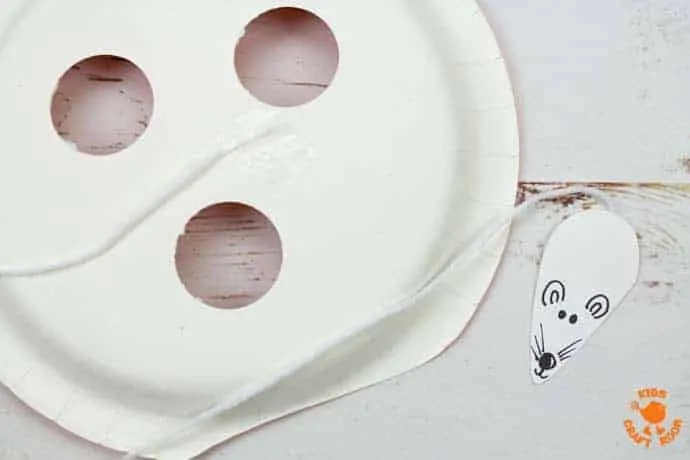
9 – Cut a length of white yarn and sticky tape it under the mouse to make its tail. Attach the other end to the back of your paper plate pumpkin.
Now your paper plate pumpkin lacing craft is ready to be enjoyed. We hope you enjoy it as much as we do.
Looking for more Fall fine motor crafts? Try these:
-
- Apple Lacing Craft
- Yarn Wrapped Leaves
- Printable Lacing Cards from Living Life and Learning
More Fun Halloween Crafts For Kids:
