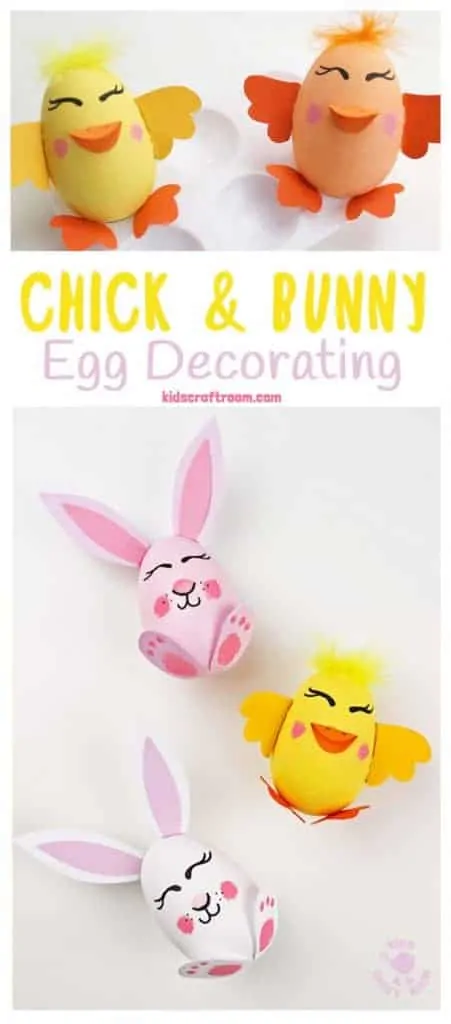
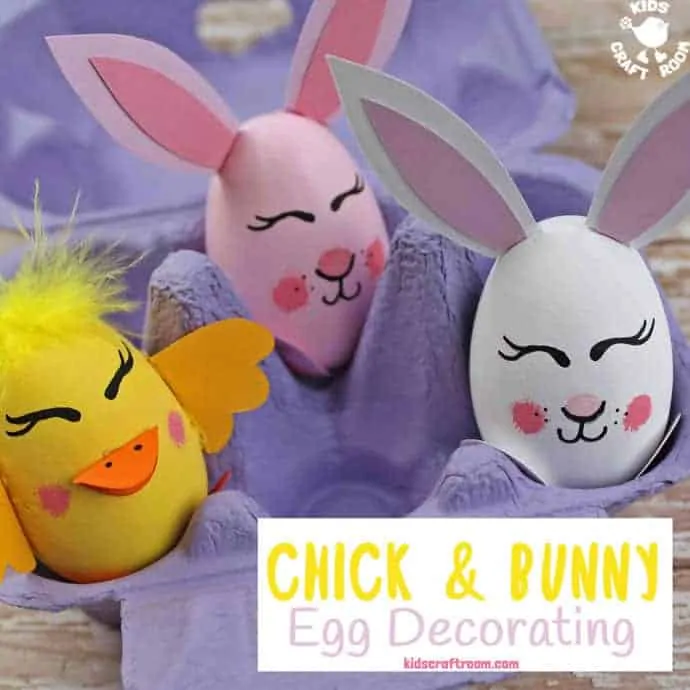
We think these Bunny and Chick Egg Decorating Ideas are super cute! You can decorate real blown or hard boiled eggs, wooden eggs, paper mache eggs and even plastic eggs. Whatever takes your fancy!
To help you we’ve got a free printable template for the shapes to cut out to decorate your bunny and chick eggs but they’re easy enough to do by free hand too.

You’ll see below the instructions for both egg decorating ideas. The chick is first, followed by the bunny. Have fun!
Bunny and Chick Egg Decorating Ideas Tutorial
Egg Decorating Supplies:
- Free Printable Template
- Eggs
- Acrylic Paint
- Feathers
- Paintbrush
- Cardstock
- Glue
- Glue Gun
- Pencil
- Black Permanent Marker or Paint Pen
- Scissors
How To Make Bunny and Chick Decorated Easter Eggs
Chick Decorated Eggs:
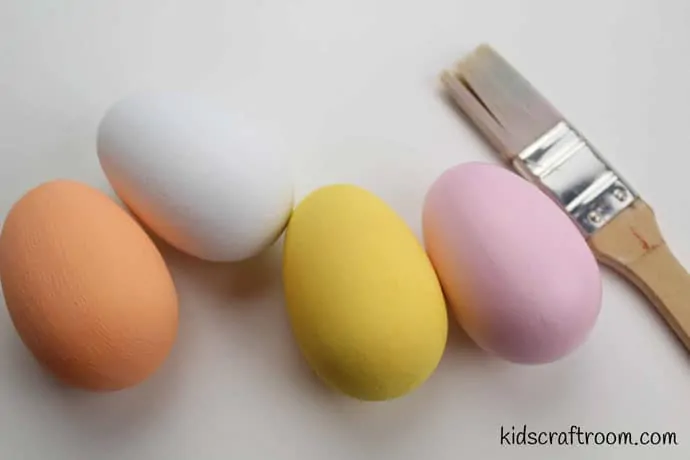
1 – Paint your eggs with acrylic paint. You will need to give 2 to 3 coats of paint for complete coverage.
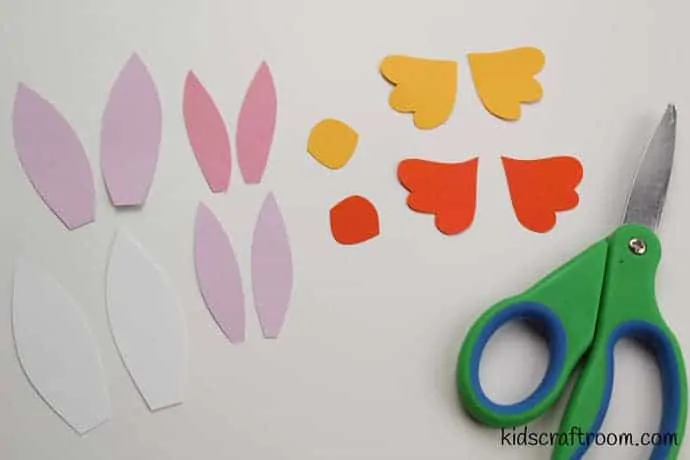
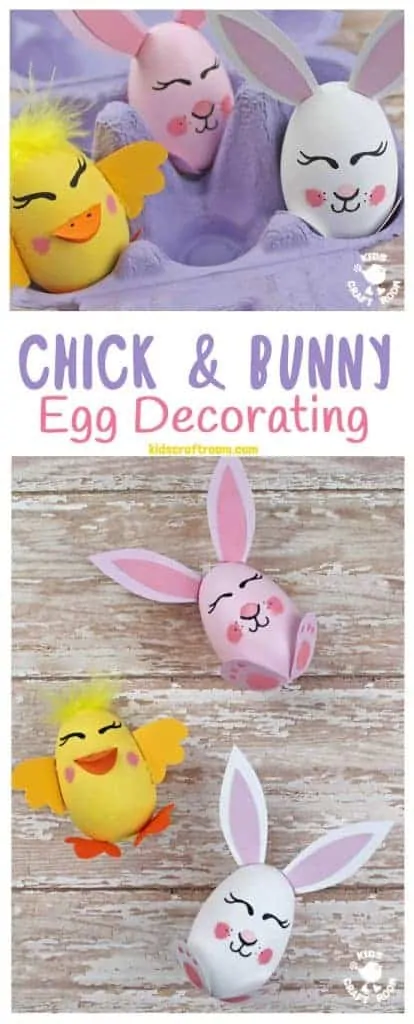
2 – Download and print the template. Trace and cut out the pieces onto coloured cardstock. We used orange and yellow for the chicks’ wings, feet and beaks and pinks and whites for the bunny rabbits’ ears.
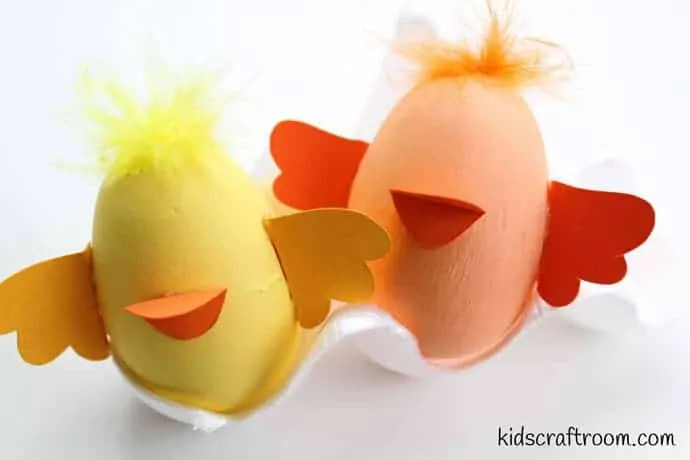
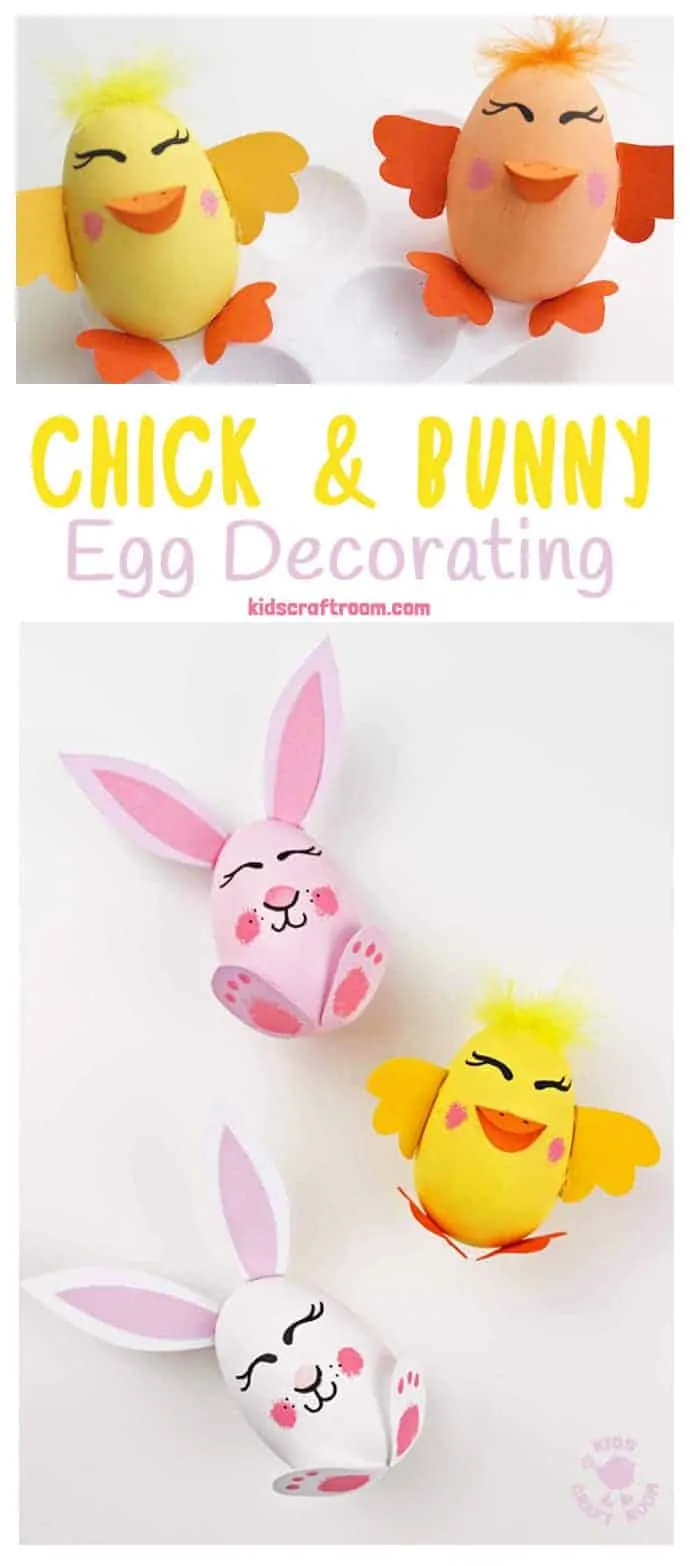
3 – To make your chick egg simple glue the wings and beak onto a painted egg. You can add a tuft of feather on the top of the chick’s head too if you like.
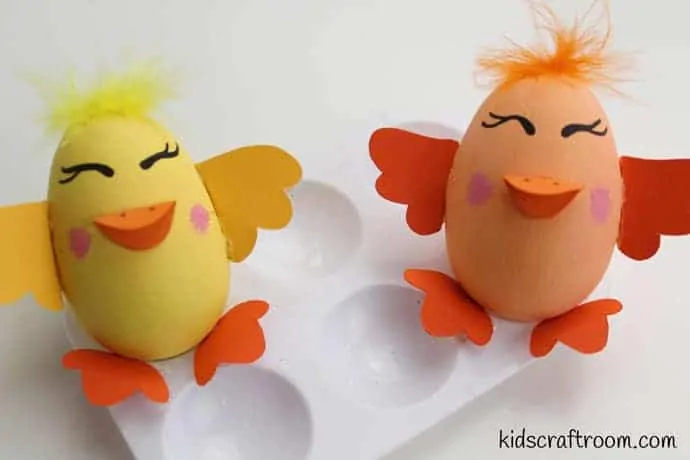
4 – Dip your little finger into pink paint to give your chick eggs rosy cheeks.
5 – Glue on the chick’s feet.
6 – Draw on some eyes and nostrils onto the beak.
Bunny Decorated Eggs:
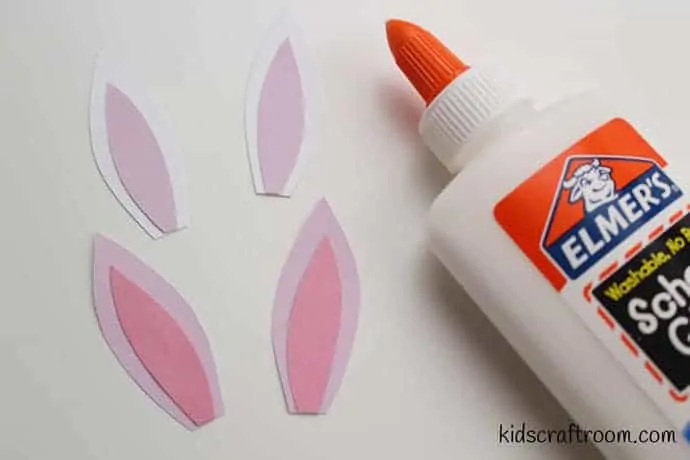
7 – Glue the inner and outer rabbit ears together.
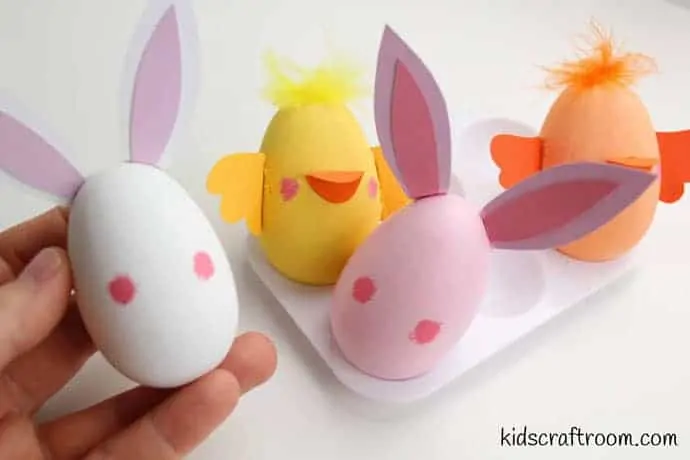
8 – Glue the ears onto an egg.
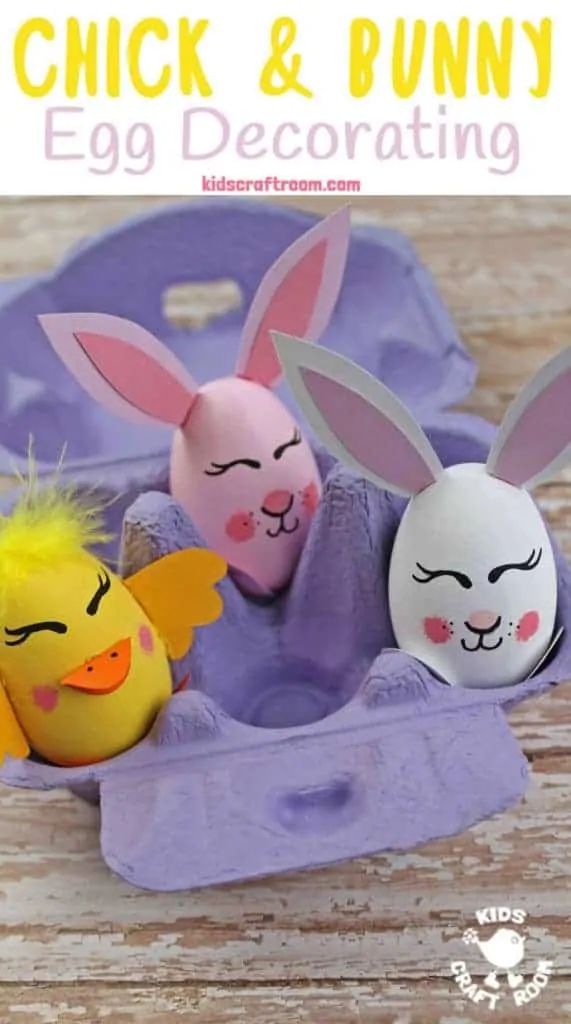
9 – Dip your little finger into pink paint to make two rosy cheeks and a nose.
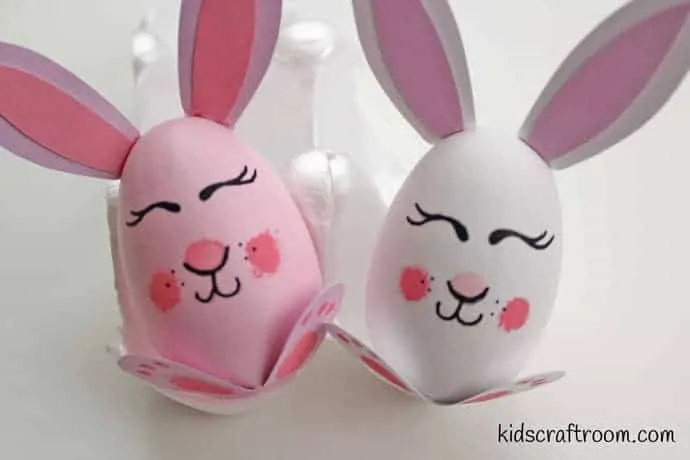
10 -Draw on eyes, mouth and whiskers.
11 – Dip your little finger into paint to add pads to the bottom of the bunny feet. Glue the feet onto the bottom of the bunny eggs.
Looking for more Easter egg decorating ideas? Try these:
- Woodland Animal Eggs
- Gnome Easter Eggs
- Superhero Easter Eggs from Create Craft Love
You can print the Easter craft instructions below.
More Fun Easter Crafts For Kids:

Bunny and Chick Egg Decorating Ideas
Materials
- Eggs
- Acrylic Paint
- Feathers
- Paintbrush
- Cardstock
- Glue
- Glue Gun
- Pencil
- Black Permanent Marker or Paint Pen
- Scissors
Instructions
- Paint your eggs with acrylic paint. You will need to give 2 to 3 coats of paint for complete coverage.
- Download and print the template. Trace and cut out the pieces onto coloured cardstock. We used orange and yellow for the chicks’ wings, feet and beaks and pinks and whites for the bunny rabbits’ ears.
- To make your chick egg simple glue the wings and beak onto a painted egg. You can add a tuft of feather on the top of the chick’s head too if you like.
- Dip your little finger into pink paint to give your chick eggs rosy cheeks.
- Glue on the chick’s feet.
- Draw on some eyes and nostrils onto the chick's beak.
- Glue the inner and outer rabbit ears together.
- Glue the rabbit ears onto an egg.
- Dip your little finger into pink paint to make two rosy cheeks and a nose.
- Draw on the rabbit's eyes, mouth and whiskers.
- Dip your little finger into paint to add pads to the bottom of the bunny feet. Glue the feet onto the bottom of the bunny eggs.