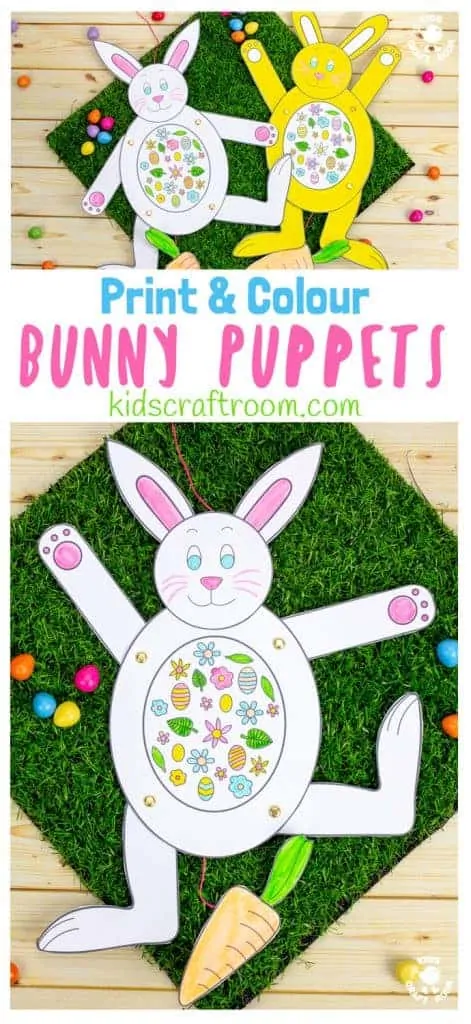
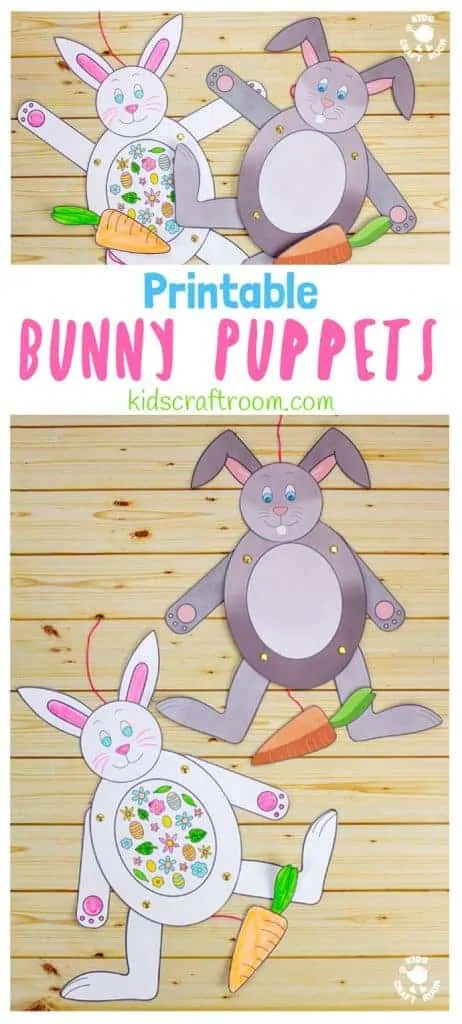
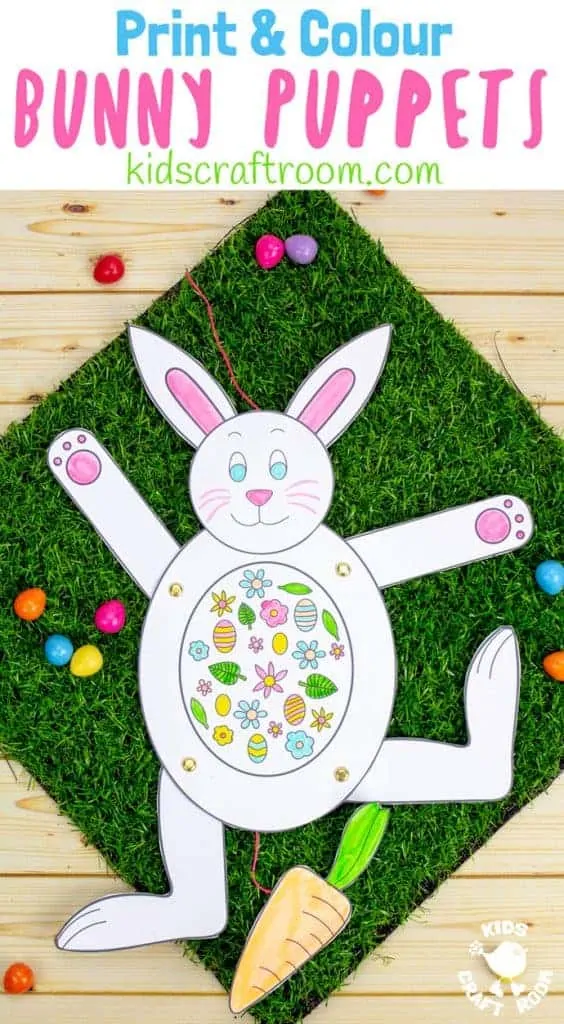
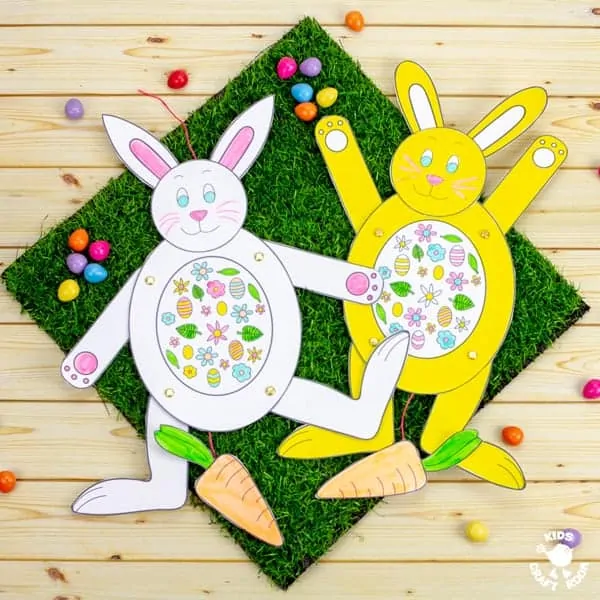
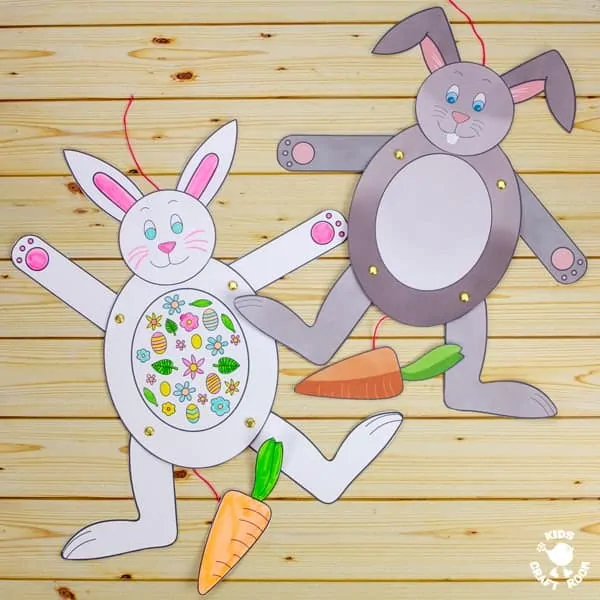
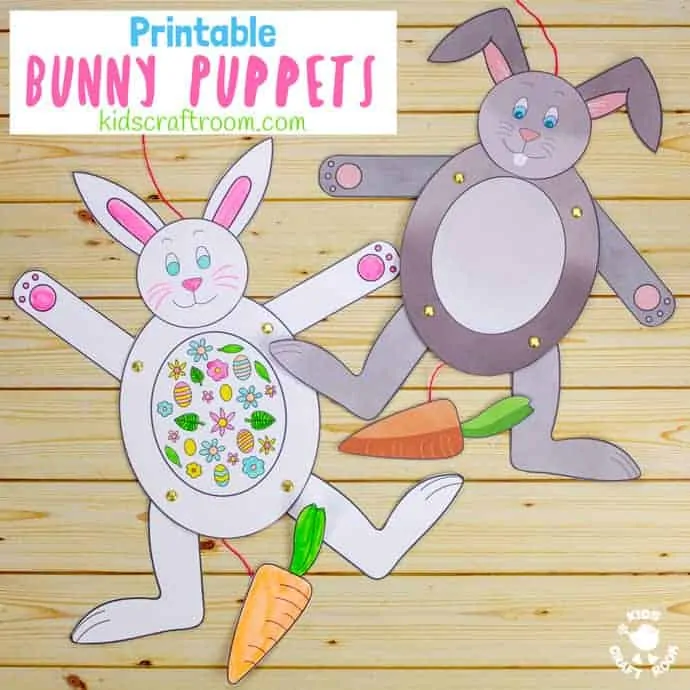
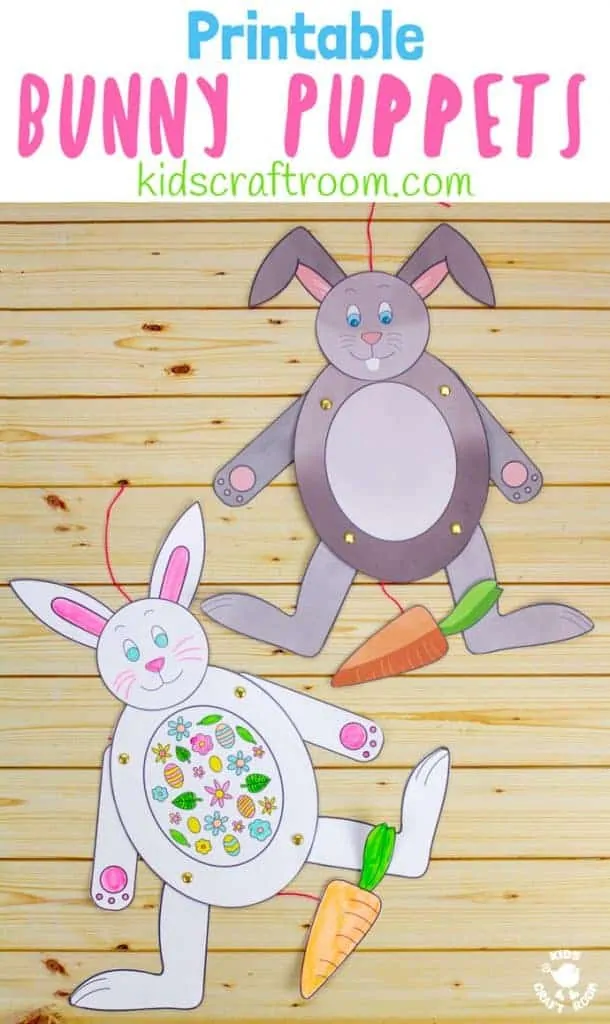
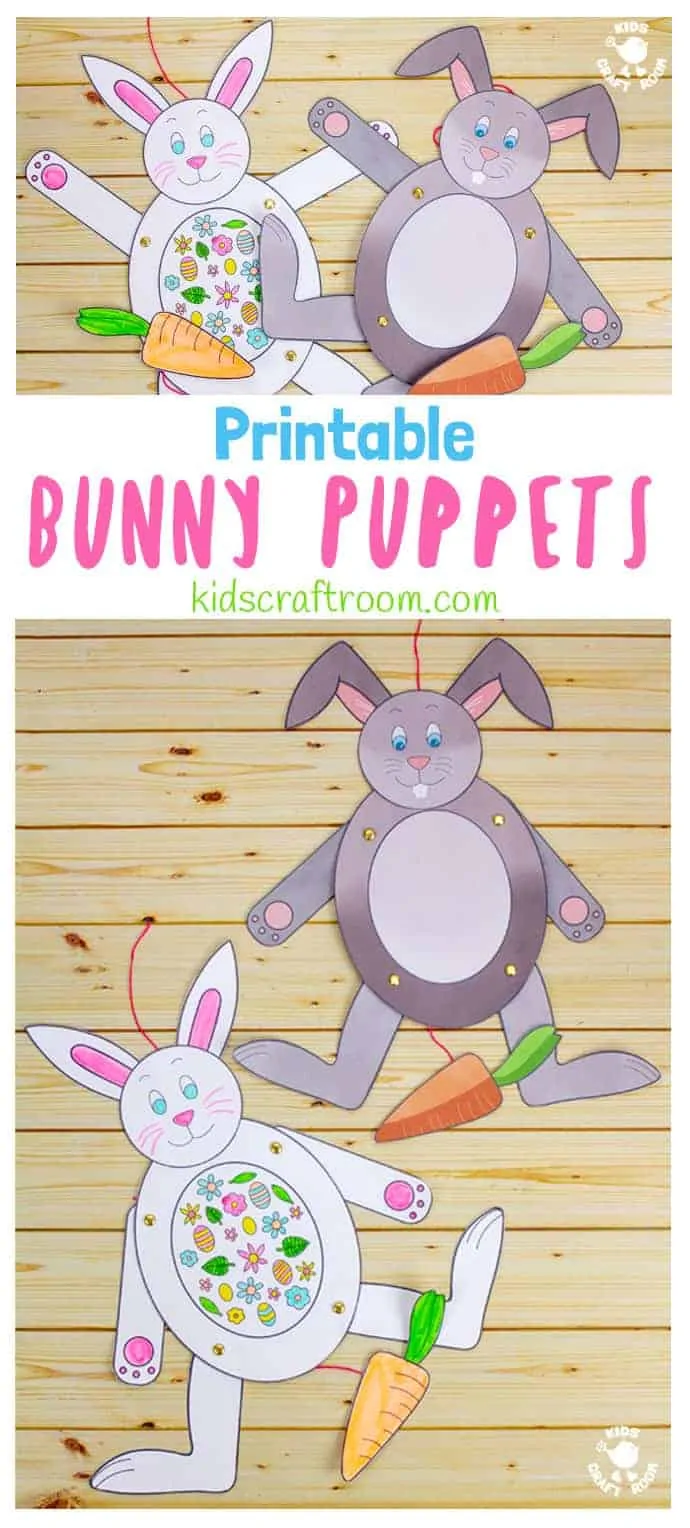
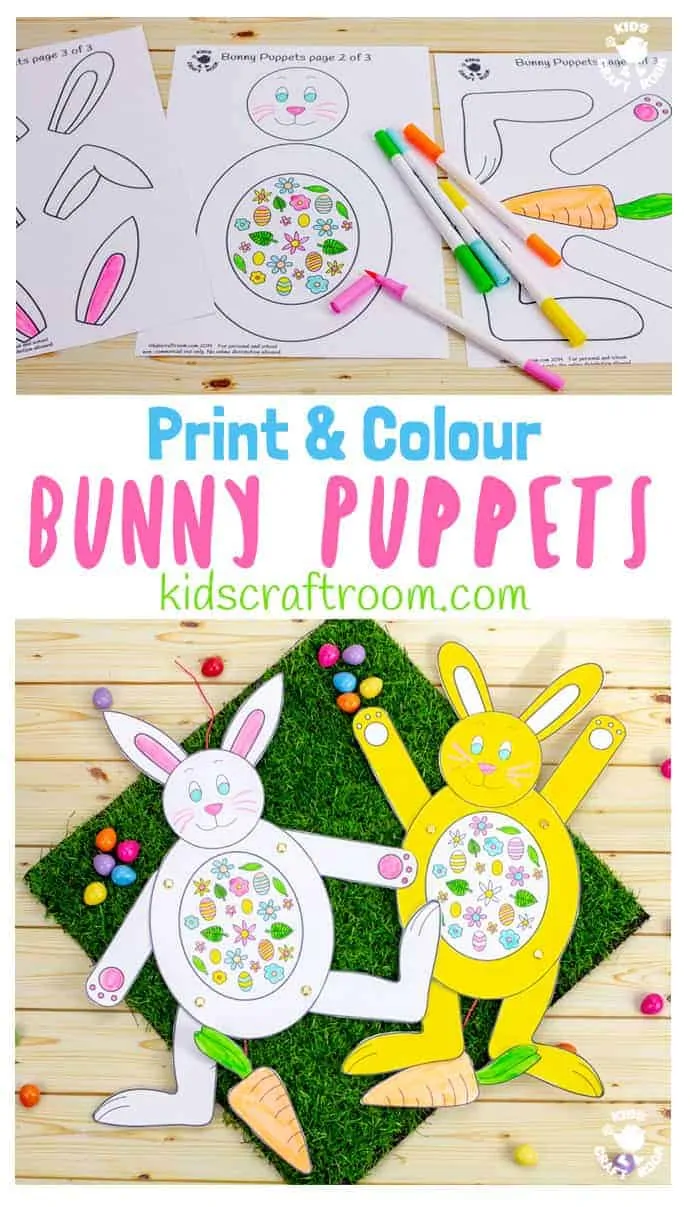
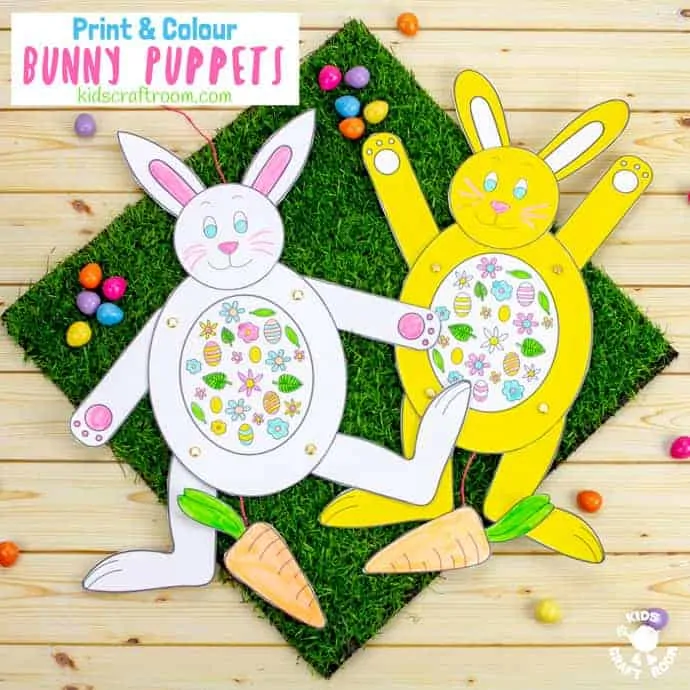
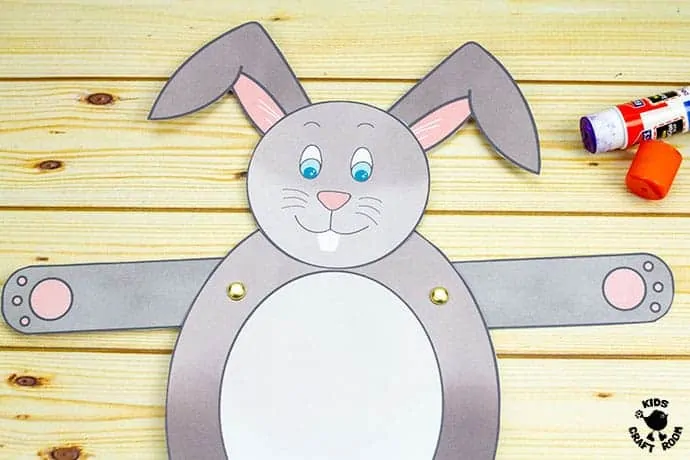
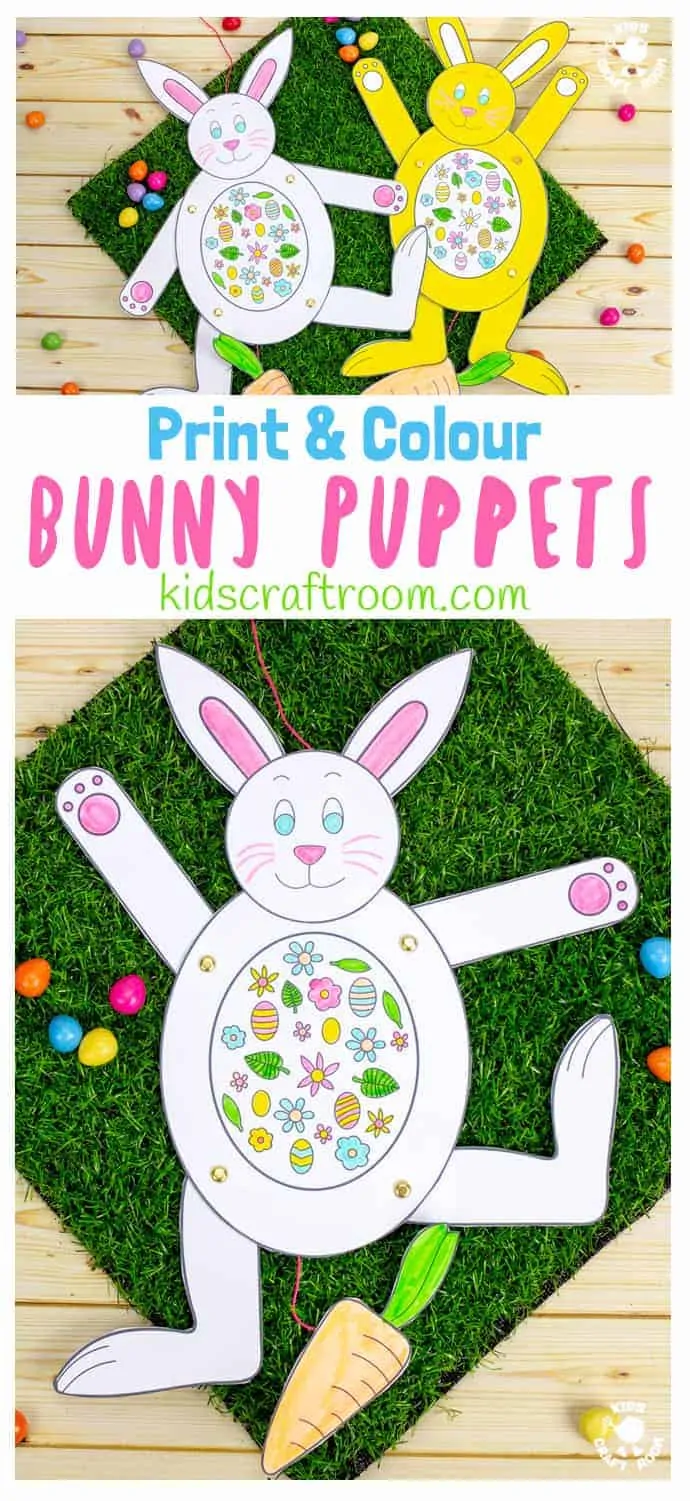
These Print and Colour Paper Bunny Puppets are so sweet! We just adore how cute they look dancing and hopping about when you pull their carrot! Take a peek at the video to see this fun rabbit craft in action, you’ll love them!
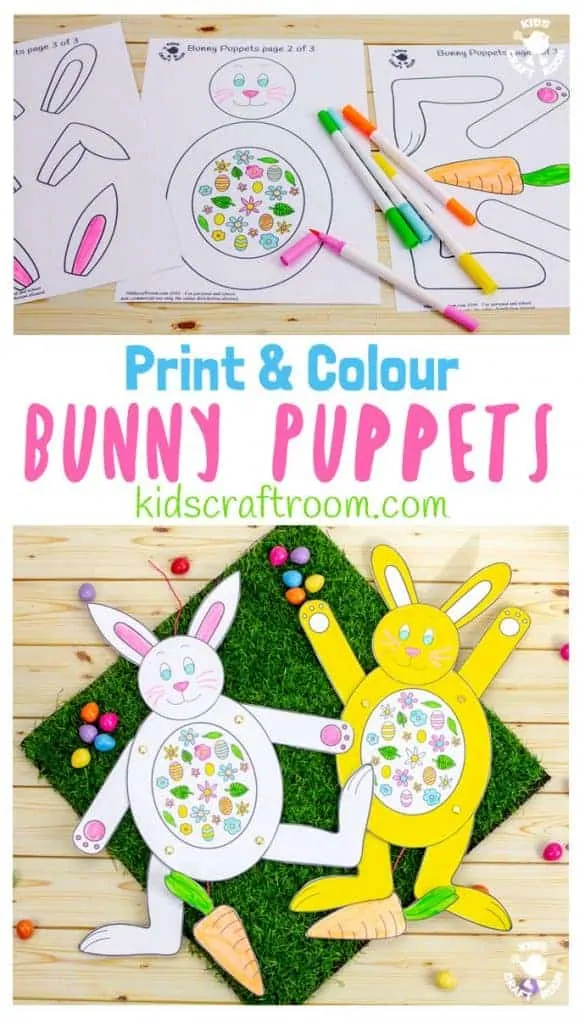
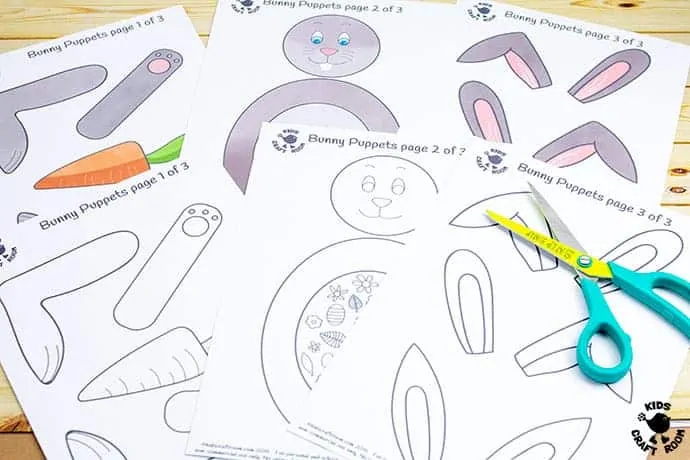
This printable rabbit craft comes with two versions. There is a ready coloured version and a black/white Easter Bunny pattern that children can colour themselves.
Each paper bunny puppet also has 3 different styles of ears to choose from too, pointed, rounded and folded over. Kids can have fun mixing and matching the ears to make different looking bunny puppets.
These rabbit puppets are great fun for kids of all ages. They have articulated arms and legs that older kids can make move by threading up the back and pulling down on the string.
If you want a simpler version for younger children it’s just as fun to glue the rabbit onto a popsicle stick instead.
Print and Colour Paper Bunny Puppets Tutorial
Scroll down to see how to make your rabbit puppets. Such a fun Spring and Easter craft for kids!
Easter Bunny Puppet Supplies:
- Rabbit Puppet Pattern
- White Printer Card
- Colouring Pens
- Single Hole Punch
- Paper Fasteners / Split Pins
- Embroidery Twine
- Large Needle
- Scissors
- Glue
- Sticky Tape
How To Make Paper Easter Bunny Puppets
1 – Start by printing the rabbit puppet pattern onto white printer card. If you are choosing the black and white version colour it in.
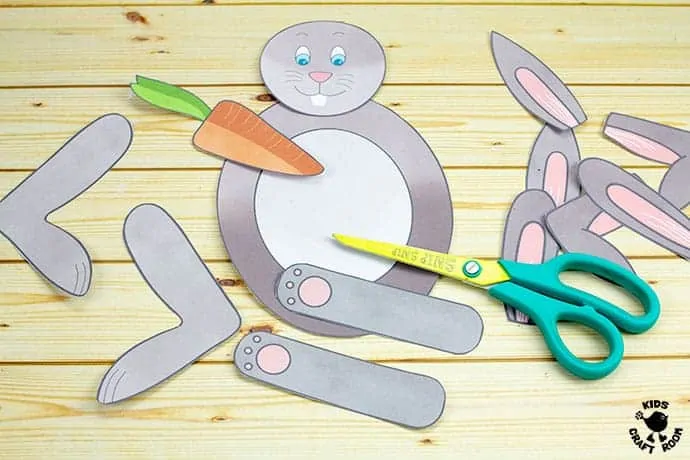
2 – Next cut out all the pieces of your paper bunny puppet. There is a head, body, two arms, two, legs, a carrot and a choice of ears.
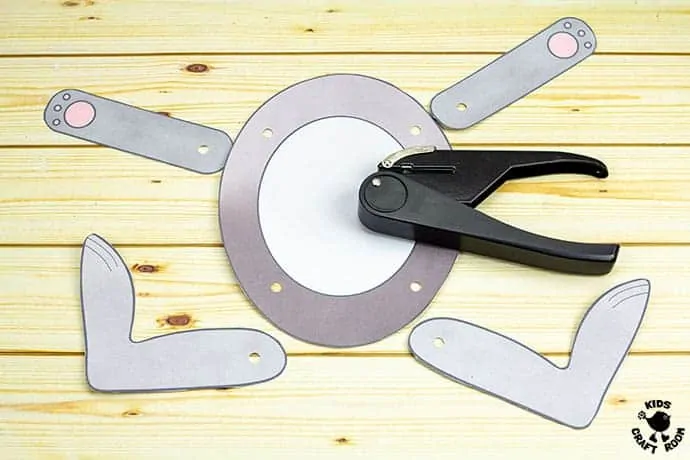
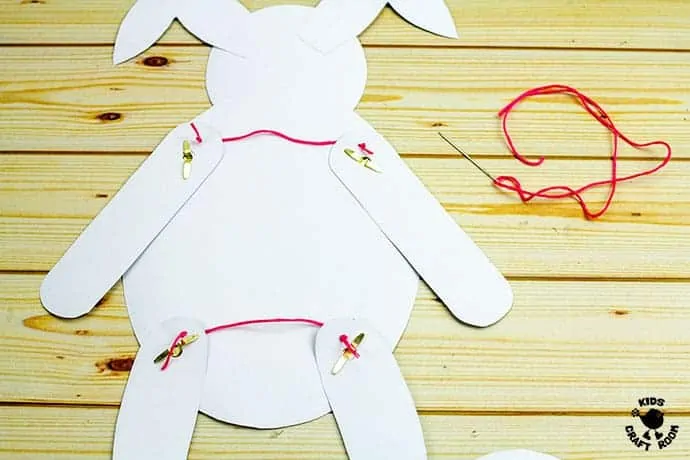
3 – To make the paper bunny puppets’ arms and legs move punch a hole in the top of each limb and corresponding holes in the body where you want the arms and legs to join.
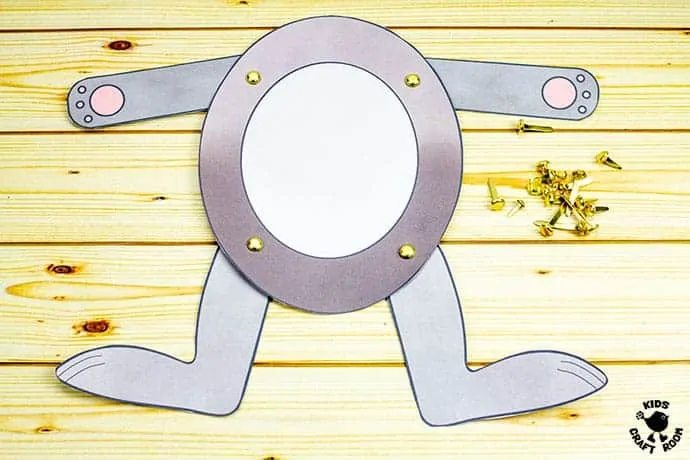
4 – Fix the rabbit’s limbs on with split pins/paper fasteners.
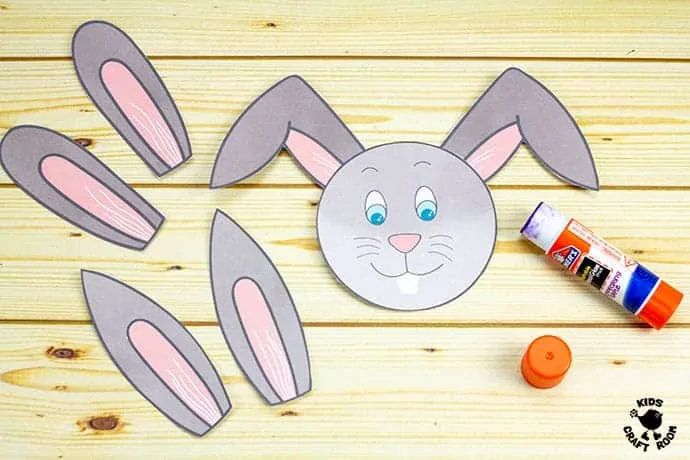
5 – First choose the style of ears you want and then glue them onto the back of the head.
6 – Glue the rabbit’s head onto its body.
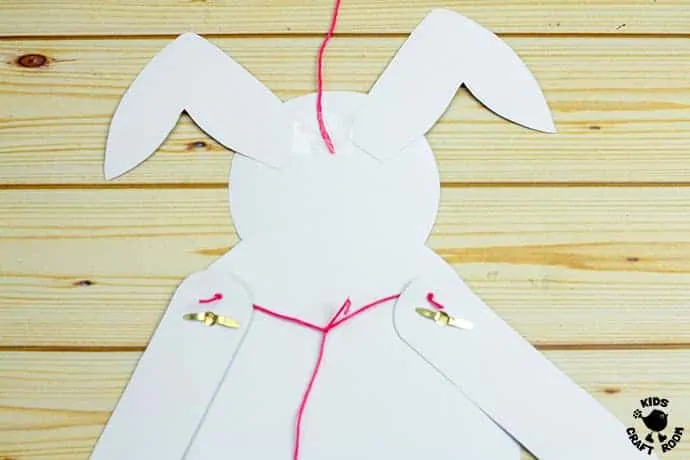
7 – Keeping the arms in a down position, thread some embroidery twine between the top of the two arms and knot off the ends. Repeat with the legs.
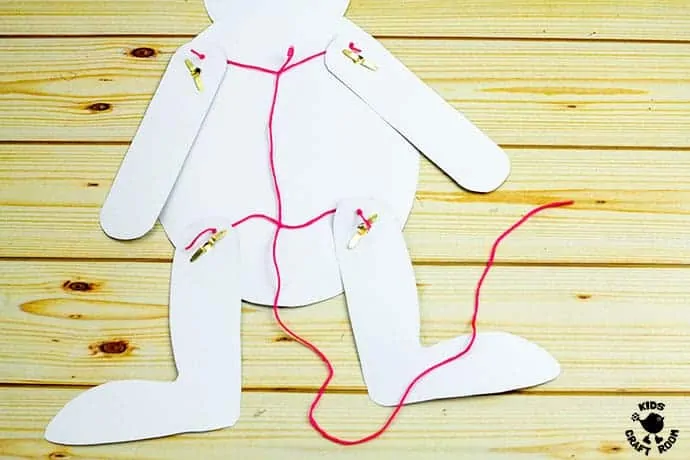
8 – Keep the bunny puppet’s arms and legs in a down position, then tie a length of embroidery twine onto the middle of the thread that spans between the arms.
9 – Next take the thread down and tie it onto the middle of the thread that spans between the legs.
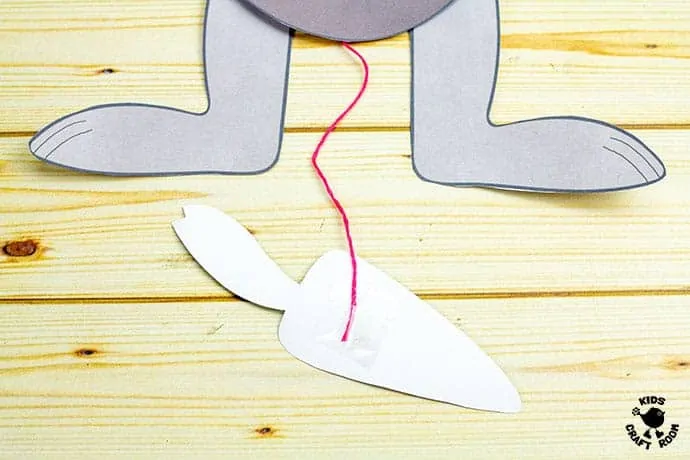
10 – Leave the thread dangling between the rabbit’s legs and sticky tape the carrot onto the end to make a handle to pull.
11 – Tape a piece of embroidery twine onto the back of the heads of your Print and Colour Paper Bunny Puppets so they can be held or hung up.
12 – Pull the carrot string at the bottom of the Paper Bunny Puppets to make their arms and legs shoot up and out to the side. Let the carrot go and the limbs will drop back down.
We hope you have lots of fun making and playing with these Paper Bunny Puppets.
Looking for more rabbit craft ideas? Take a peek at these:
Looking for a rabbit puppet idea for your classroom? Red Ted Art has a lovely bunny puppet you can buy that comes with printable worksheet instructions for students and a lesson plan overview. See the details here.
Click Here To Get Your Easter Bunny Puppets Template.
(This post has been updated 13/6/2020.)
More Fun Easter Crafts For Kids:
