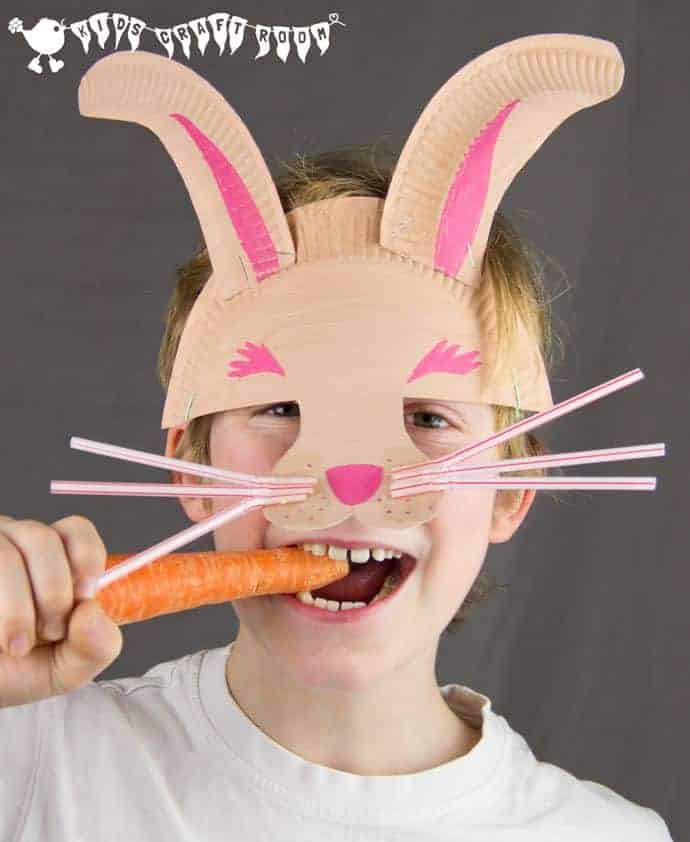

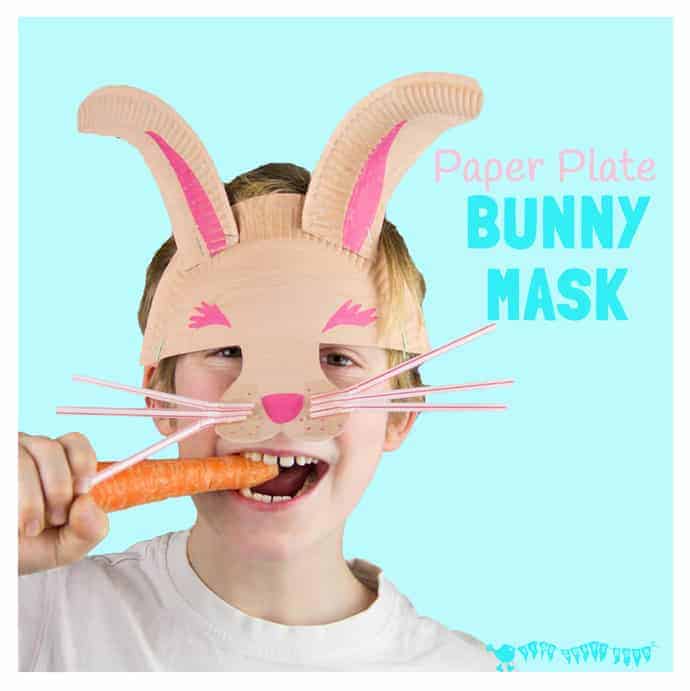
This cute whiskered paper plate Easter Bunny Mask is a really easy Spring craft and something children of all ages will enjoy having in their dressing up box all year round. I really like that they sit on the forehead as some little ones don’t like wearing full face masks and it makes it much easier for glasses wearers too.
Easter time is such a wonderful season for getting children interested in nature and animals, especially rabbits, lambs and chicks. Outside there’s so much going on; the daffodils are blooming, ducklings are bobbing in the ponds and the fields are home to bouncing baby bunnies. Why not check out our other Easter crafts too?
Perhaps you’ll be lucky enough to visit a local farm and see the baby animals? Baby rabbits are quite adorable with their little tiny ears and bob tails. It really is a magical time of year with so much to see, experience and chatter about. These paper plate Easter Bunny masks are a great simple play resource you can enjoy making together to carry on the learning and exploration within the home.
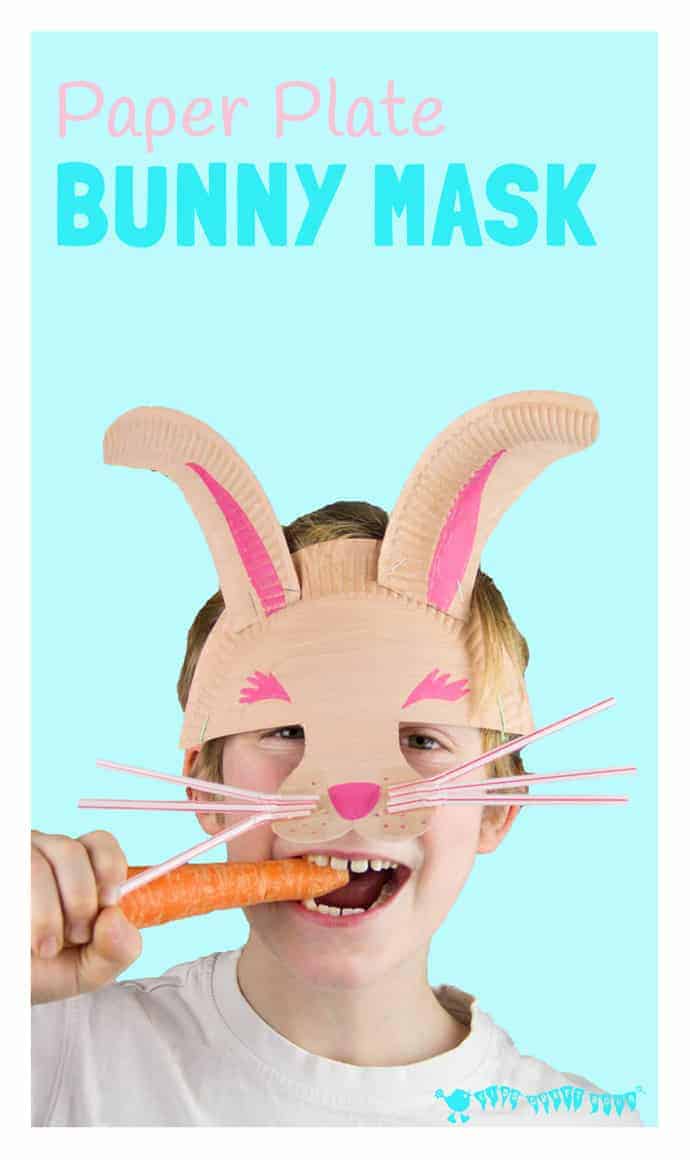
How To Make An Easter Paper Plate Easter Bunny Mask
Supplies To Make An Easter Bunny Mask
(This post contains affiliate links.)
- paper plate
- light brown paint (I think pink or white would look cute too.)
- 6 bendy drinking straws
- stapler
- felt pen
- elastic
- small cup for drawing around.
- pencil
- eraser
- scissors
How To Make An Easter Bunny Mask
Stage 1
To make your Easter Bunny Mask paint the paper plate brown and allow to dry.
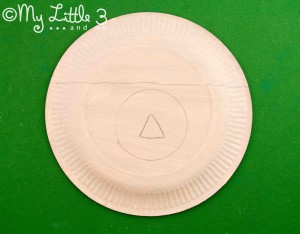
Stage 2
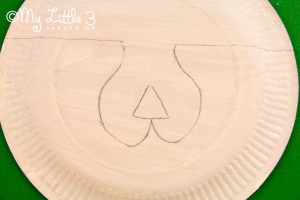
Using a pencil mark out the Easter Bunny Mask’s features. Draw a light line across the plate to divide off the upper third. Place your cup slightly below the line in the middle of the plate and draw lightly around it to mark out the rabbit nose area. Draw a little triangle nose in the middle of the circle.
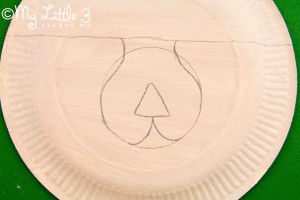 Stage 3
Using the picture above and your circle and triangle to guide you, draw in pencil the shape of the surrounding nose area.
 Stage 4
Use the eraser to rub out the unwanted guide lines.
 Stage 5
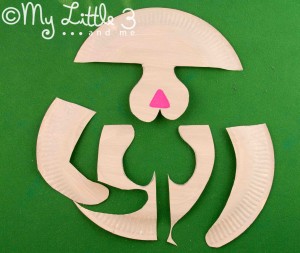
Start at the side and cut out the mask shape. Use a felt pen to colour your rabbit mask’s nose.
 Stage 6
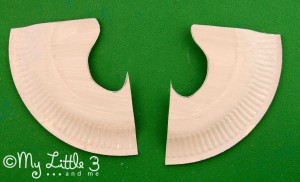
Cut the remaining piece of plate in half.
 Stage 7
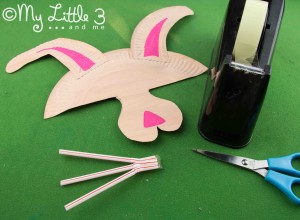
Use the picture above to guide you and pencil on your bunny ear shapes and cut them out. I deliberately made each ear different but you could keep them both the same if you prefer.
 Stage 8
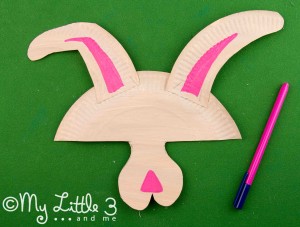
Staple the Easter Bunny Mask’s ears in place and felt tip on any wanted detail.
 Stage 9
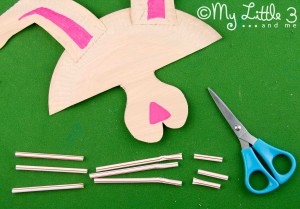
Now make the Easter Bunny Mask whiskers. Take 3 straws and hold them together so that the bends all match up. Cut the long pieces of straw below the bend in half. At the other end of the straws, cut off about 2/3 of the short piece of straw below the bend. You want to leave yourself with about 1cm length below the bend to tape with.
 Stage 10
Tape the 1cm pieces of straw below the bend together.
 Stage 11
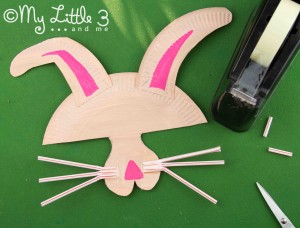
Tape the bundle of straw whiskers to your Easter bunny mask and repeat stages 9-11 with the other 3 straws.
 Stage 12
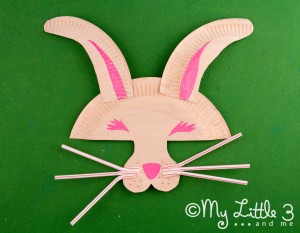
Make a small hole in either side of the mask and tie on the elastic so that it is a snug fit to the head. We decided to add some little eye brows to our Easter bunny masks too.
Stage 13
Enjoy wearing your cute Easter Bunny Mask and hop, hop, skippitying around the house and garden.
More Fun Easter Crafts For Kids:
