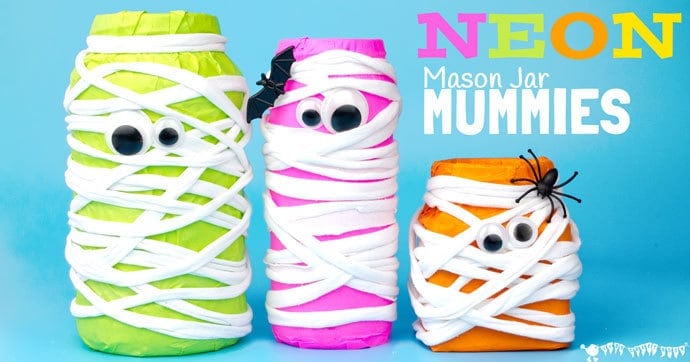
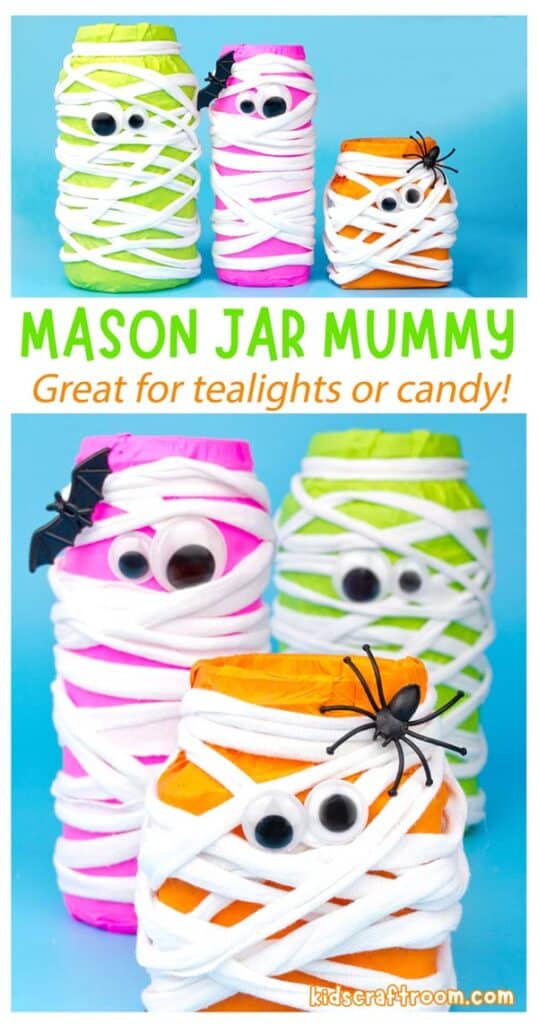
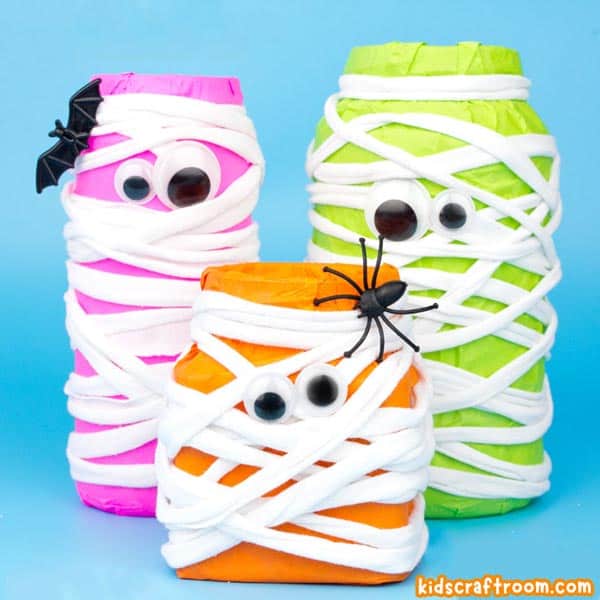
Halloween isn’t Halloween without a mummy or two! These Neon Mason Jar Mummies are perfect for adding a splash of colour and spooky fun to your Halloween decorations.
I just love that these Mummy Mason Jars look good both day and night.
During the day their vibrant neon colours are a real crowd pleaser and they’re perfect for using as a simple table decoration or for filling with Halloween candy.
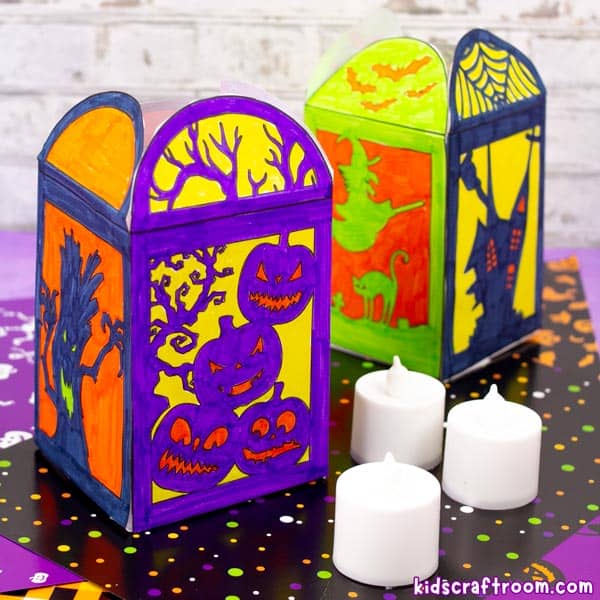
At night time you can pop a battery tea light inside for a spooky neon glowing Mummy Mason Jar Lantern! What fun!

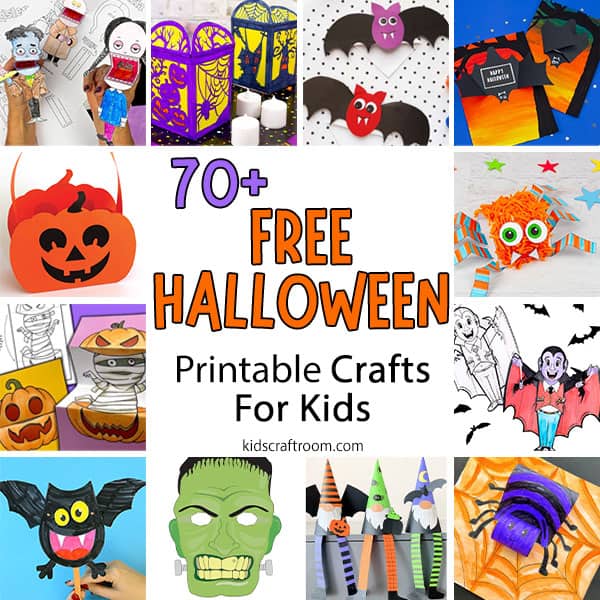
Before we get started making our spooky mummy craft you might like to check out some of my other Halloween craft ideas too. Amongst readers favourites are Spider Pizza, Spooky Ghost Popsicles, Handprint Bats and Playful Rock Spiders!


Now let’s get back to those bandaged up mummies!
Neon Mason Jar Mummies are quick, easy and super frugal to make because nearly all the materials are recycled!
This means kids can enjoy making just one mummy or an entire mob of Mason Jar Mummies to adorn the whole house without breaking the bank. Fun, fun, fun!
Supplies To Make Neon Mason Jar Mummies
- Mason Jars
- Brightly Coloured Tissue Paper
- Glue Stick
- T-shirt Yarn
- Googly Eyes
- Battery Tea Lights
- Halloween Rings
How To Make Neon Mason Jar Mummies
Thoroughly wash and dry your mason jars. If you’re making a few mason jar mummies it’s effective to use a selection of different sized jars.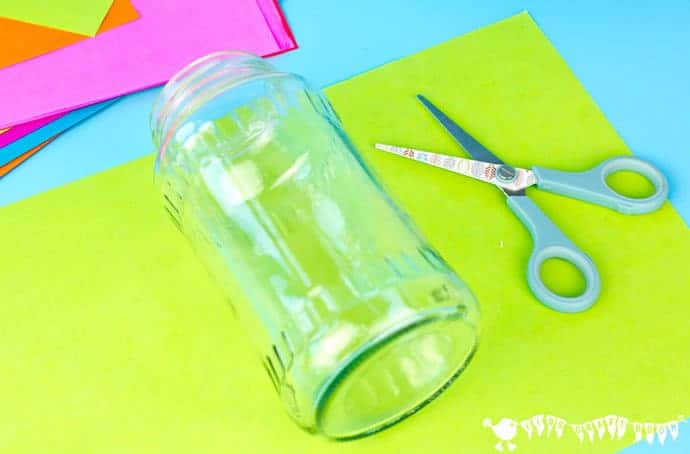
Cut a rectangle of neon bright tissue paper wide enough to wrap around the mason jar and two or three inches taller than the jar itself.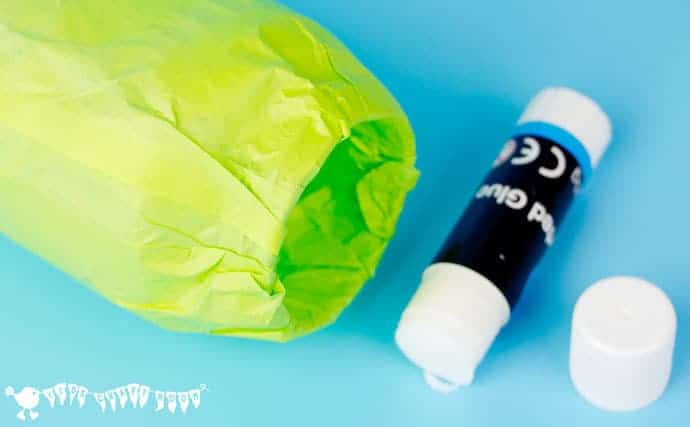
Line the tissue paper up so that half an inch hangs over the bottom of the mason jar and an inch or two hangs over the top. Wrap the tissue paper around and glue it into place. Tuck the over hangs under and into the mason jar and glue if necessary.
I used homemade t-shirt yarn to wrap around my mason jar mummy and I’ll write a post soon to explain how to make it for those of you that aren’t sure. You can also buy t-shirt yarn and similar products easily too if you prefer.
I like the effect of t-shirt yarn because it’s quite thick and raised from the jar giving a great 3D texture to this Halloween craft.
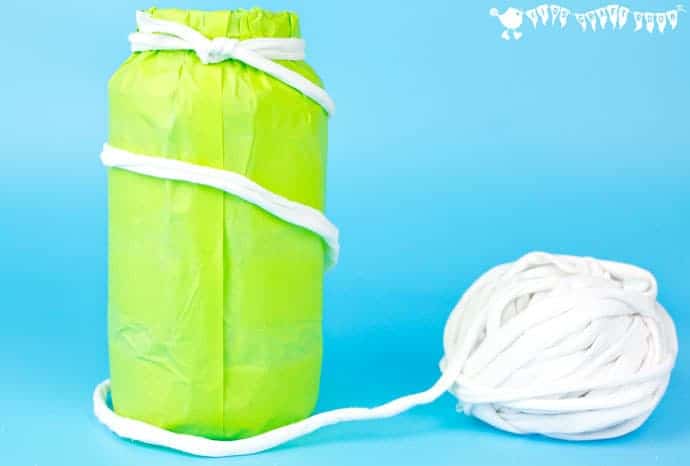
Start by tying the t-shirt yarn around the neck of your mummy jar in line with the tissue paper seam ( This will become the back of your Halloween jars.)
Then simply wrap the yarn around and around the mason jar to create your mummy’s bandages. When you have wrapped all you want to just snip and tie the t-shirt yarn off and tuck the end in out of sight.
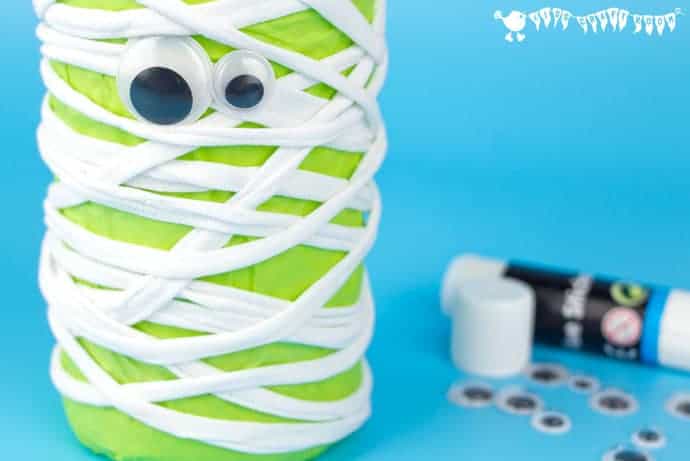
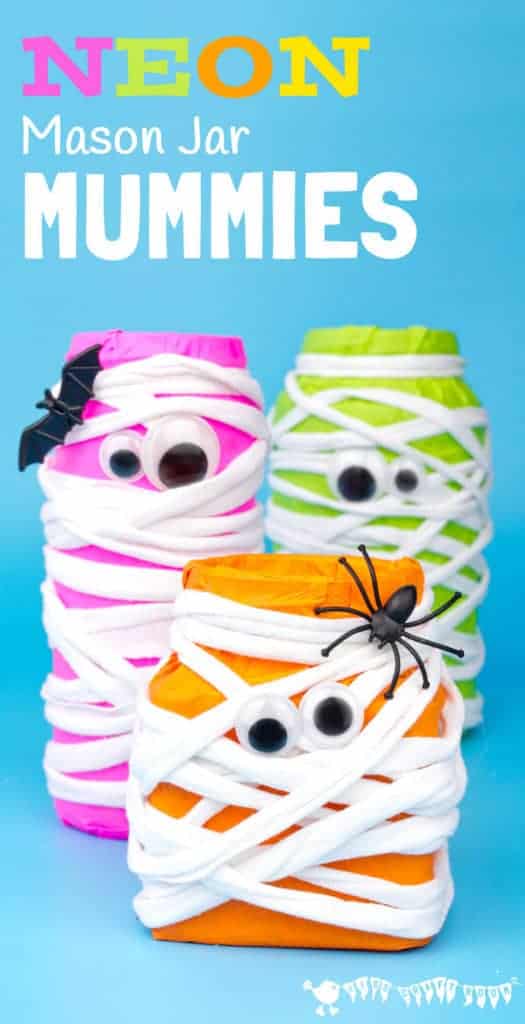
Lastly, finish off your spooky mason jar mummies by sticking on some googly eyes and attaching some Halloween rings if you want to.
Some plastic Halloween rings come with a ready made gap in the band that you can hook straight onto the t shirt yarn. Some rings come as a solid loop but the ones I’ve had have been easy to snip through with a pair of scissors.
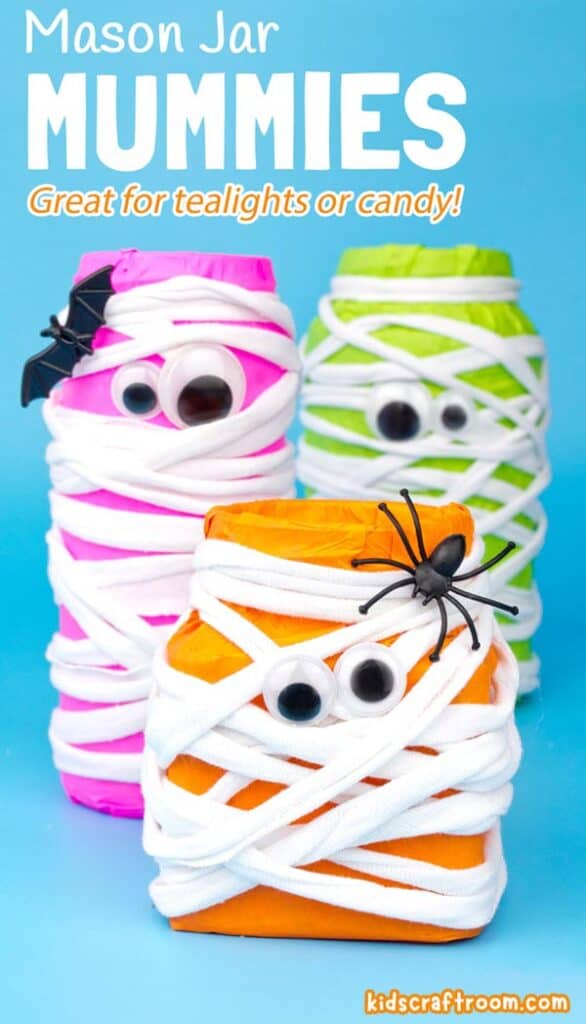
These bright colourful neon mason jar mummies are such a fun and spooky addition to your DIY Halloween decorations.
Whether you fill them with Halloween candy or battery tea lights for glowing Mummy Mason Jar Luminaries, this mason jar craft is sure to be a hit!
More Fun Halloween Crafts For Kids: