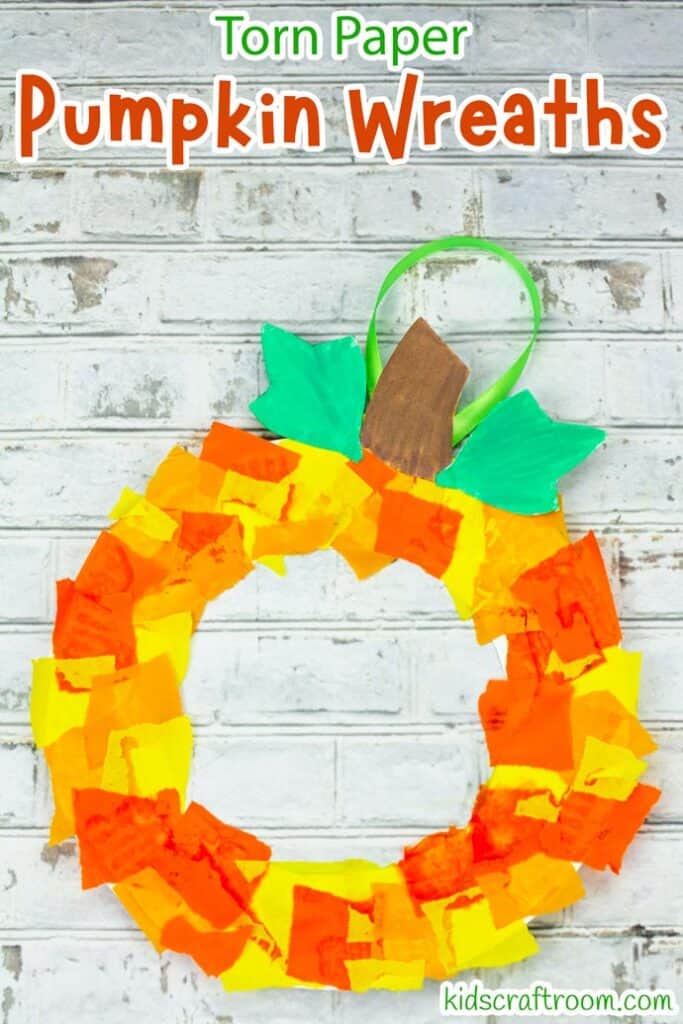
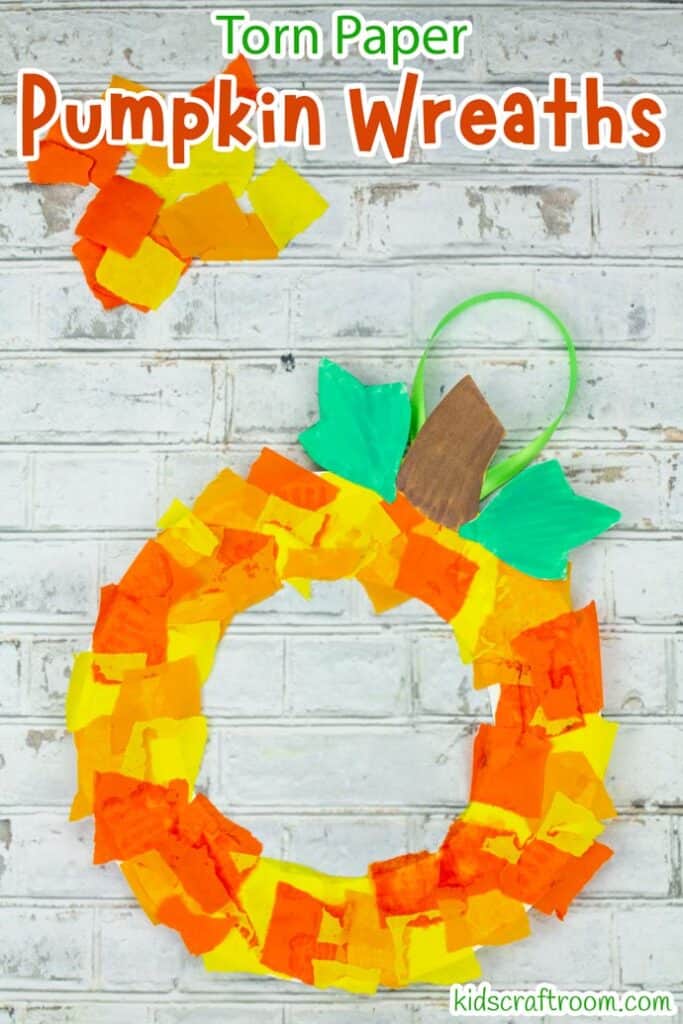
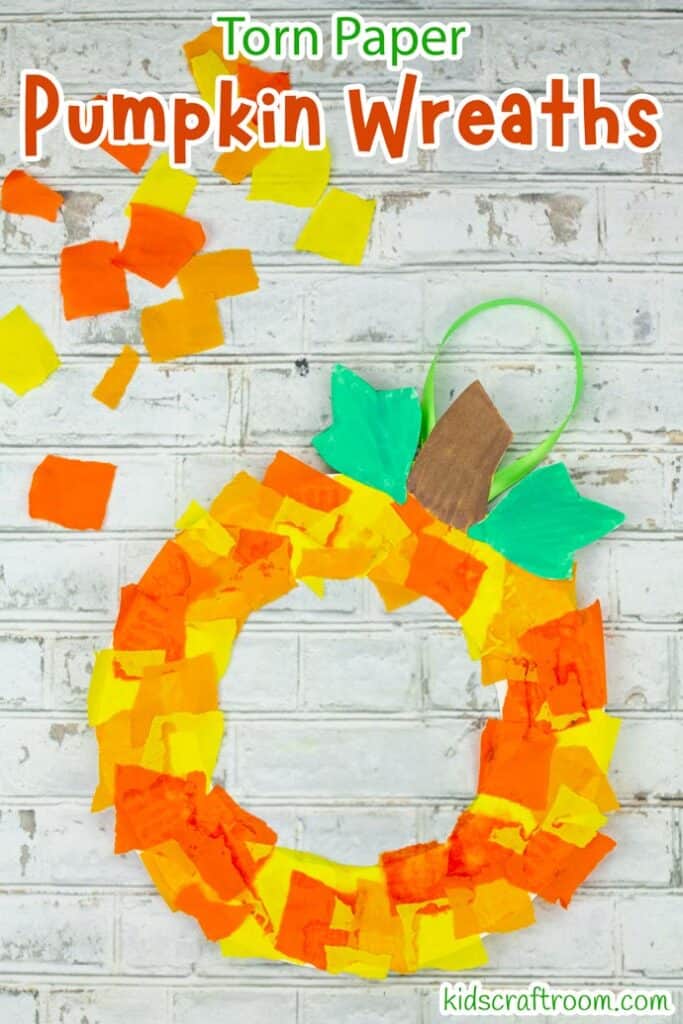
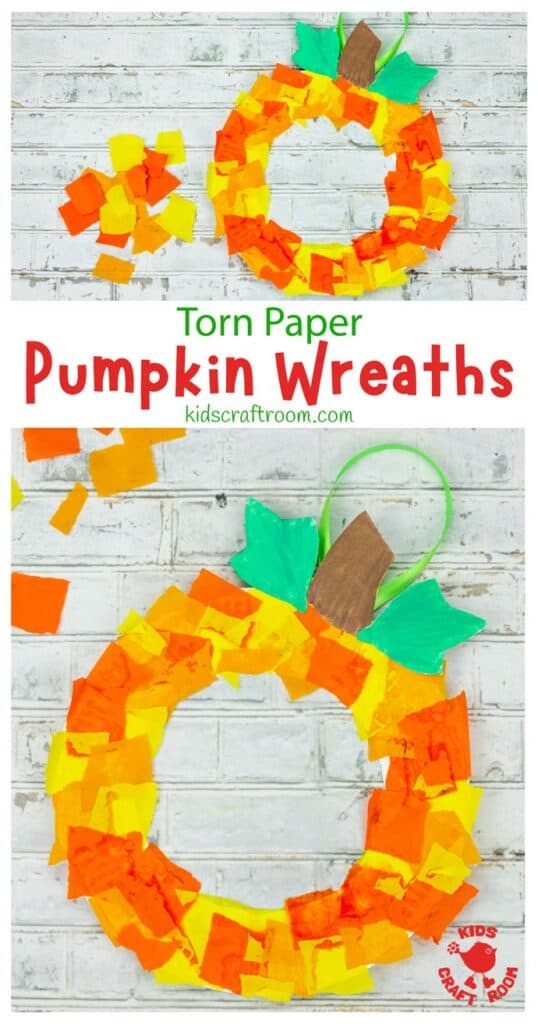
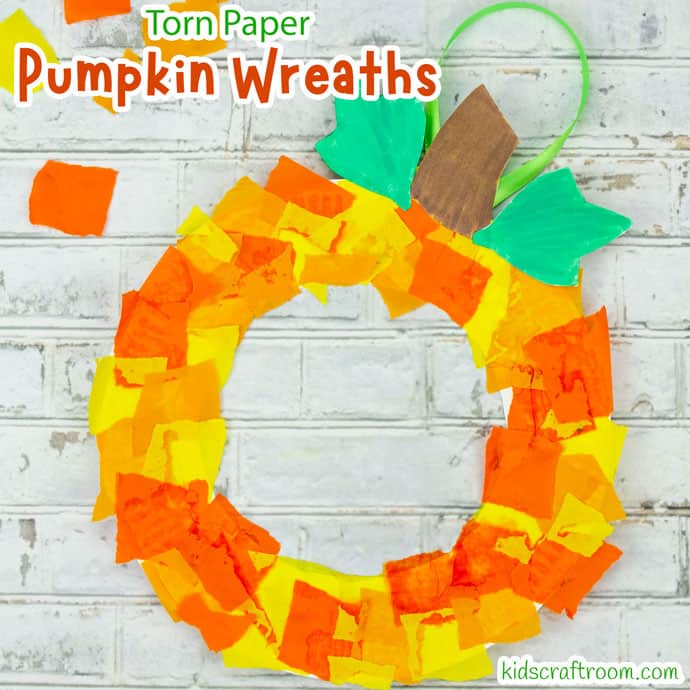
I’m so pleased with how this easy PAPER PLATE PUMPKIN WREATH CRAFT turned out. It’s so colourful and the mix of oranges and yellows are so pretty! What a wonderful way to add a splash of colour to your doors and windows this autumn or Halloween.
This is a lovely pumpkin craft for your toddlers and preschoolers. It’s made using torn paper, so kids have lots of opportunity to build their fine motor skills and hand eye coordination as they tear the paper into little pieces. This is something that even very young children can enjoy!
As this is a paper plate craft, it’s a really frugal choice for the home and classroom and it’s super easy to prep whether you are crafting with just one child at home or a group of 30 in school.
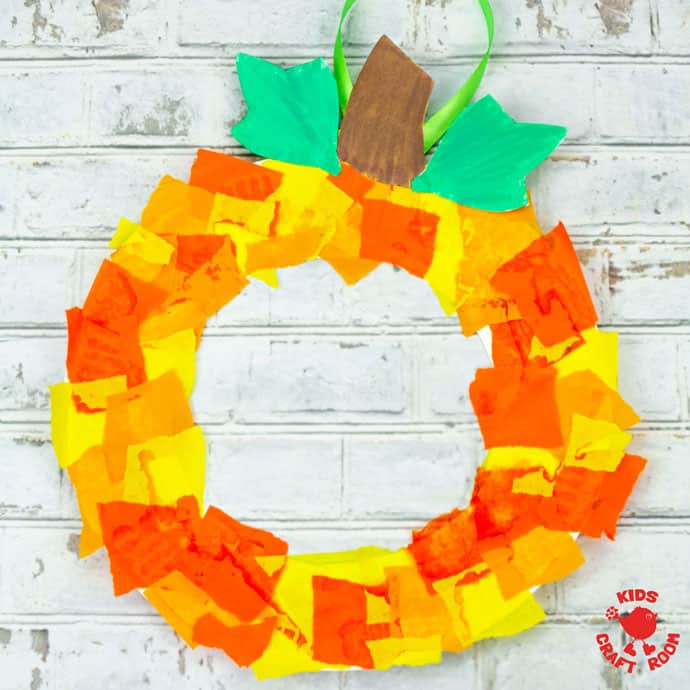
We’ve used a torn paper technique to make this autumn paper plate wreath but you could similar ideas to develop other skills too.
Other Ideas For Autumn Paper Plate Pumpkin Wreaths:
- Cut rather than tear, small square of paper to develop scissor skills.
- Screw paper into balls before sticking to further develop fine motor skills and to give your pumpkin wreaths a lovely bumpy texture.
- Tear orange and yellow paper from old magazines and books. Great for developing colour recognition.
- Use fabric pieces to practice cutting more challenging materials.
- Used mixed media and offer a selection of buttons, paper, fabric, sequins etc.
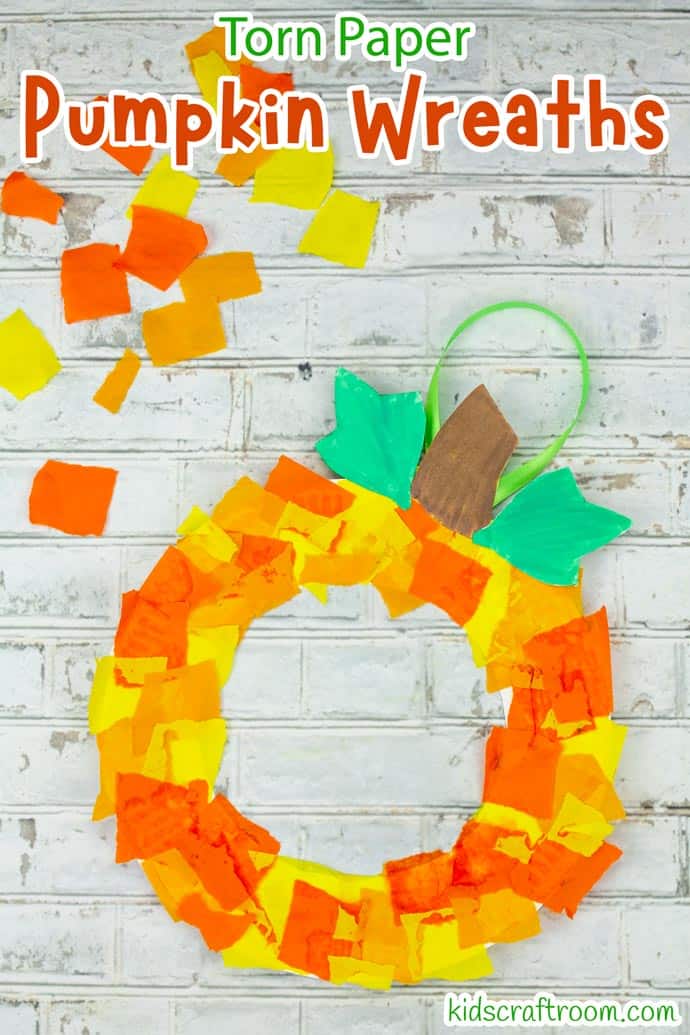
We’ve got lots of other wreath ideas you might like too:
Scroll down to see how we made our Torn Paper Pumpkin Wreaths for autumn. Have fun!

How To Make A Paper Plate Pumpkin Wreath Craft With Torn Paper
Pumpkin Halloween Wreath Craft Supplies:
- Paper Plates
- Tissue Paper (In a range of yellows and oranges)
- White Glue
- Green and Brown Marker Pens
- Green Ribbon
- Scissors
- Glue
- Sticky Tape
Autumn Pumpkin Wreaths Tutorial
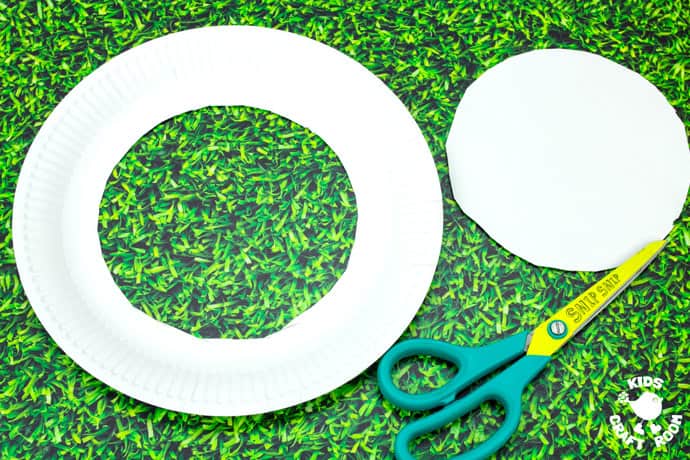
1 – Cut the middle out of a paper plate. (Keep the middle for the leaves and stalk.)

2 – Tear lots of pieces of tissue paper into rough squares. We used a range of yellow and orange colours.
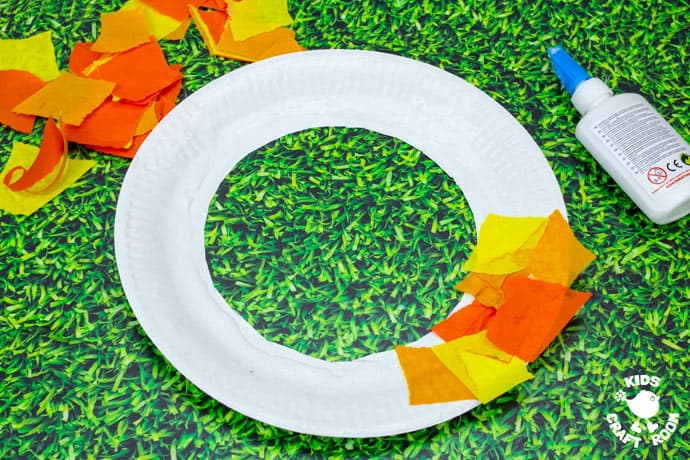
3 – Apply a thin layer of white glue to the paper plate rim and place the tissue paper pieces on it.
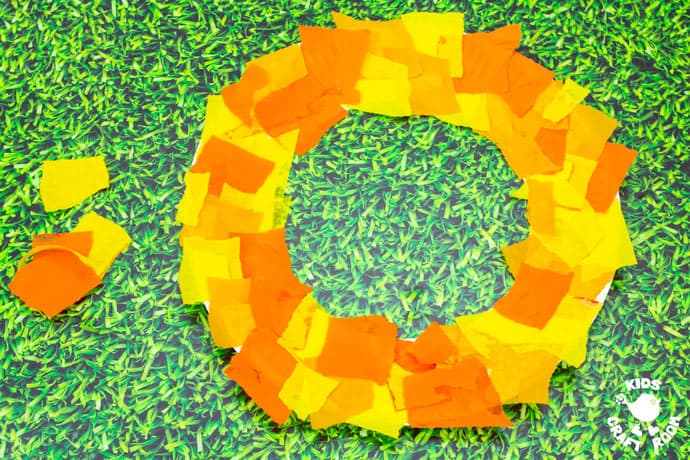
4 – Keep adding tissue paper until the paper plate is covered.
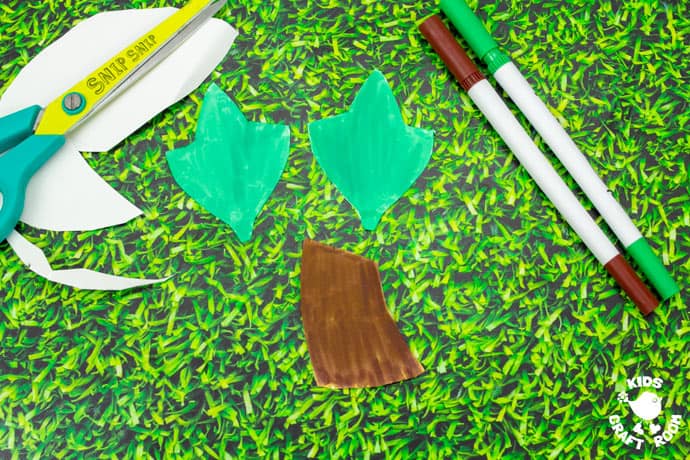
5 – Cut out a couple of leaf shapes and a stalk from the middle of the paper plate. Colour them in.
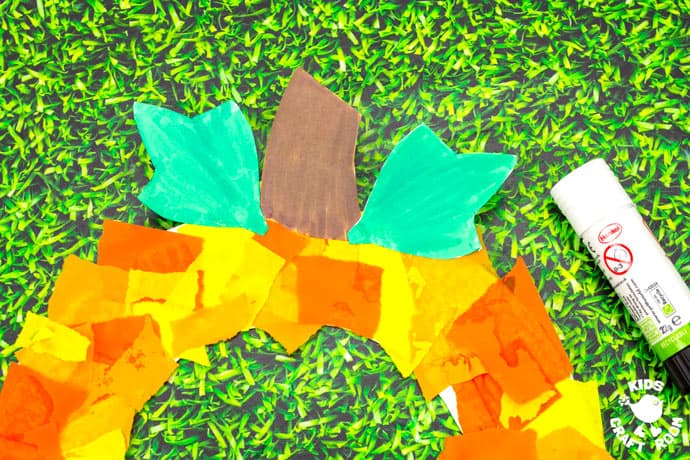
6 – Glue the pumpkin stalk and pumpkin leaves onto the top of the paper plate wreath.
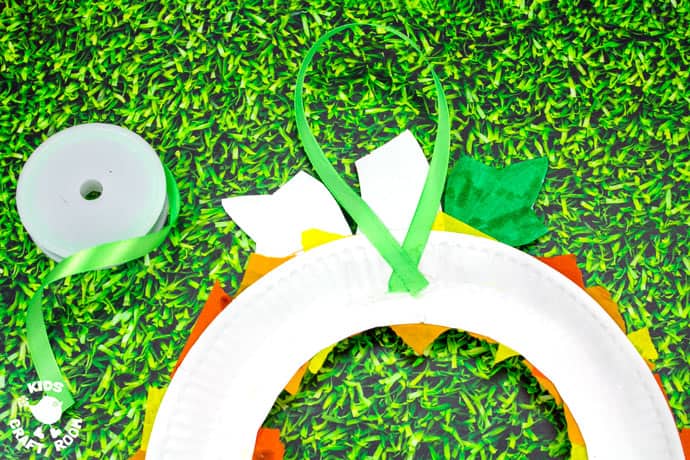
7 – Cut a short length of green ribbon and sticky tape it onto the back of the wreath at the top to make a hanging loop.
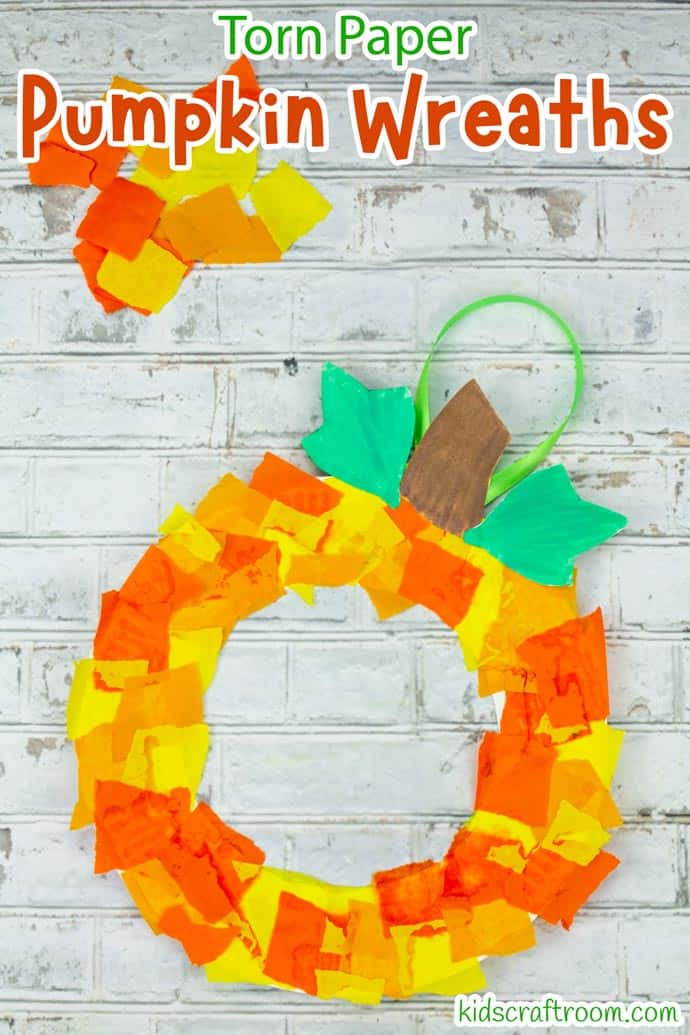
8 – Hang your pumpkin wreath up on a door, window or wall for a lovely autumn or Halloween decoration.
More Fun Autumn Crafts To Try:
