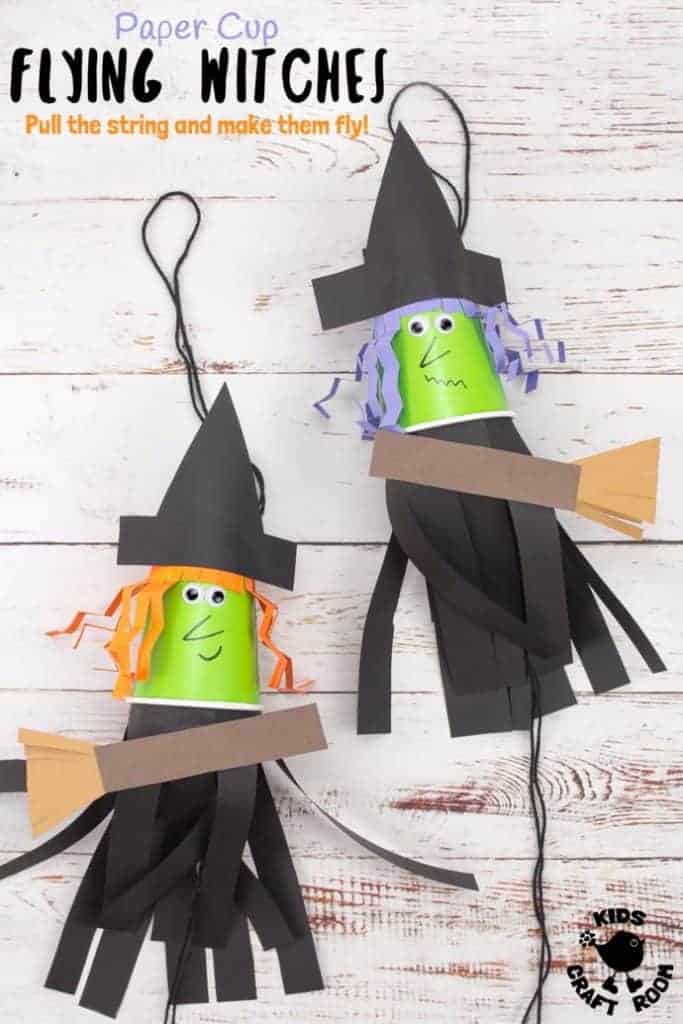
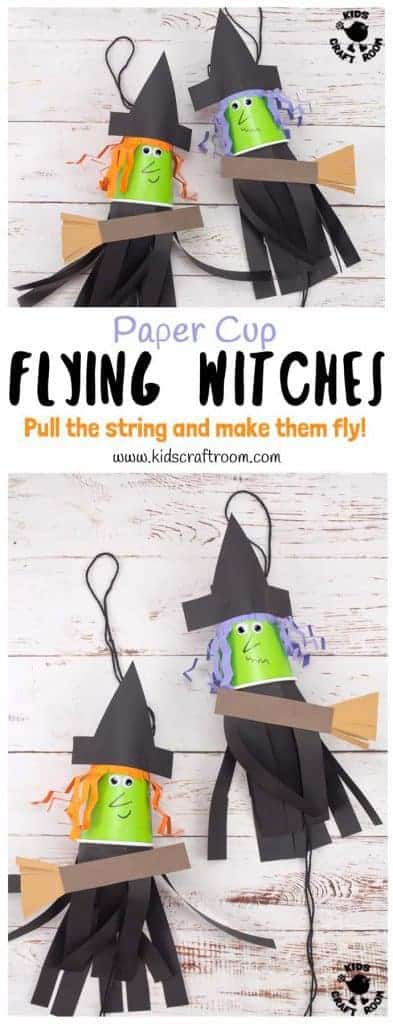
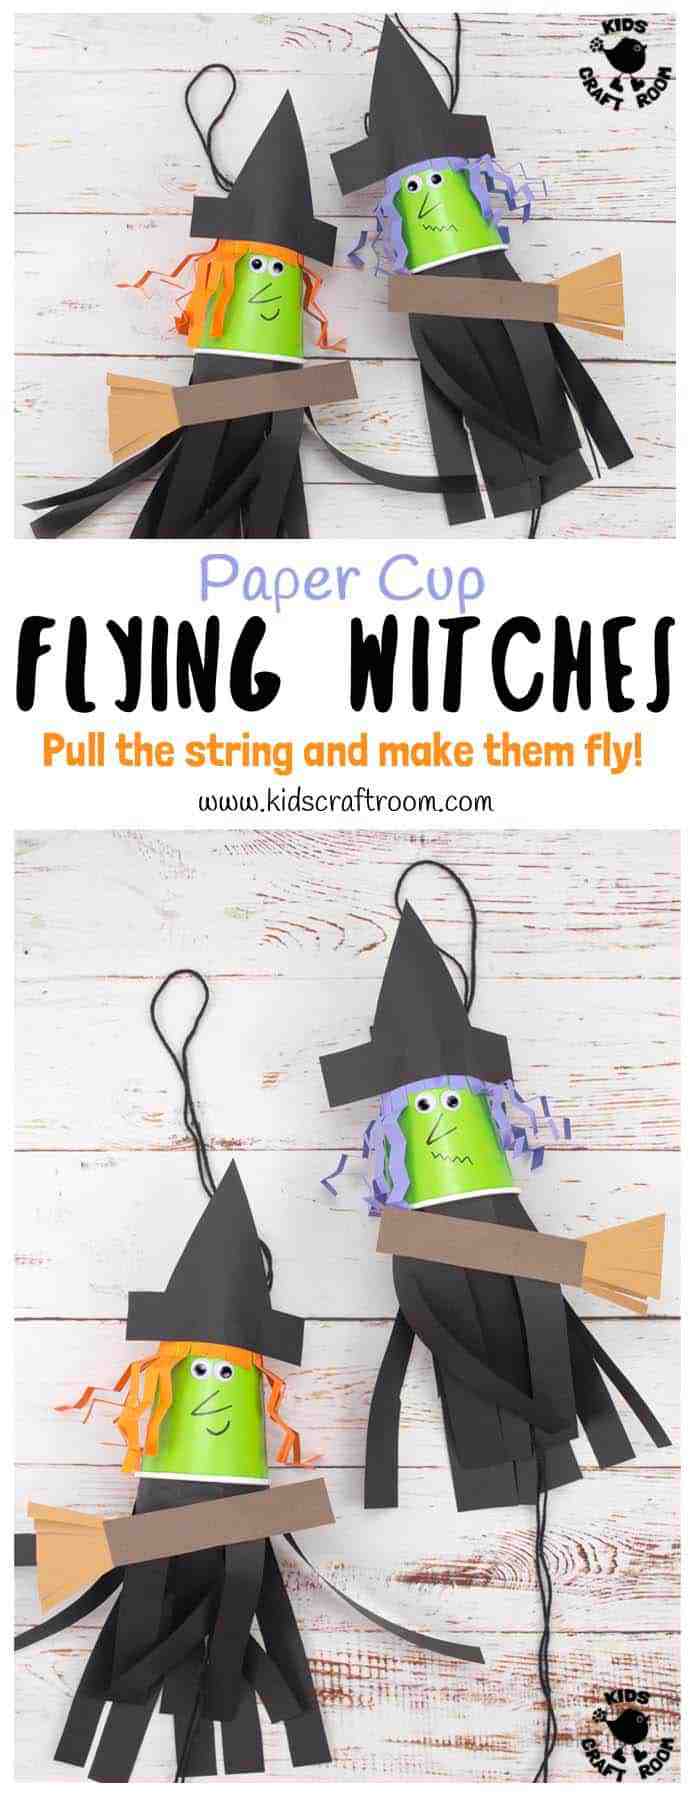
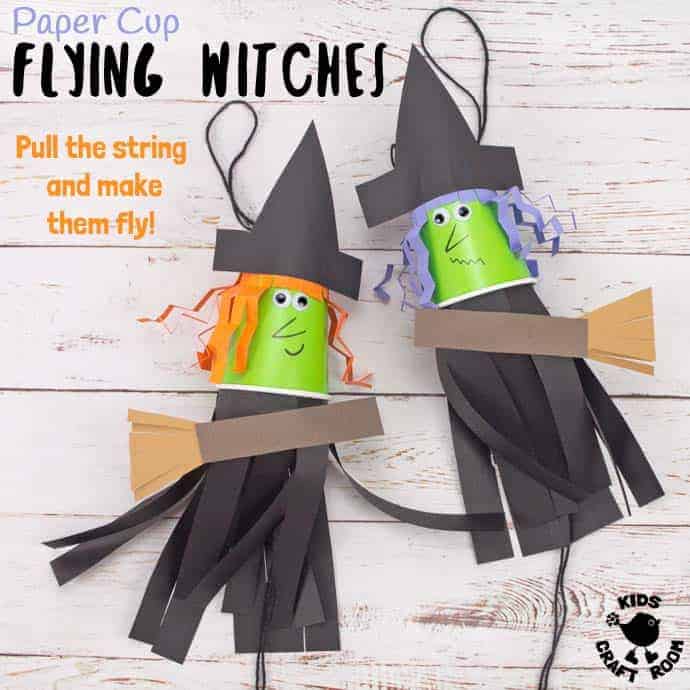
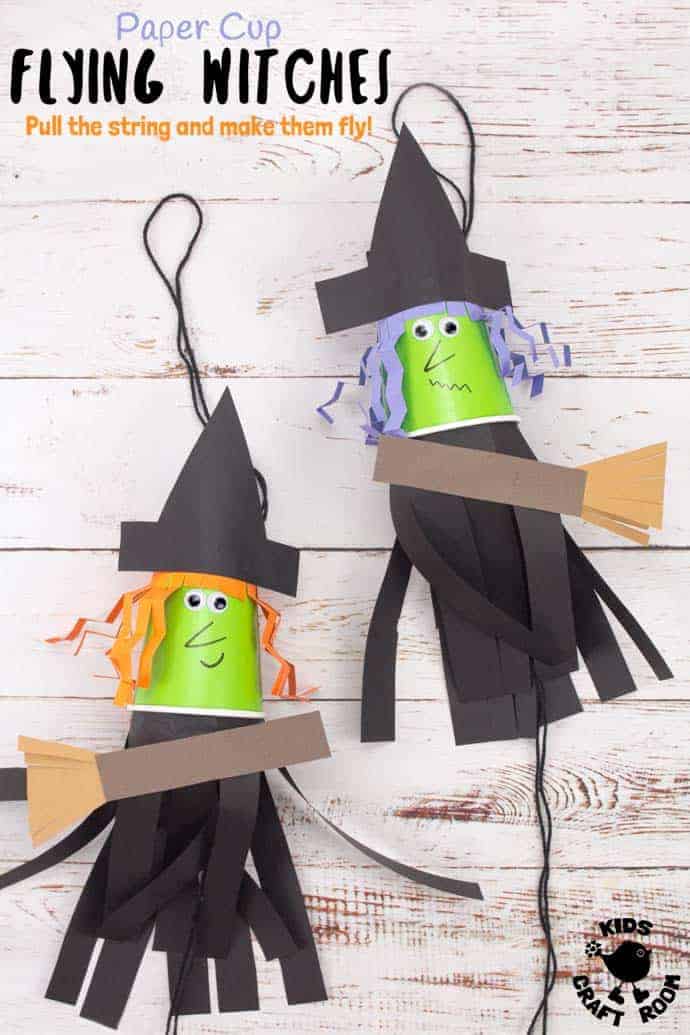
This Flying Paper Cup Witch Craft For Kids is so easy to make and loads of fun! Children will LOVE how interactive this paper cup craft is.
Just pull the string and watch your witch fly up and down on her broomstick! Such a fun Halloween craft!
This flying paper cup witch craft idea is super simple and once you see how it works it’s easy to adapt the idea to other paper cup characters.
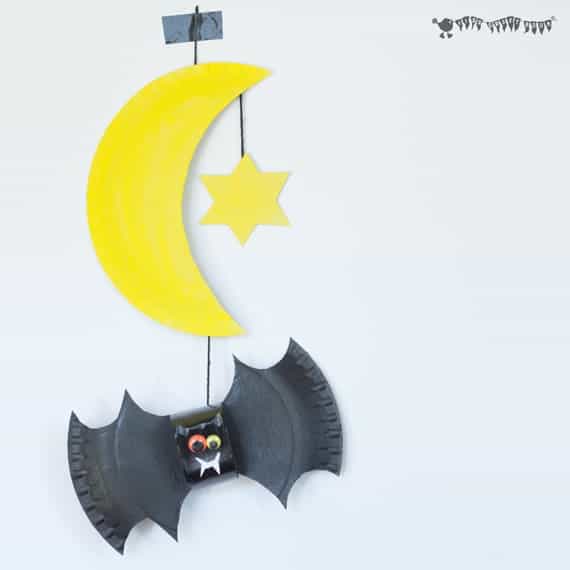
We’re already made some flying ghosts and bats too!
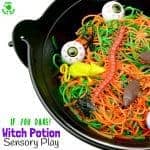
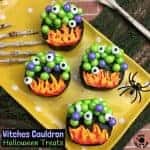
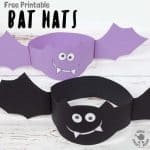
Halloween crafts are so much fun aren’t they? We think these paper cup witches team up really nicely with our Frog Puppets In A Witch’s Brew, Witch’s Potion Sensory Play, Witch’s Cauldron Halloween Treats and Printable Bat Hats.
If you are looking for a really simple witch idea for tiny tots, Crafts On Sea has a super cute paper bag witch they’ll love.

Flying Paper Cup Witch Craft For Kids Tutorial
This flying witch craft for kids is built around a paper cup. We used green ones but you can use any colour you like and of course paint your own if you only have white ones.
Kids Witch Craft Supplies:
- Green Paper Cups
- Black Paper
- Orange / Purple Paper
- Brown Paper
- Black Yarn
- Googly Eyes
- Black Sharpie Pen
- Glue
- Scissors
How To Make A Flying Paper Cup Witch Craft For Kids
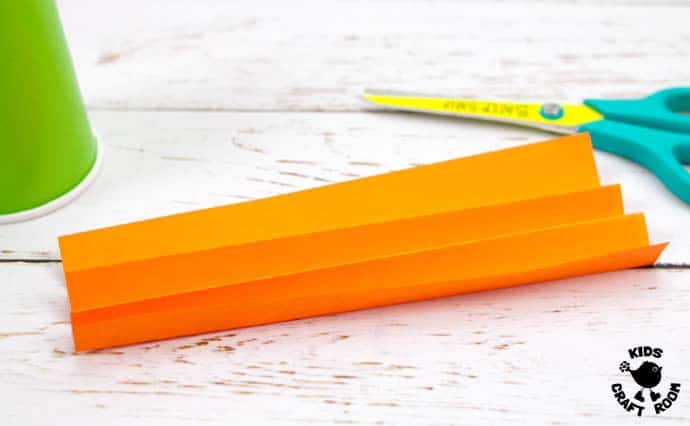
1 – To make the witch’s wild hair cut a rectangle of orange or purple paper as tall as your paper cup and wide enough to wrap all the way round.
2 – Concertina fold it lengthways.
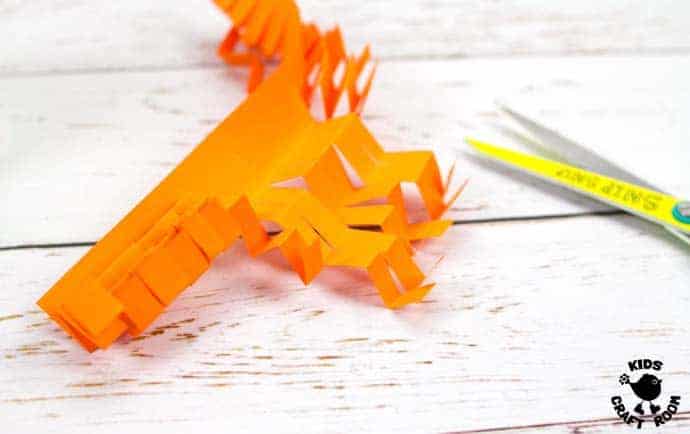
3 – Undo the last fold and snip up into all the others being careful not to cut through the last section of paper. When you unfold the paper you will have lots of lovely zig zag witch’s hair on a long strip.
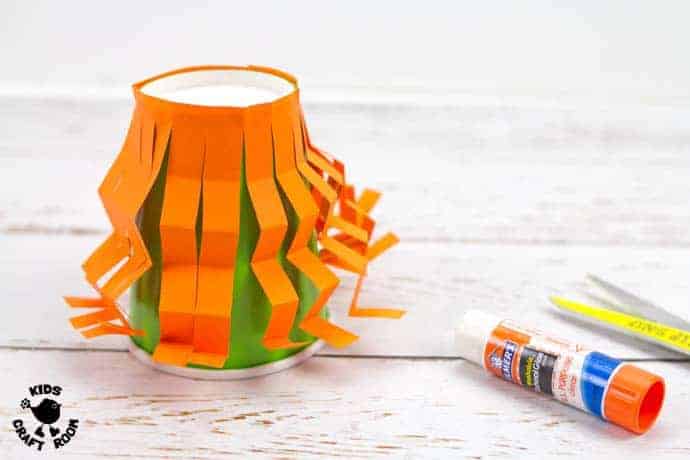
4 – Up end your green paper cup and glue the strip of witch’s hair all around the top.
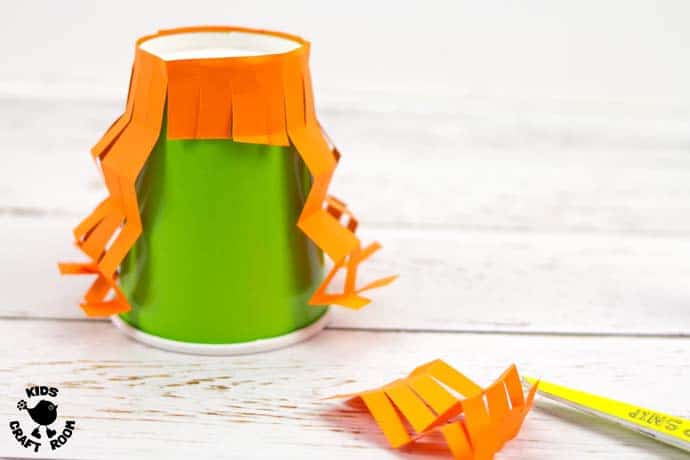
5 – With the paper cup seam at the back cut a section of hair off to reveal the witch’s face and make a fringe/bangs.
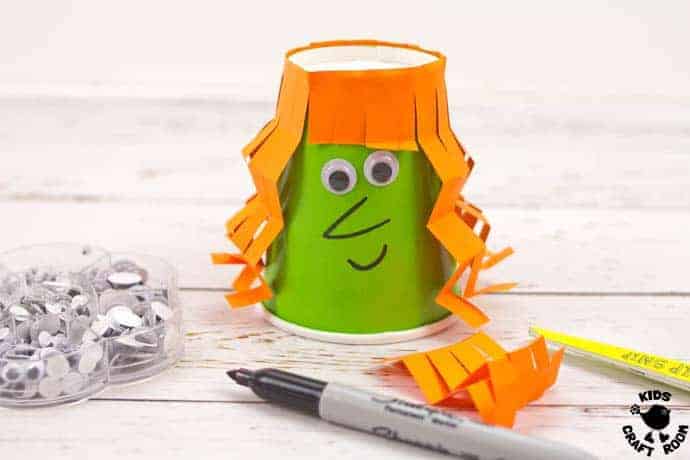
6 – Glue on your googly eyes and use a Sharpie marker to draw the long pointy witch nose and mouth.
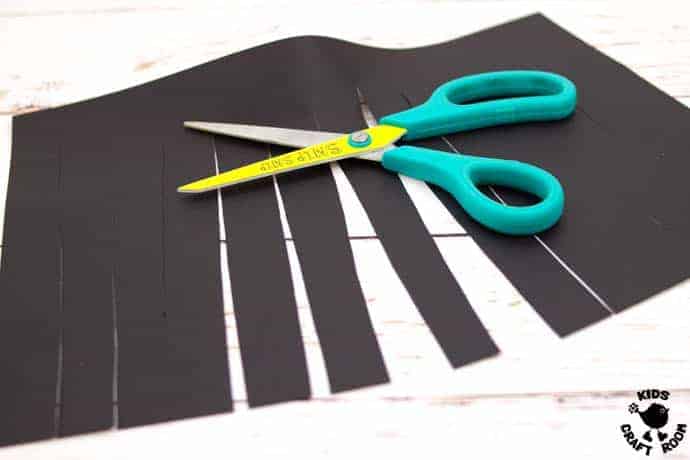
7 – To make the witch’s black dress take an A4 sheet of black paper and cut strips up it lengthways, being careful not to cut all the way through the top.
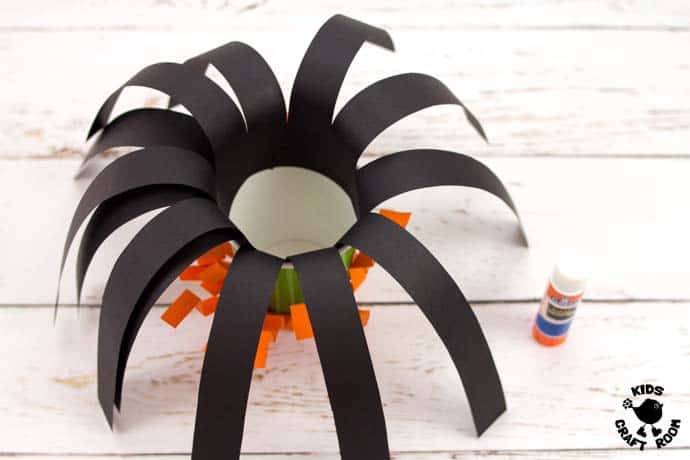
8 – Glue the length of black strips into the inside of the paper cup.
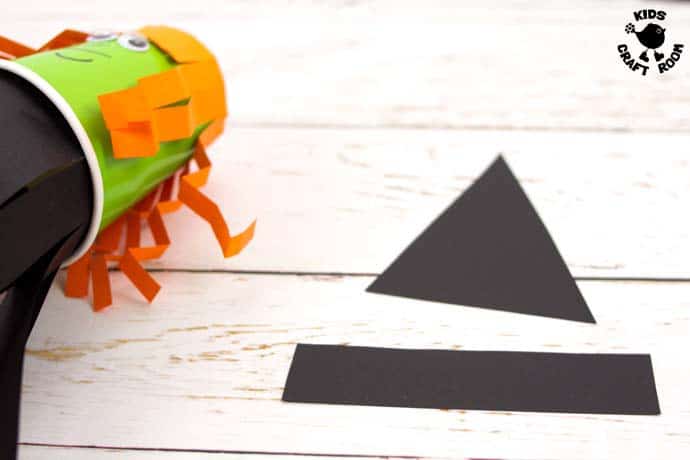
9 – Cut a rectangle and triangle out of black paper to make the witch’s pointy hat.
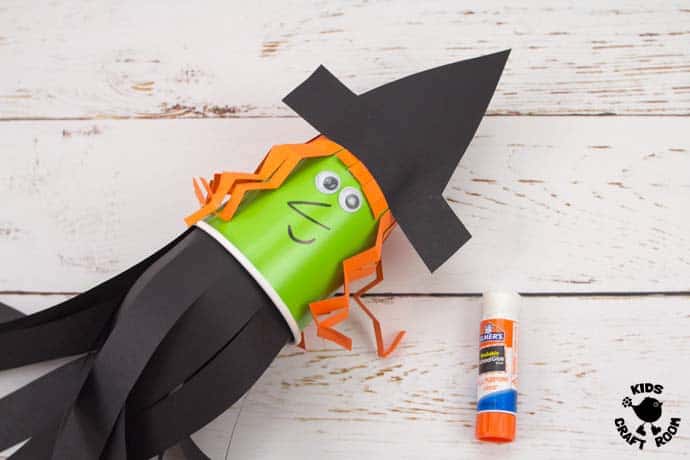
10- Glue the hat together and stick it to the front of your paper cup witch craft, above her bangs/fringe.
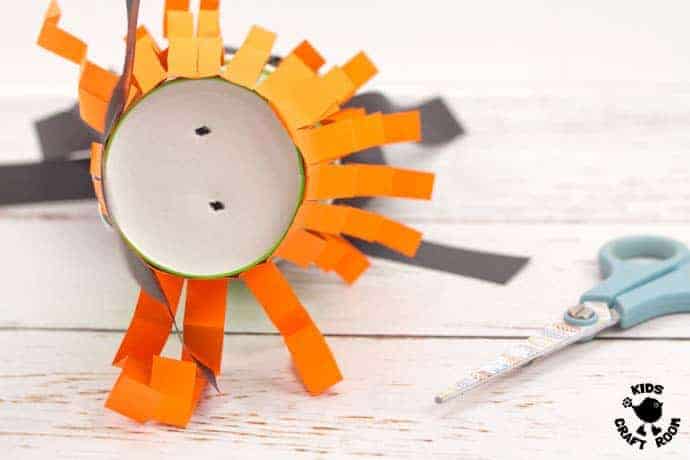
11 – ADULTS ONLY – Make two small holes into the base of the paper cup. We used a small pair of scissors and gently and slowly pushed them in with a little wiggle.
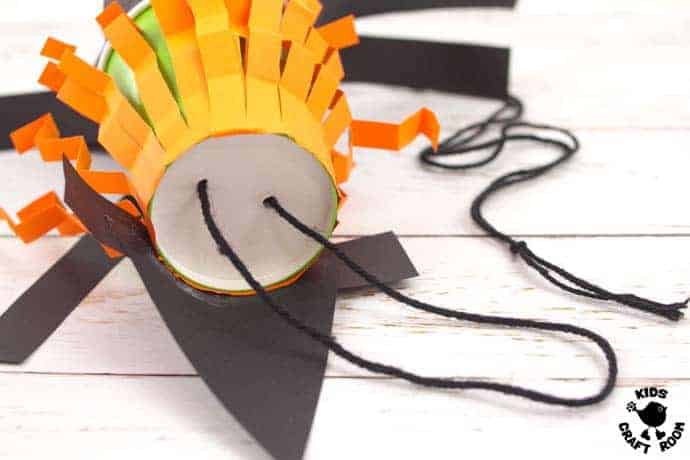
12 – Cut a long length of black yarn for your witch craft to fly along, about two arm span lengths is about right. Thread both ends of the yarn through the holes in the paper cup. Pull them through from the inside of the cup and tie the two ends together.
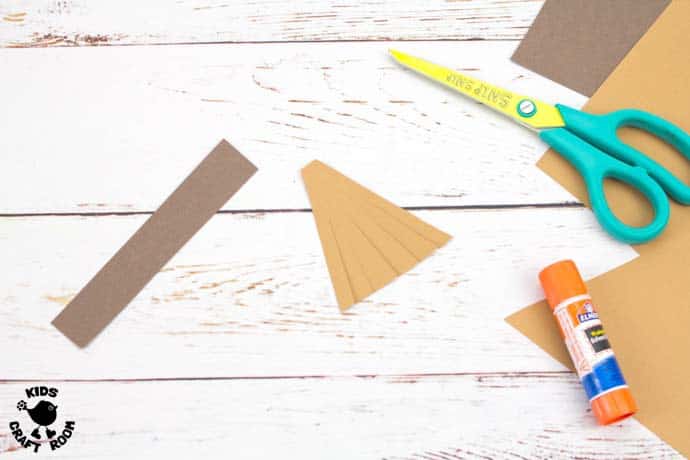
13 – Make the witch’s broomstick by cutting a rectangle and triangle out of dark and light brown paper. Snip into the triangle to make broom bristles and glue the pieces together. Stick the broomstick to the front of the paper cup witch.
14 – To make the paper cup witch craft for kids fly, hang the loop of yarn at the top over a hook or door handle etc.
Then, take the two strands coming through the cup, one in each hand. Gently pull your hands out to the side and as you pull the witch will fly up the string!
Bring your hands together again and the witch will fly back down. Watch the video to see ours in action!
We hope you have as much fun with your flying paper cup witch craft for kids as we have. Let us know how you get on and if you try any different characters! We love to hear from you.
More Fun Halloween Crafts For Kids: