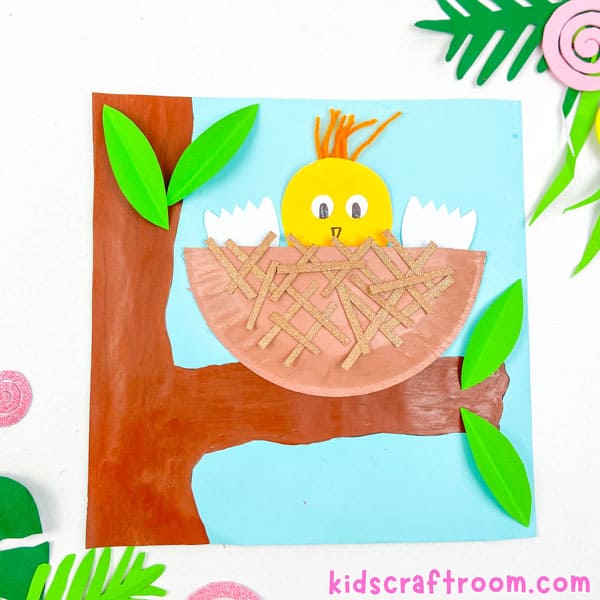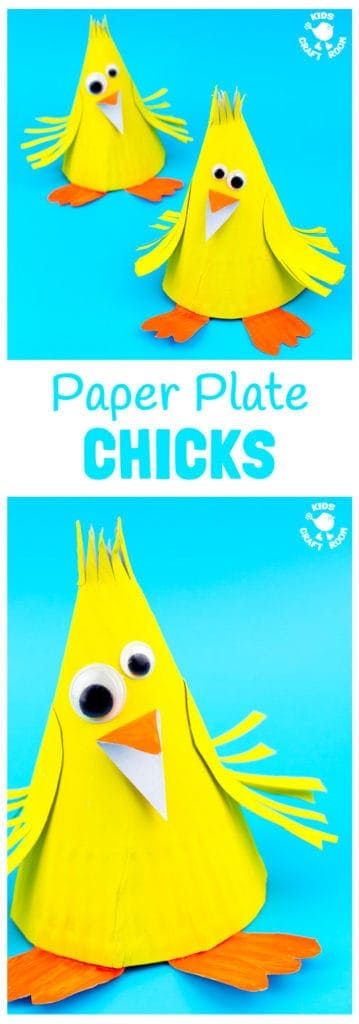
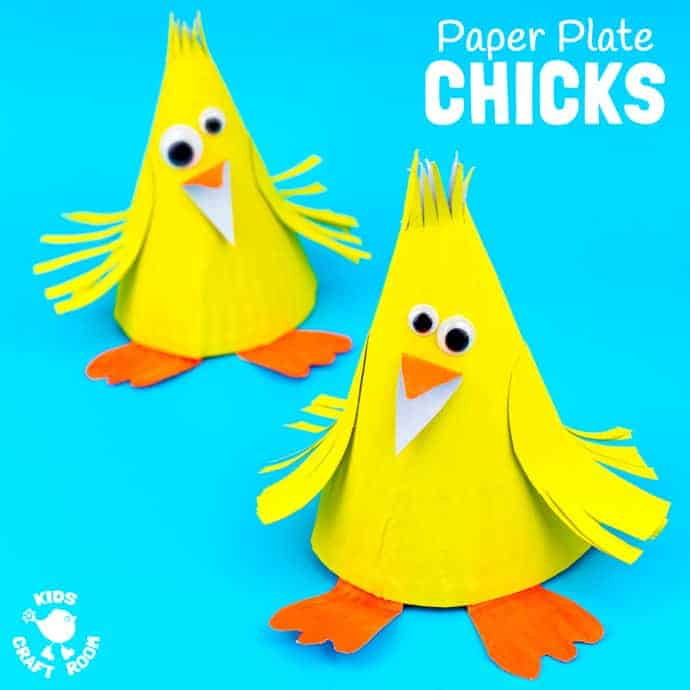
One of our favourite things about Spring is seeing all the little fluffy yellow chicks. Is there anything else so adorable? To celebrate this wonder of nature we’ve got a cute Paper Plate Chick Craft for you.
Paper Plate Chicks are nice and easy to make and I expect you’ve already got all the supplies you’ll need in your craft cupboard. This is such a fun Spring craft for kids and of course it’s lovely for Easter too.
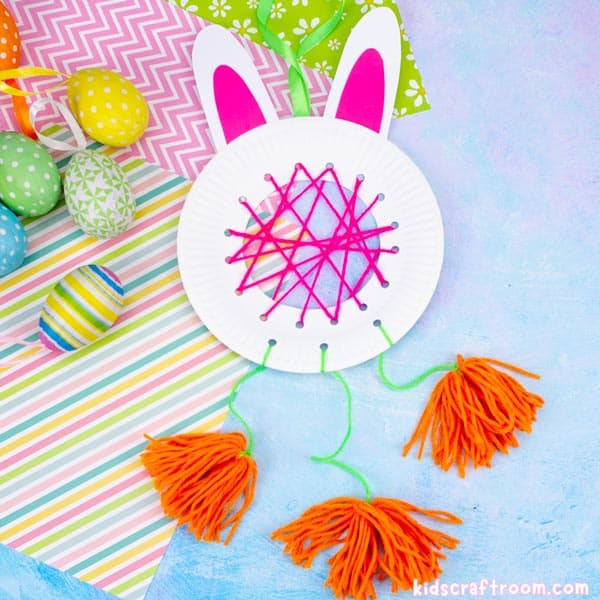
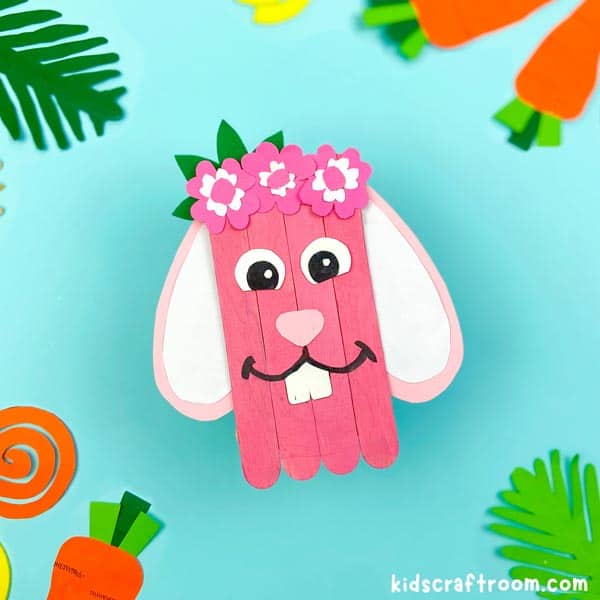
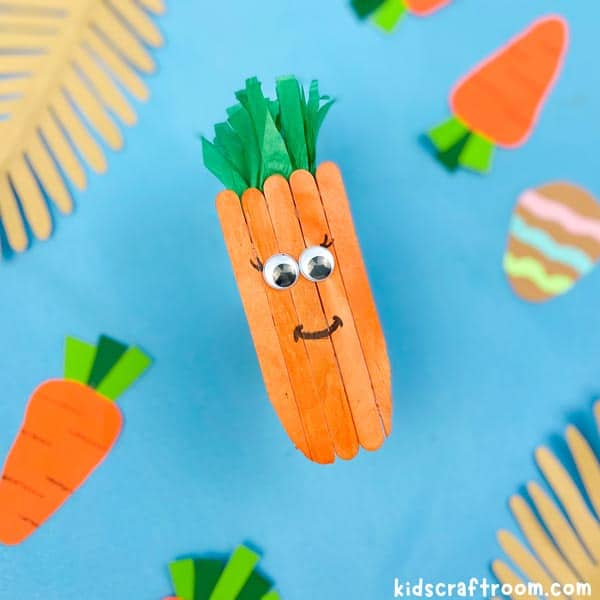
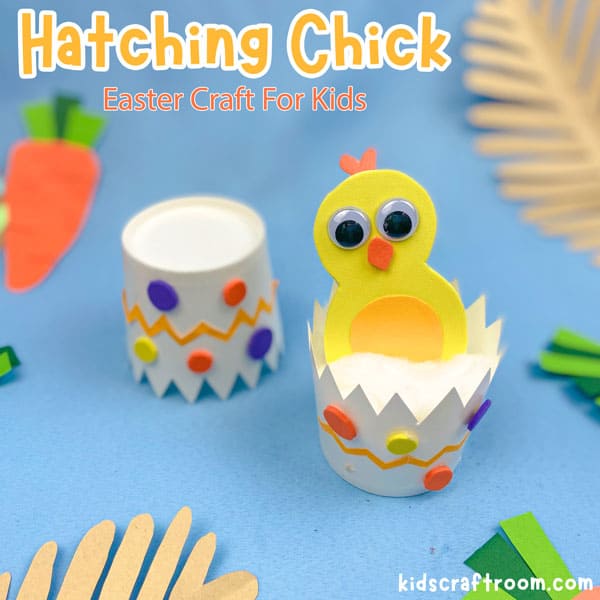
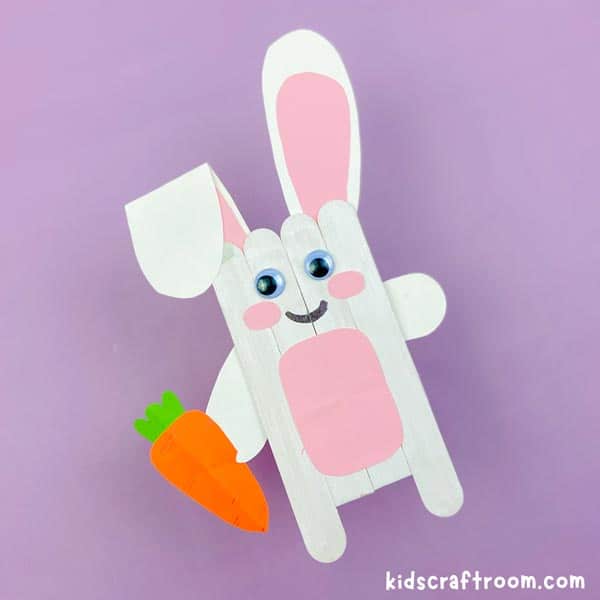
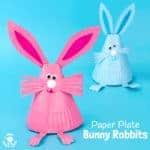
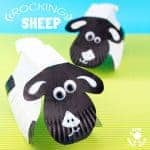
This paper plate chick craft was inspired by some fun paper plate bunnies we made last Easter. Don’t you just love the versatility of paper plates? You can see lots more paper plate Spring crafts below too. Just click on the photos to go straight to the posts.


Paper Plate Chick Craft Tutorial

Supplies For Paper Plate Chicks
- Paper Plates
- Orange and Yellow Paint
- Googly Eyes
- Glue
- Stapler
- Paint Brush
- Scissors
How To Make This Simple Paper Plate Chick Craft
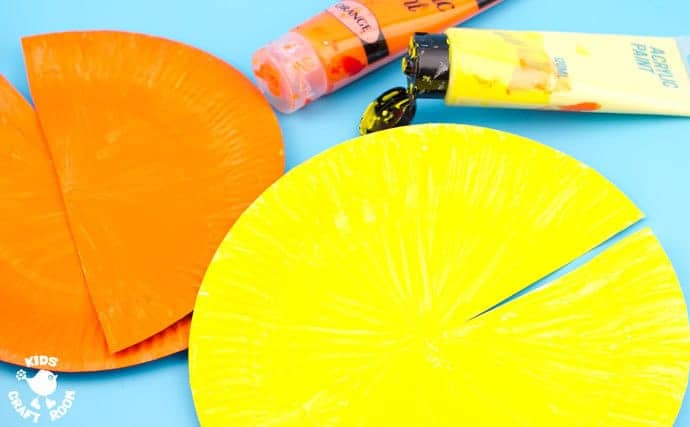
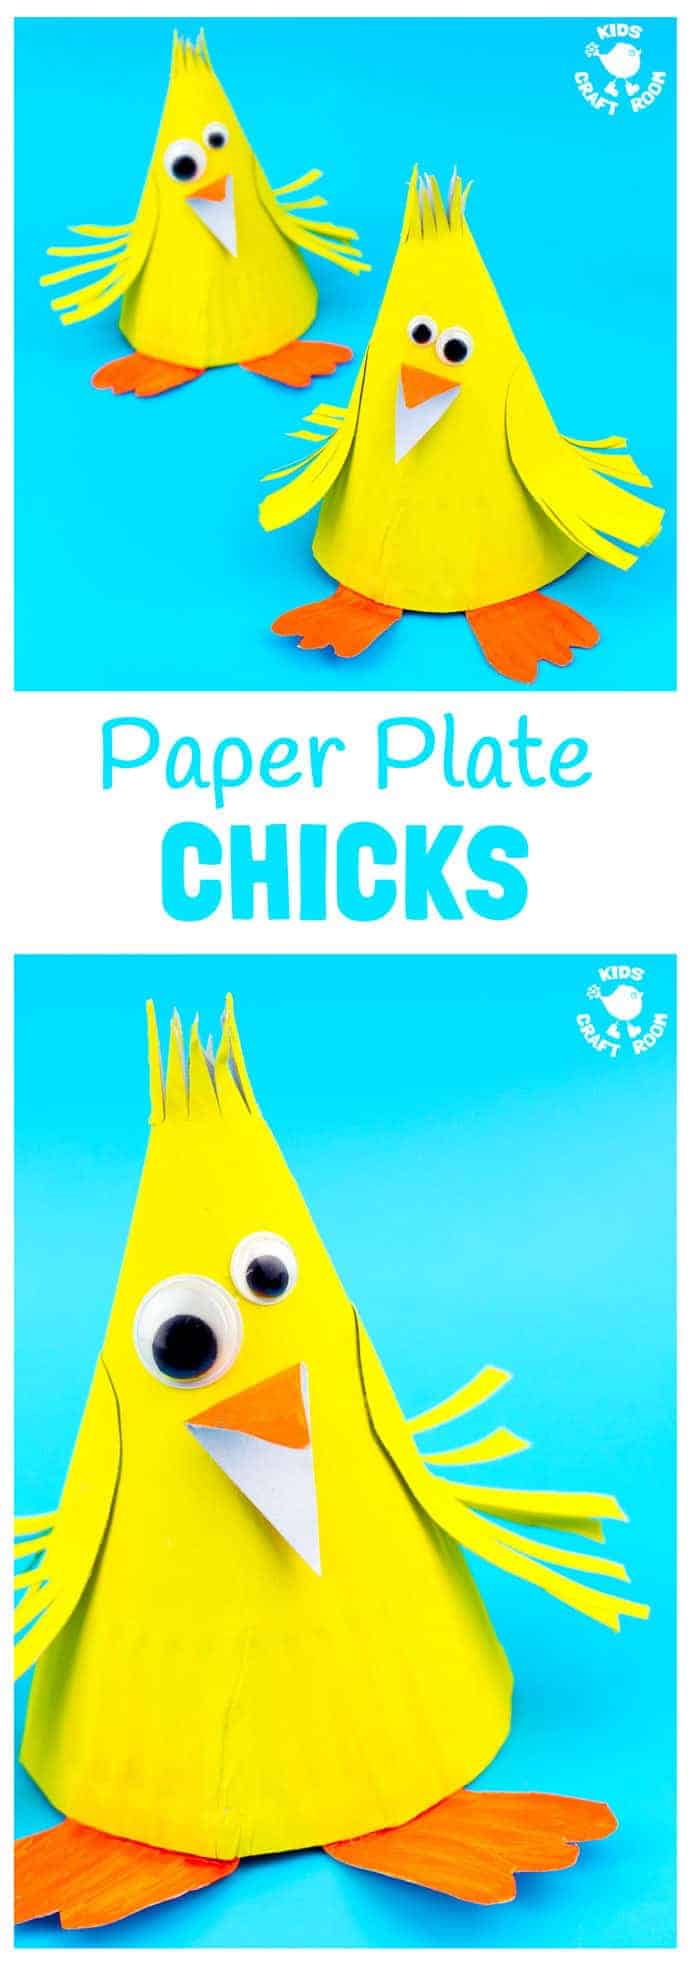
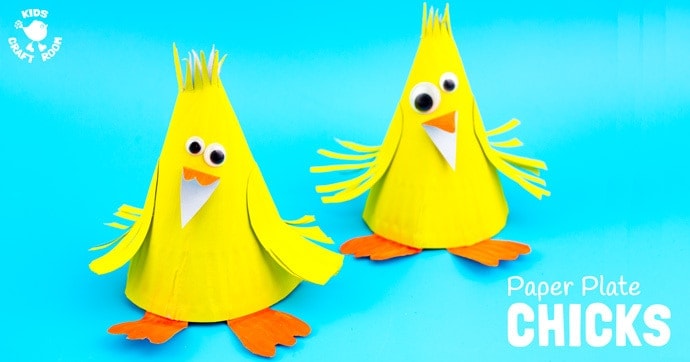
1 – Each paper plate chick craft is made using half a yellow plate and half an orange plate. Paint them and leave them to dry.
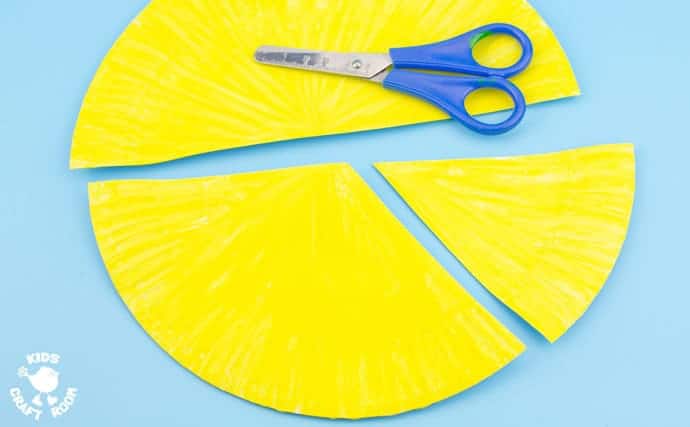
2 – To make the chick’s body cut two thirds off the yellow paper plate half.
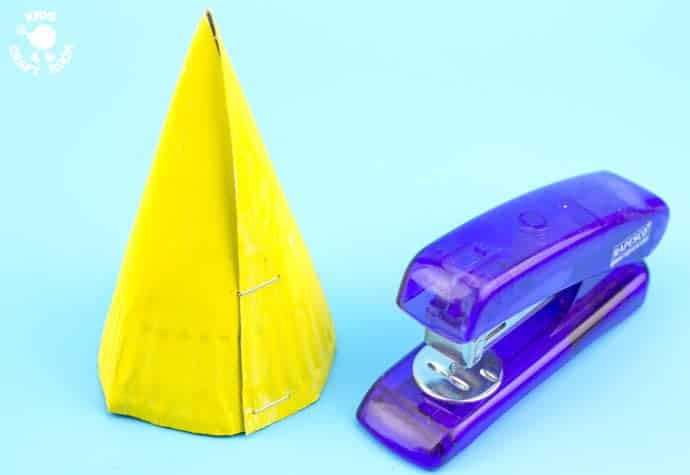
2 – Roll the two thirds of yellow paper plate up to make a cone and staple or glue it into place.
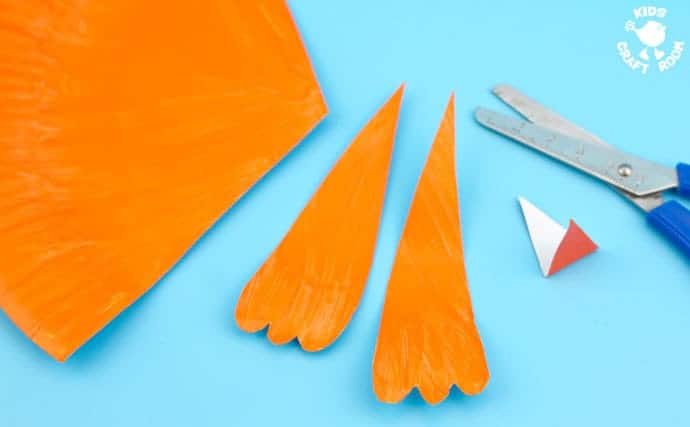
3 – To make the chick’s feet cut two narrow pie slices out of the orange half plate. Cut some little curves into the outer edges.
4 – Cut a small orange diamond and fold it in half to make the chick’s beak.
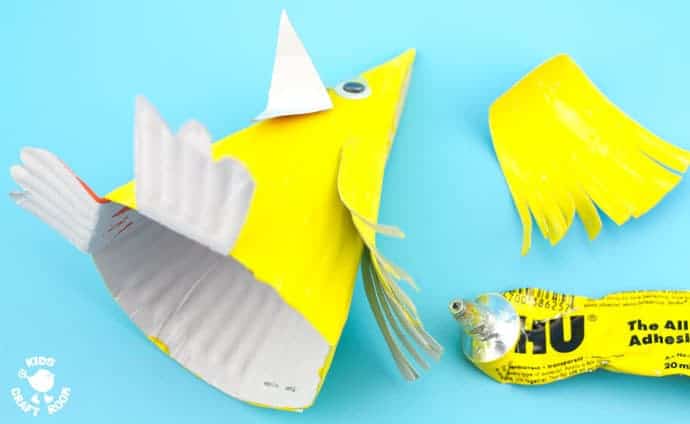
5 – To make the chick’s wings divide the remaining third of yellow paper plate into two pie slices. Round off their pointed ends and snip into their flat ends to make feathers.
6 – Glue the paper plate chick’s eyes, beak, wings and feet into place.
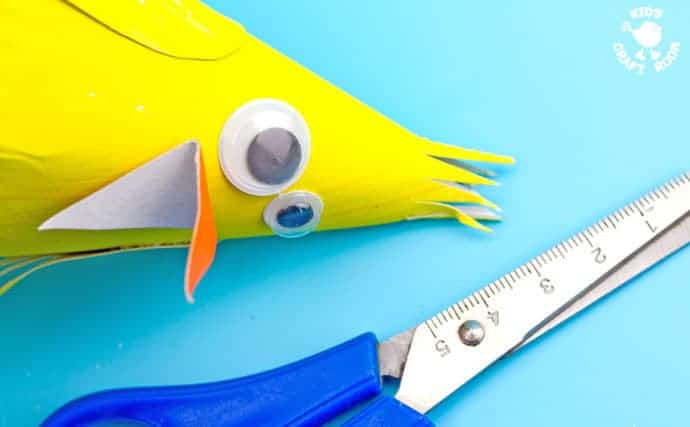
7 – Give your paper plate chick craft a cute finishing touch by snipping into the top of its head to make a tufts of fluffy feathers!
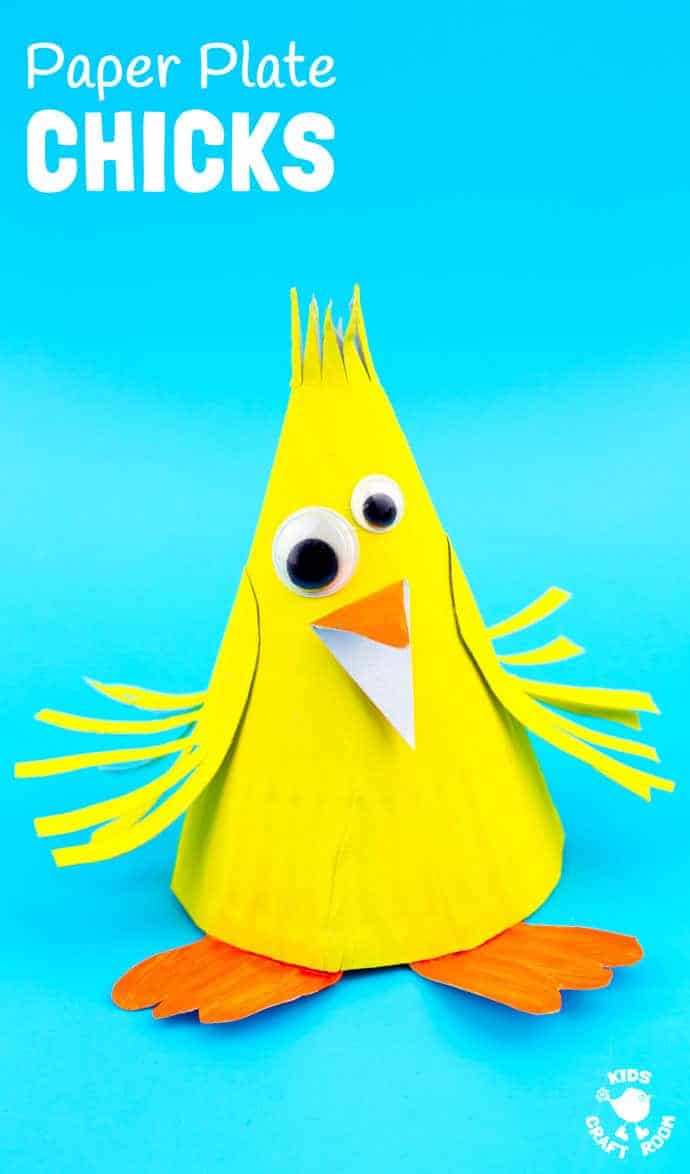
I’m sure you agree this Spring chick craft is the cutest!
More Fun Easter Crafts For Kids: